Printing and Preview Mode
All this talk about the wonders of an electronic database may leave you thinking FileMaker has nothing to do with paper, but that’s not true. It’s a cruel fact of life that eventually you’ll need to put your data on paper. You might want mailing labels for all your customers in Canada, or a special printed form prefilled with patient information for insurance filing. Sometimes you just need your data with you when you’re away from your computer. As you’ll learn in Part 2, you can arrange the data any way you want in FileMaker, and make certain layouts that are particularly suitable for printing. But for now, remember that FileMaker lets you print anything you see onscreen (just choose File → Print). Its Print dialog box has a few special options. Figure 2-25 show the Windows version. You can see the Mac OS X version (which requires a little more digging) in Figure 2-26.
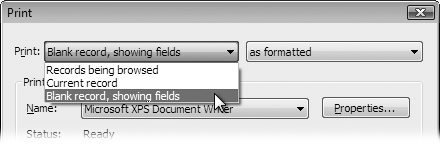
Figure 2-25. FileMaker’s Print dialog box gives you all the standard options, plus a little more. The Print pop-up menu (at the top in the dialog box in Windows) lets you tell FileMaker which records to print.
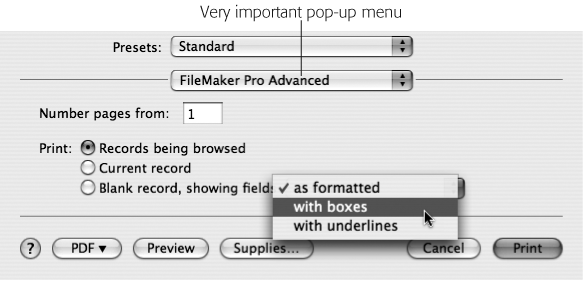
Figure 2-26. On Mac OS X, FileMaker’s special print options are tucked away in a secret place. You have to choose FileMaker Pro or FileMaker Pro Advanced from this unnamed but very important ...
Get FileMaker Pro 9: The Missing Manual now with the O’Reilly learning platform.
O’Reilly members experience books, live events, courses curated by job role, and more from O’Reilly and nearly 200 top publishers.

