To use Gadgeteer, we need a computer; it must be a computer that can run Windows XP, Vista, or 7. If you are a Mac or Linux user, then all is not lost if you have virtualization software like VirtualBox, which is free, you will be able to use Visual Studio Express on a Windows virtual machine.
You will, however, need a license for any version of Windows that you are running on your virtual machine.
There are four steps involved in getting your computer set up. Each is described in the following sections. The basic steps are:
Install Visual Studio C# Express
Install .NET Micro Framework 4.1 SDK
Install GHI NETMF v4.1 and .NET Gadgeteer Package
Upgrade the Mainboard’s firmware
Shortcuts to all these links can be found at the Tinyclr website.
If you are using a Windows computer, skip this section.
If you are a Mac or Linux user, create a Windows virtual machine, being generous in memory allocation as Visual Studio Express is quite demanding of resources.
These instructions are for VirtualBox, but they will be similar for other virtualization software.
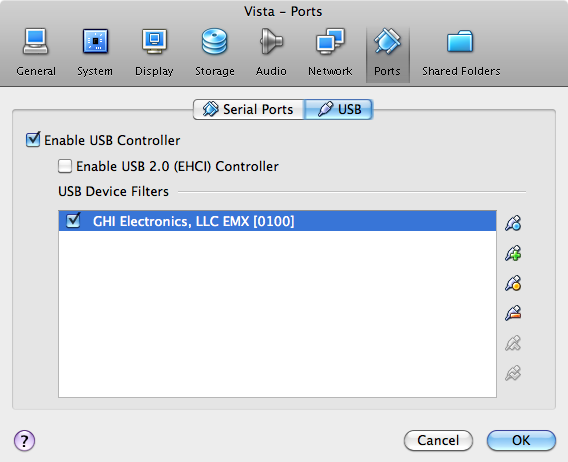
You will also need to allow the USB connection to the Gadgeteer to pass through to the virtual machine without OS X or Linux interfering with it. To do this, select your virtual machine in the VirtualBox control window and click Settings. Select Ports and then USB, as shown in Figure 1-5. Create an open USB filter that automatically forwards all USB traffic to the virtual machine. You can do this by clicking on the orange dot in the filter list.
Once you have updated the firmware on your Mainboard, you can return here and add the specific device filter by clicking the green “Add connection” icon on the right and selecting “GHI Electronics, LLC EMX.” You can then remove the open filter.
Unplug your Gadgeteer from the computer until we are ready to install the USB drivers.
The rest of the steps in the installation are just carried out from your Windows virtual machine.
Visual Studio Express is not a small piece of software; the installer warns you that you will need 2.4GB of disk space. You will also need a little patience.
Open your browser on http://www.tinyclr.com/support. TinyCLR is managed by GHI Electronics, which makes the Fez Starter board.
Click the “Microsoft Visual C# Express 2010” link. Then click the “Install Now” button. The basic version of this software is free (with some license restrictions). You do not need to buy the professional version. You may find that the free express version is not made quite as prominent as the professional version on Microsoft’s website. In time, you may find that you want to upgrade to a paid version to take advantage of its added features, but this is not necessary for the projects in this book.
When the installer runs, you will be prompted to either Run or Save. Select Run.
Note
If you are installing on Windows XP, then you must have at least Service Pack 3 installed.
You may also receive the prompt: “Program Needs your Permission to Continue.” Click Continue.
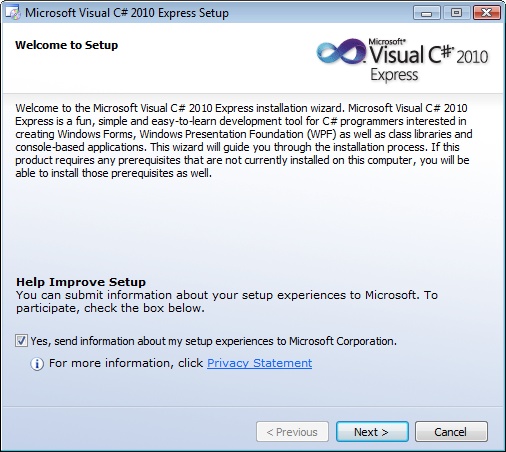
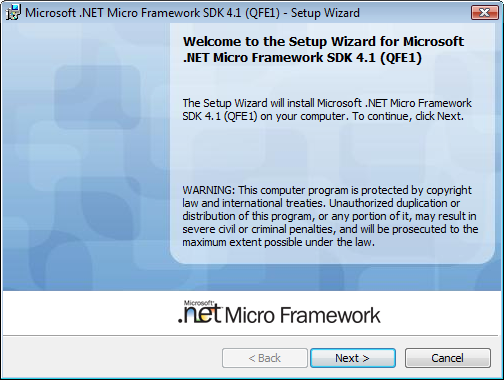
The Welcome to Setup screen will appear (see Figure 1-6). Click “Next” and then accept the license agreement.
If the installer asks you if you want to install Silverlight or SQLServer, you can do so if you want, but neither are necessary for Gadgeteer use.
You can accept the default installation directory, which is C:\Program Files\Microsoft Visual Studio 10.0\. You may have a newer version number on the end than this.
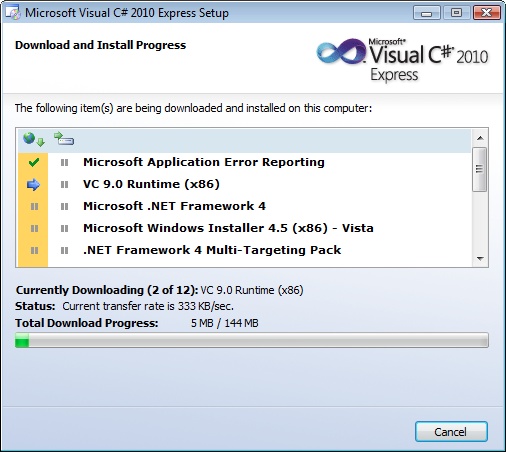
There will then be a delay while all the necessary files are downloaded and installed (see Figure 1-7). This will probably take at least 10 minutes and may be a lot longer depending on the speed of your network and computer.
During the installation, the installer may restart your computer and then continue.
Now we can turn our attention to installing the .NET Micro Framework, which is another Microsoft product. This is the second link on the TinyClr download page labelled “Microsoft .NET Micro Framework 4.1 SDK.”
This will prompt you to Open or Save. Select Open, which will download an executable zip file.
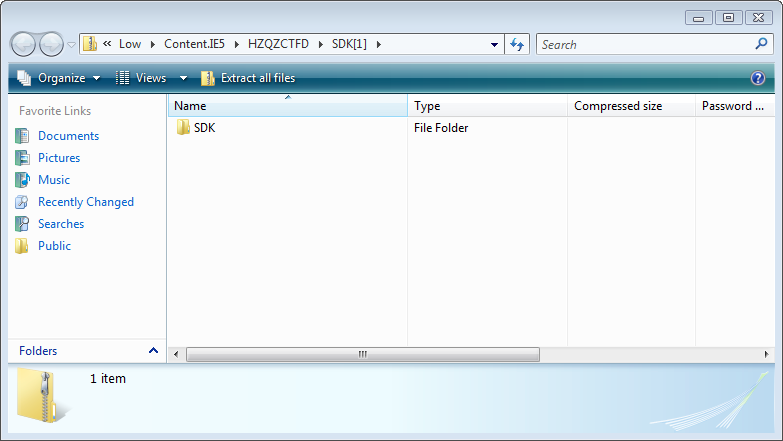
When the zip file opens, extract all the files to the desktop, by clicking Extract All Files (see Figure 1-8).
Inside the extracted folder, open the file MicroFrameworkSDK, which will run the installer (see Figure 1-9).
Accept the license agreement and select the typical install option, which should be the default.
Once the installation is complete, you can delete the zip file and installer from your desktop if you wish.
At the end of the installation, a text file showing the release notes will be displayed. You can just close this.
Open your browser on the TinyClr downloads page again (http://www.tinyclr.com/support/) and look for the link to “Install the .NET Gadgeteer Package.” Click the link to start the download and then select Open as the file download starts.
This will again open a zip file that you should extract onto the desktop.
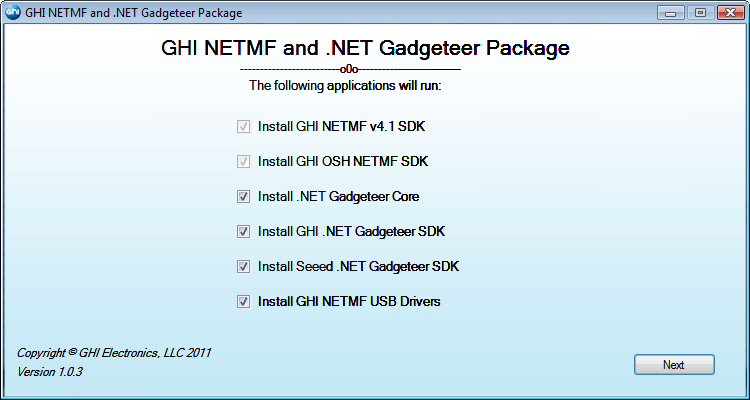
Open the extracted folder and run the “Setup” application (Figure 1-10). This all-in-one installer will not only install the files you need for the Fez Spider from GHI but also the software needed for the .NET Gadgeteer modules provided by the company SeeedStudio. It will also install the USB drivers required by the hardware.
Accept all the defaults of the installers that will each be run automatically in turn. There are six installers in total.
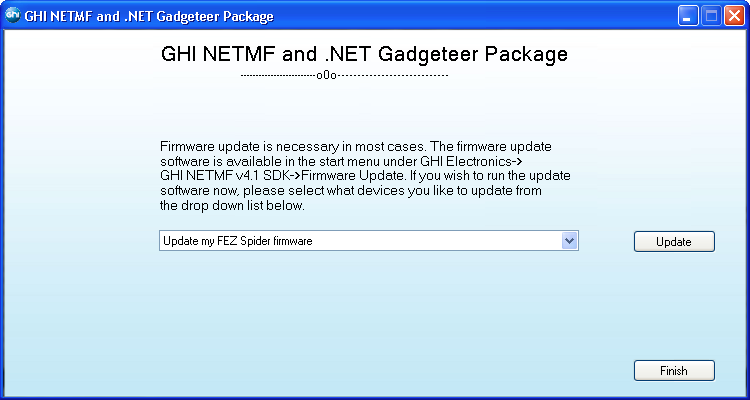
Once the drivers have been installed, you will be prompted to upgrade the firmware of your Mainboard. In its flash memory, the Mainboard has some of the code that is used in a .NET Gadgeteer project. By doing a firmware upgrade, we will ensure that however long the Mainboard has been sitting around before you bought it, you will still have the latest version of the firmware installed. Your board will work without making a firmware upgrade, but you may get unexpected problems as any bug fixes or improvements that have been made since the board was manufactured will not be on the board. So it is worth upgrading the firmware at least for this first installation.
Warning
Take great care upgrading the Firmware and DO NOT unplug the board while an upgrade is in progress.
Figure 1-11 shows the first of the screens for updating the firmware. Select the Mainboard that you have from the list and click Update.
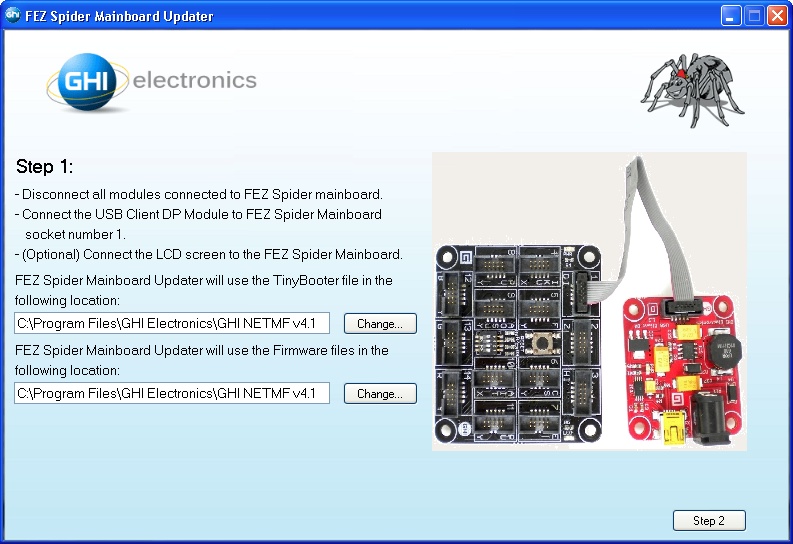
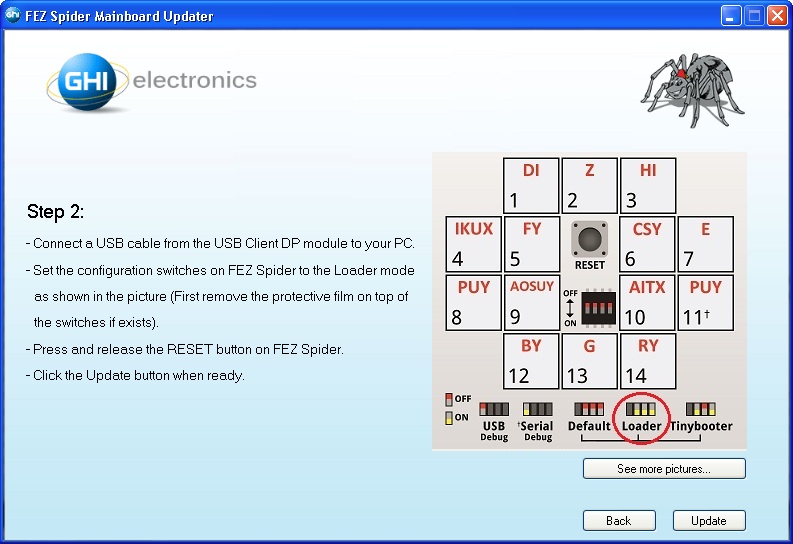
Follow the instructions in Figure 1-12. Unless you changed the installation location when you were running the installer, you can accept the default locations for the files. Click Step 2.
The final step involves moving the tiny little switches on your Mainboard as shown in Figure 1-13. This is best done with a small screwdriver. The left-most switch can stay in the up position.
Once the firmware has been updated, remember to unplug the board and move all the switches back to their original positions.
We are now ready to make sure everything is installed correctly by running the traditional “Hello World” project.
Get Getting Started with .NET Gadgeteer now with the O’Reilly learning platform.
O’Reilly members experience books, live events, courses curated by job role, and more from O’Reilly and nearly 200 top publishers.
