In SketchUp world, you can apply color or materials to the faces of your 3-D objects. SketchUp materials are patterns that simulate the look of real-world materials such as concrete or wood, giving your models a more realistic appearance. Since none of the faces in your bench component have been painted with a color or material, you can paint the entire bench at once by dragging a color or material from the Materials window (Window → Materials) onto the component. However, in this exercise, you paint the different components individually to get a feeling for the way nested components work. You'll see how you can open components for editing by double-clicking them or by using the Outliner window.
Here are the steps to apply a cherry wood material to the bench leg components.
With the Select tool (space bar), double-click the bench.
A marquee box appears around the bench to show that you are editing a component. With one click you can select either the bench seat or the leg assembly. Remember, the bench legs and support are part of a component called the Leg Assembly.
Right-click (Control-click) the Leg Assembly and choose Edit Component.
The Edit Component command opens the Leg Assembly for editing. That means you can select the individual parts inside the component—in this case the bench legs and support. These parts are also components that group their individual edges and faces. A dotted bounding box appears around the component that's open for editing. Objects that are outside of the component appear faded out.
Double-click one of the legs.
Double-clicking a component is the same as choosing the Edit Component command above; it opens the Bench Leg component, so you can edit the individual edges and faces. At this level, clicking selects a single edge or face.
Triple-click the leg to select all of its edges and faces.
You want to apply the cherry wood material to all the visible faces of the Bench Leg.
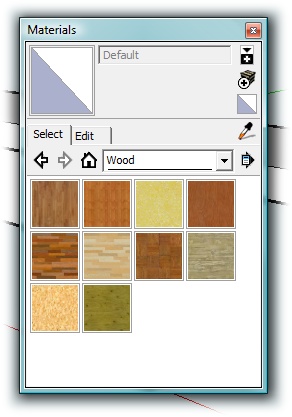
Open the Materials window (Figure 1-31) by choosing Window → Materials.
The Materials window opens, showing a square of material in the upper-left corner. Below are two tabs: Select, where you choose materials to apply, and Edit, where you can create your own custom materials.
Click the Select tab, and then choose Wood from the drop-down menu.
You see a palette of wood samples. Hold your cursor over a sample, and a tooltip appears showing the sample's name.
Click a sample you want to use for your bench.
The Wood_Cherry_Original material is a good choice for outdoor furniture. After you select a material, your cursor becomes a paint bucket when it's in the drawing area.
Click the selected bench leg.
SketchUp "paints" your bench leg with the material. Best of all, you have no messy brushes to clean up. In fact SketchUp paints both legs with the material, since the legs are both instances of the Bench Leg component. When you edit the component, it automatically changes every instance of the component.
Press Esc three times.
The first time you press Esc, you close the Bench Leg component. Press it one more time, and you close the Leg Assembly component. With a third Esc, you close the Bench component and you're back where you started. Both your bench legs have the material you applied.
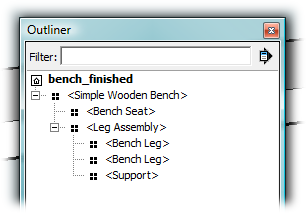
There's another way to select components and apply materials. You can use the Outliner—the same tool you used to hide and show components. Choose Windows → Outliner to open the Outliner window (Figure 1-32). Just like the outline you write for a thesis, the Outliner shows which parts and components belong to larger components.
From the Outliner window, you can select a component like Support by clicking its name. Triple-click Support and you drill-down through the Bench and Leg Assembly components and open the Support component, selecting all the edges and faces, ready for editing. That's a lot of action for a single click. You simply click your material in the Materials window and then click the support. To finish, also use the Outliner to apply a material to the Bench Seat component.
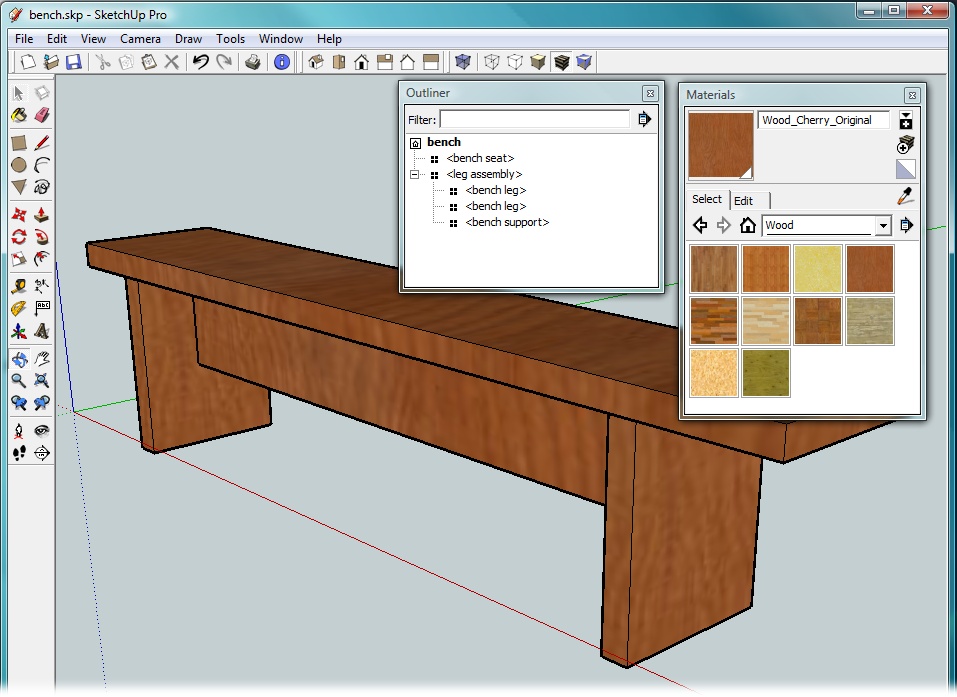
Now that your bench is complete (Figure 1-33), it's a good idea to save it (File → Save). If you want to keep your finished bench separate from other exercise files, use File → Save As and give it a unique name.
Get Google SketchUp: The Missing Manual now with the O’Reilly learning platform.
O’Reilly members experience books, live events, courses curated by job role, and more from O’Reilly and nearly 200 top publishers.


