The iPhone changed everything.
When Steve Jobs said that’s what would happen at the unveiling of the iPhone, people were skeptical. Six years later, iPhones and iPads are being used in business and medicine as enterprise devices, and the App Store is a platform for every developer to use, from one-man shows to big-name companies. Apple provides the software and we’ll help you with the knowledge—we’re sure you’ve got the enthusiasm covered.
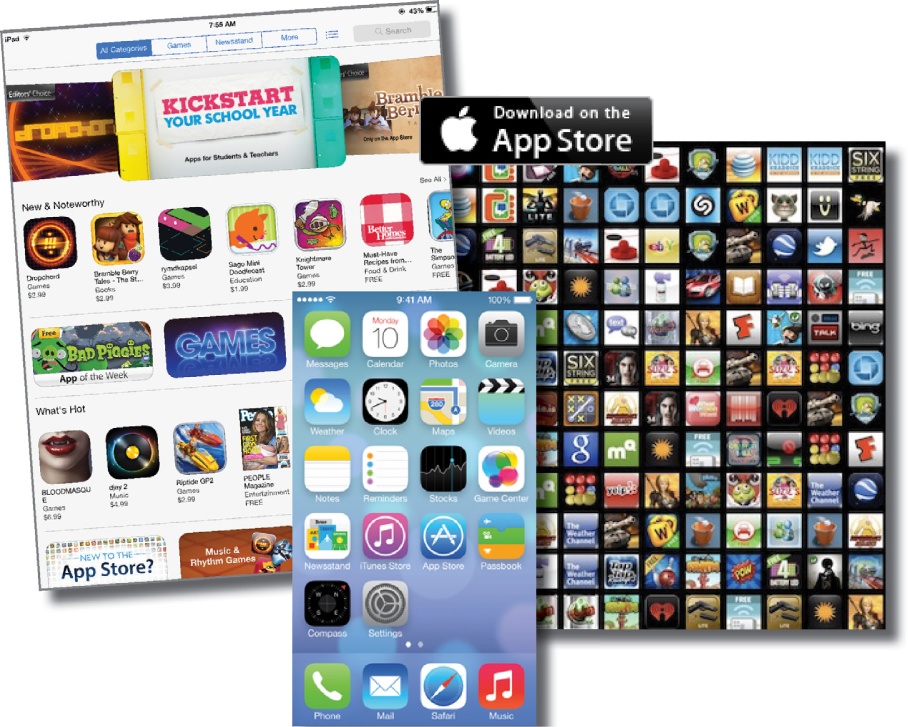
Mobile development used to be the hip new thing: you were trendy—edgy, even—if you had a mobile app. Those days are gone. Mobile development is everywhere. There are already over 500 million iOS devices out there. By writing an iOS app, you have access to millions of potential users (demanding users, but users all the same).
Back at the beginning of mobile development you could get away with a flashlight application or an app that made noises at the push of a button. Users expect more now. They expect high-resolution graphics that support multiple device orientations, and fast, reliable apps that handle coming in and out of train tunnels without batting an eyelash. Here’s the good news, though: jump into this book, work through the exercises, write some code, and you can have your moment of glory on the iTunes App Store right next to names like EA Games and Apple itself!
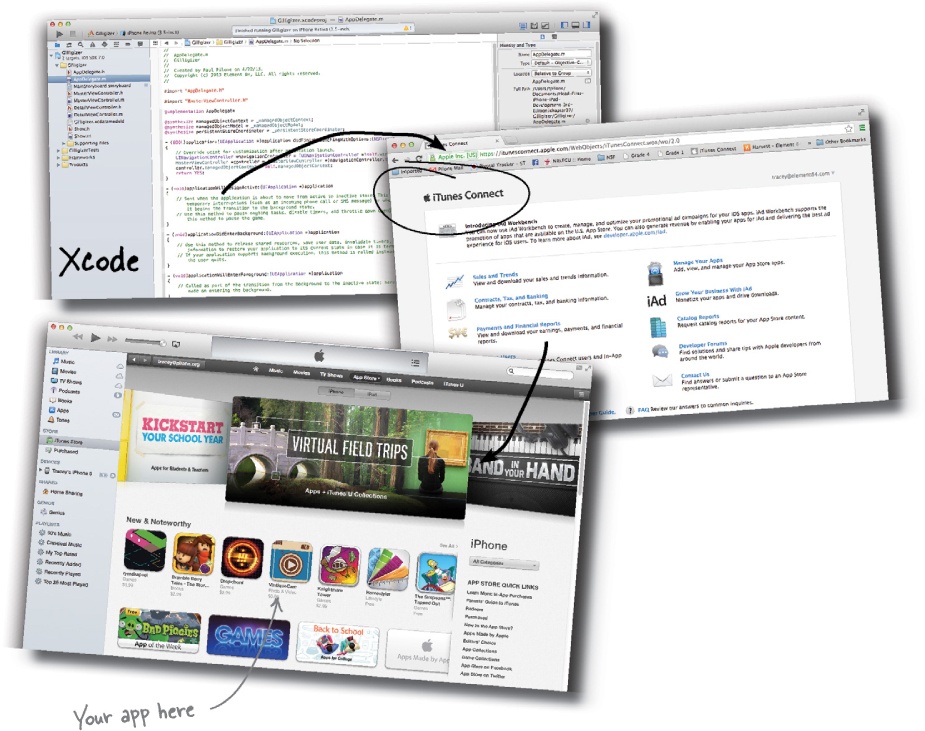
You probably know this already, but Apple does things a certain way. iTunes, the storefront for apps, was the first of its kind. To get on the App Store, you need to write your app using Xcode on a Mac, then submit it using iTunes Connect (the portal for submitting and tracking iOS apps) then have it approved by Apple reviewers in California, and then it will appear on the App Store.
There is a lot going on to develop an iOS app, but it all fits together. Let’s start with writing the app...
You’ve developed in other languages before, so most of the concepts we’ll be dealing with here won’t be new. Objective-C is a C-based, object-oriented language. The good news is that the concepts aren’t new. The bad news is that the syntax may be confusing because it’s somewhat similar to something you’ve already used. It’s probably going to break your brain a little. But that’s OK—you’ll get over it.
It’s like Java. | |
Object-oriented, with its roots in Smalltalk. | |
The syntax is familiar. | |
Since it’s a C-based language, all the syntax is the same as that in C for loops, types, pointers, etc. It comes from a long line of Apple heritage, starting with NeXTStep, which led to OpenStep, and finally CocoaTouch. | |
It uses CocoaTouch frameworks. | |
If you’ve worked with Mac programming, you already know all about Objective-C, but there’s still a lot of iOS-specific things that you need to learn. | |
Memory management can be automatic. | |
With iOS5, Apple finally introduced some automatic memory mangement tools, like in Java, called automatic reference counting (ARC). That means no more counting references to prevent memory leaks. |
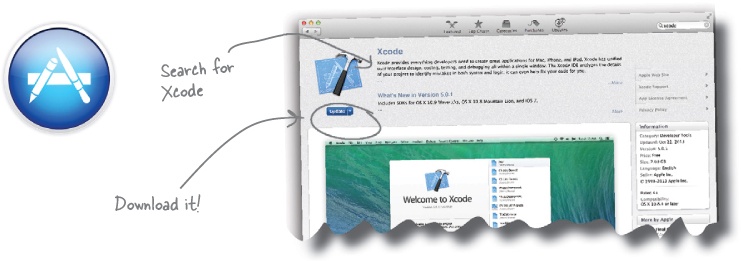
To write in Objective-C, you’ll need Xcode and a Mac. The development tools are free and easy to get your hands on. Just head over to the Mac App Store and search for Xcode. We wrote this book with Xcode 5.0.
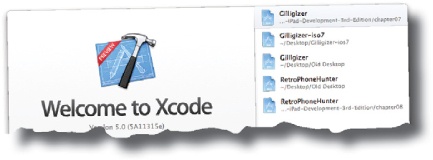
Once Xcode is downloaded, it’ll be dropped into your Applications folder. Xcode is actually a package with a ton of applications, including the compilers, bundled up together. We’ll dig into more of what else comes with the Xcode download later, but for now just fire it up. You can get to it by browsing to your Applications folder in Finder or by using Spotlight.
Once you have Xcode up and running for the first time, take a second to add it to your dock. You’ll be using it throughout this book. Just right-click (Ctrl-click) on the Xcode icon, select “Options” and then “Keep in Dock.”
You’ve just started working at a new iOS development shop and you need to clean up a Twitter app that’s almost finished. We’ll make sure you know what you need to know to pull it off, but this is your chance to shine.
Xcode is the development environment for writing iOS apps. GitHub is an online repository (using Git) for software projects. Together, they can make life easier for development teams. You’re working by yourself on this project, but you’re using code from the rest of the team. You don’t need a GitHub account for this, but if you have one, feel free to fork the code and use it.
Don’t create a new project—we have one in progress.
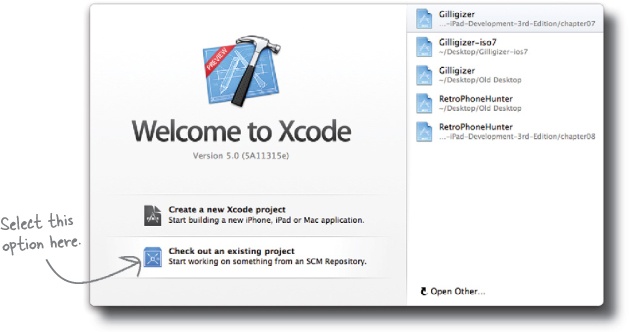
Xcode’s welcome screen gives you the option to start your own project or connect to an existing one. In this case, we’ll select “Check out an existing project.”
Clone the repository.
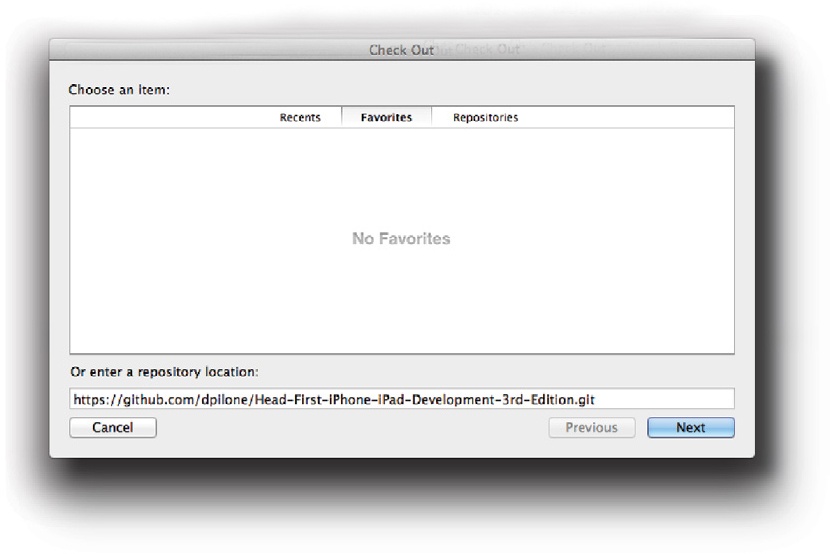
Next, you need to tell Xcode where to get the code. The URL is https://github.com/dpilone/Head-First-iPhone-iPad-Development-3rd-Edition.git. Once you’ve entered the URL into the repository location box, click Next.
Here there are options.
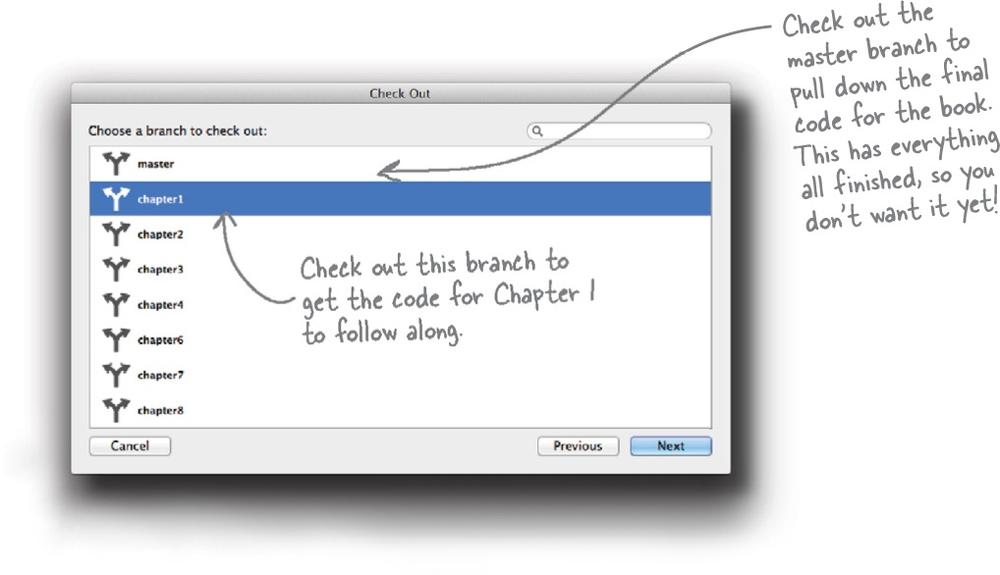
We have the code for the book set up so that you can pull either the sample code you need for each chapter or the completed code for the book. To get the code for the chapter, you need to check out the branch for the chapter, (in this case, Chapter 1).
Pick your project.
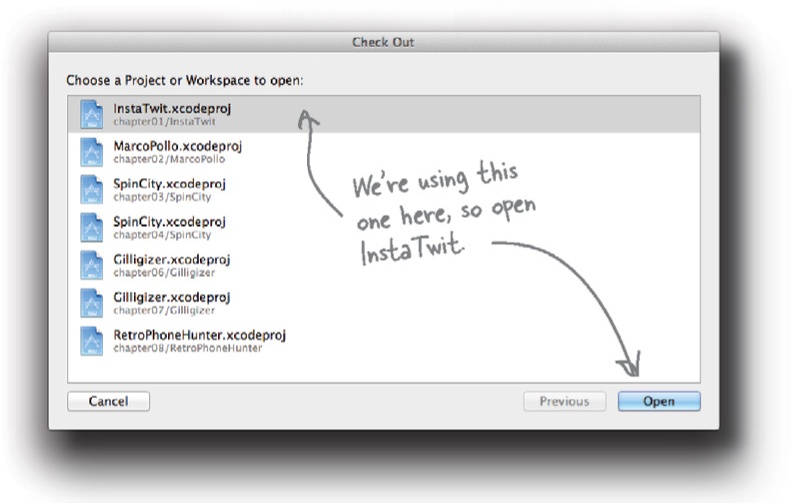
This branch contains several different projects, but for now you need only Chapter 1’s project, InstaTwit. Select that project and click Open.
Lots of projects, private and open source, use GitHub as their online repository.
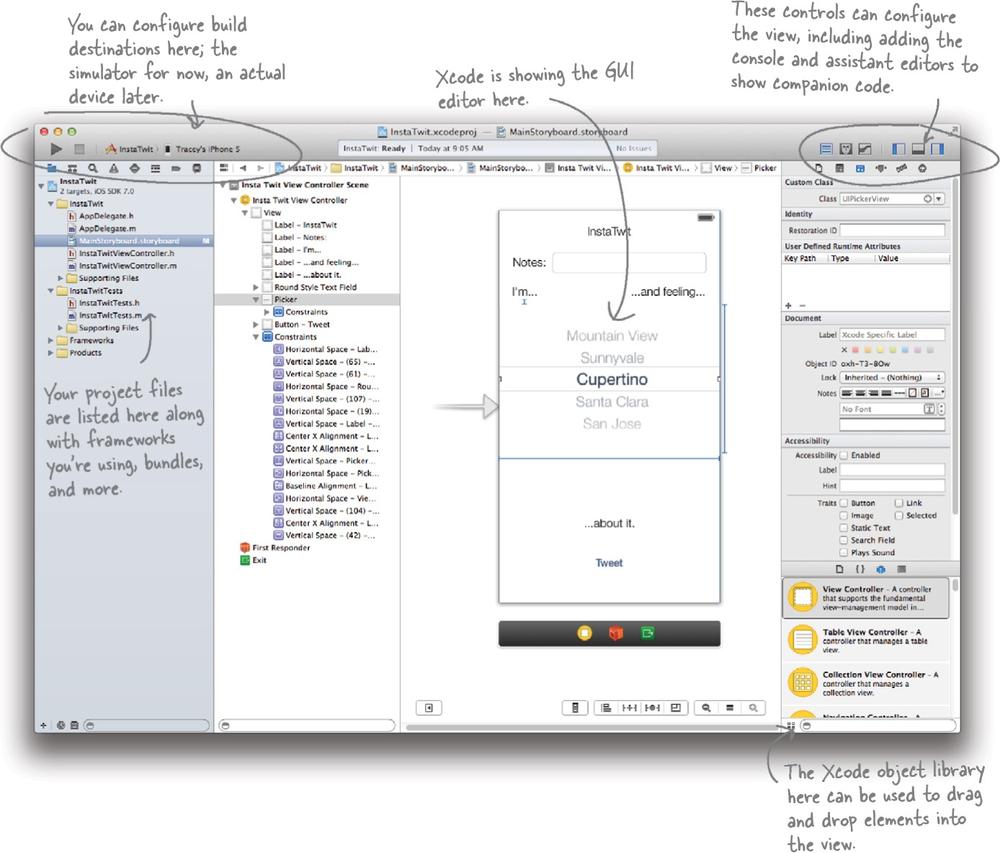
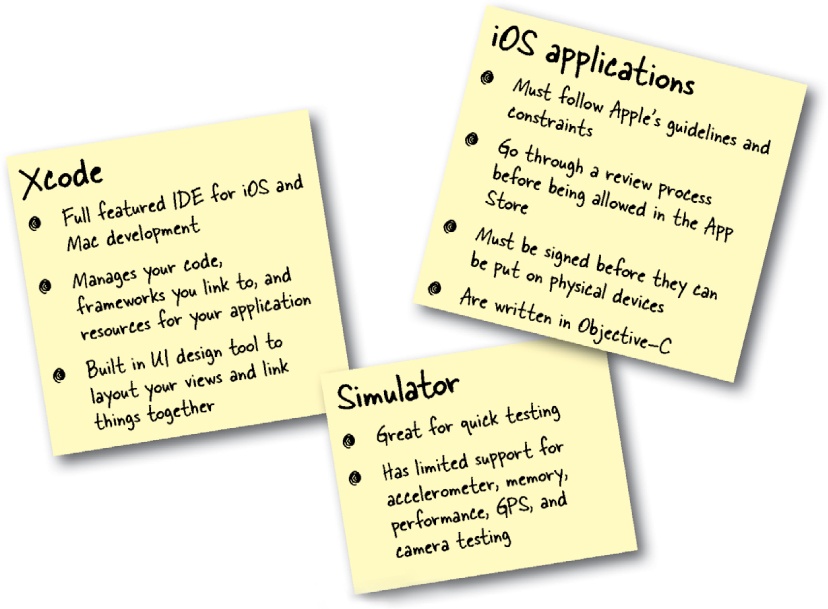
Xcode is a full featured integrated development environment (IDE). You use Xcode to edit code and user interfaces (UIs) as well as to look up documentation. There’s a full featured debugger, compiler, contextual editing support for code implementation, static code analyzer, code quality suggestions and warnings, and full version control support using Git or Subversion.
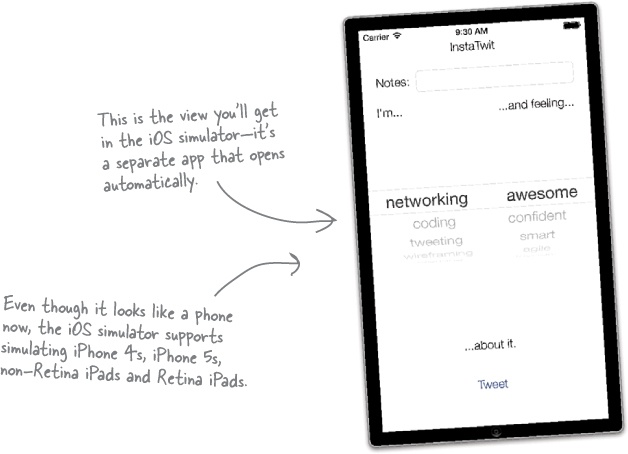
The simulator will launch automatically when you build and run the app for the first time. The simulator supports basic interactions besides just tapping on the screen, including rotating views, taking screenshots for app submission, and shaking the device for accelerometer support.
Xcode just did some major heavy lifting.
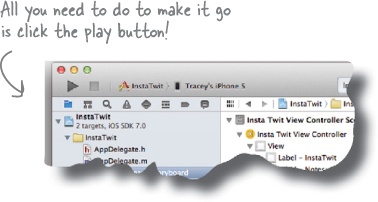
Even though Xcode makes it look like a simple play button a lot just happened. Even though we didn’t write any new code, you have a fully working project in front of you with a good bit of code. Xcode compiled, linked, processed, packaged, installed, and ran your app when you hit that button. Let’s take a closer look...
Sometimes search is your best friend.
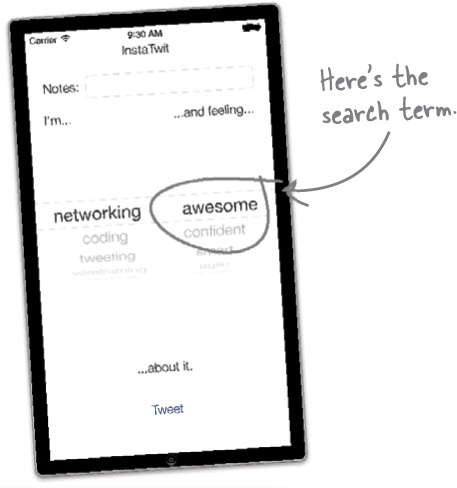
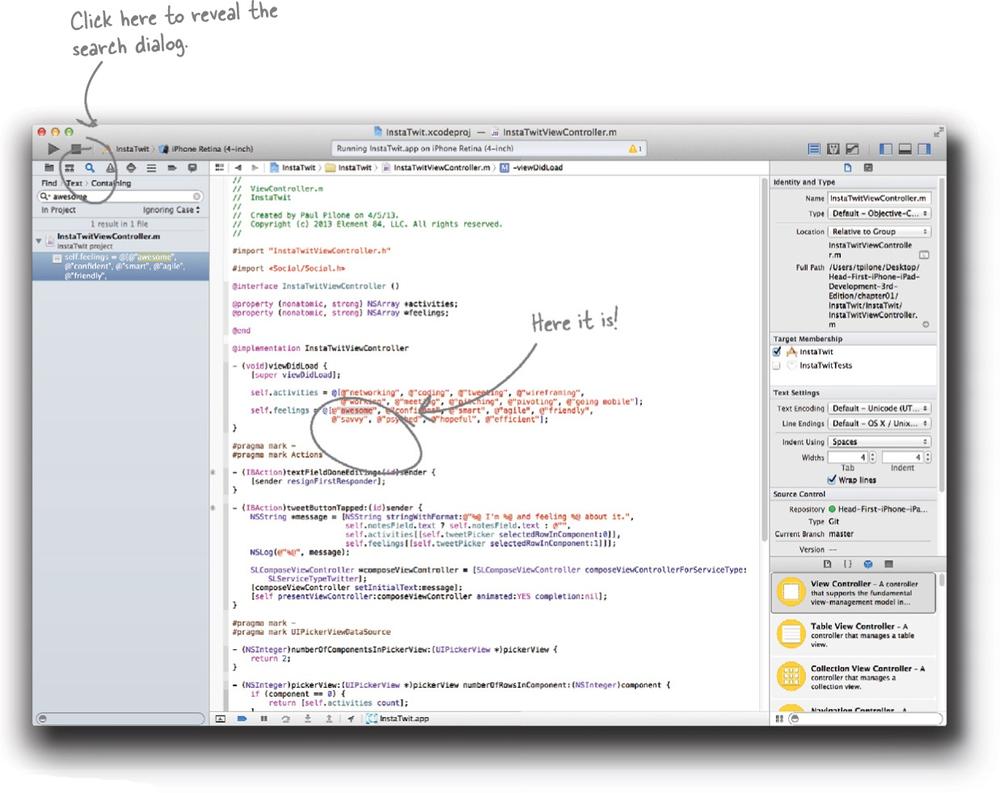
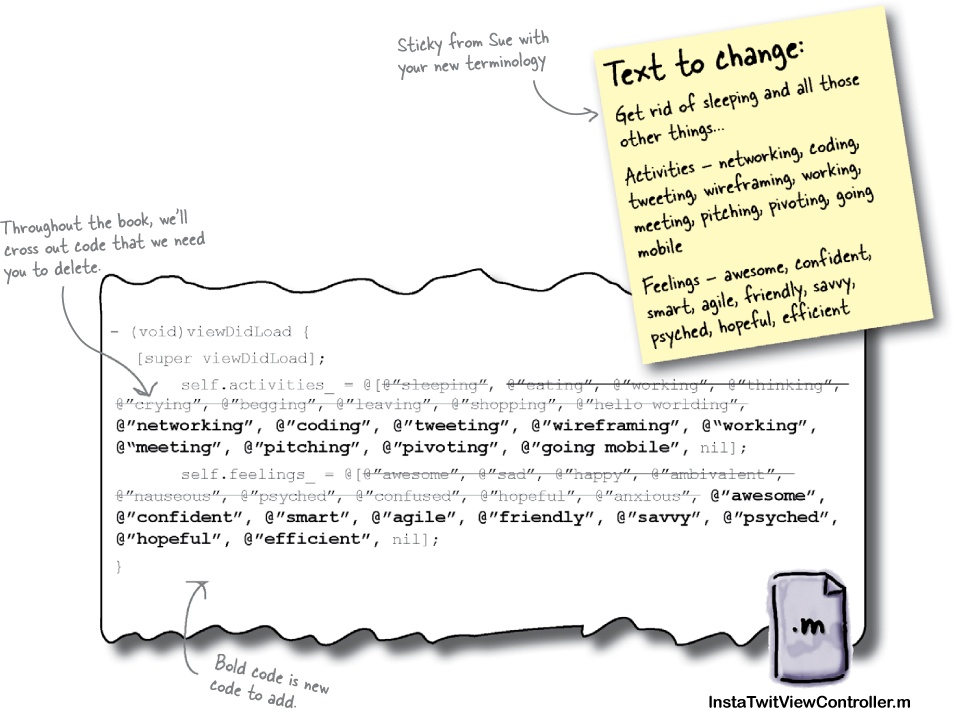
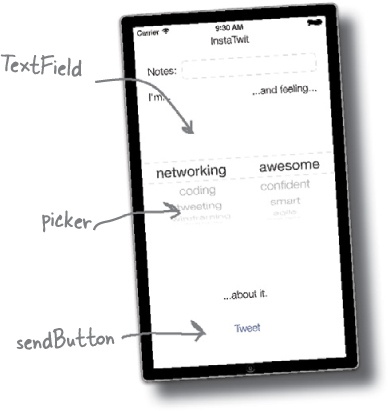
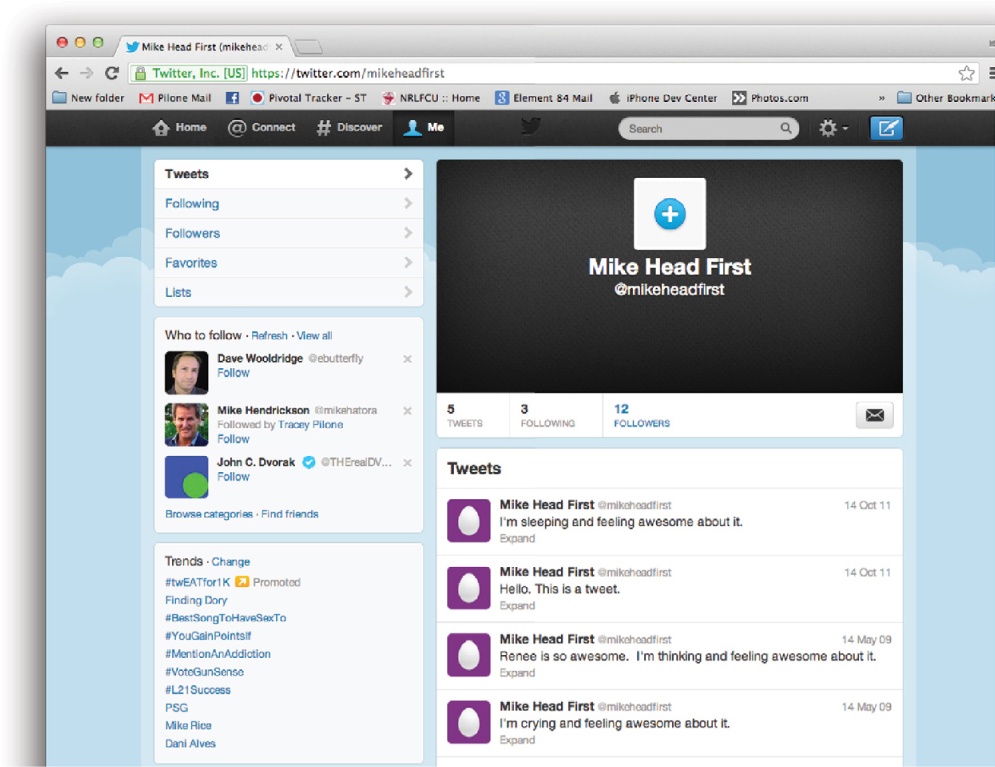
It’s a minor change (we’re changing static content that’s hardcoded into the app). Let’s just be real: the easiest way to figure out where the code for that text lives is to use search. Since “awesome” is one of the labels, search for that.
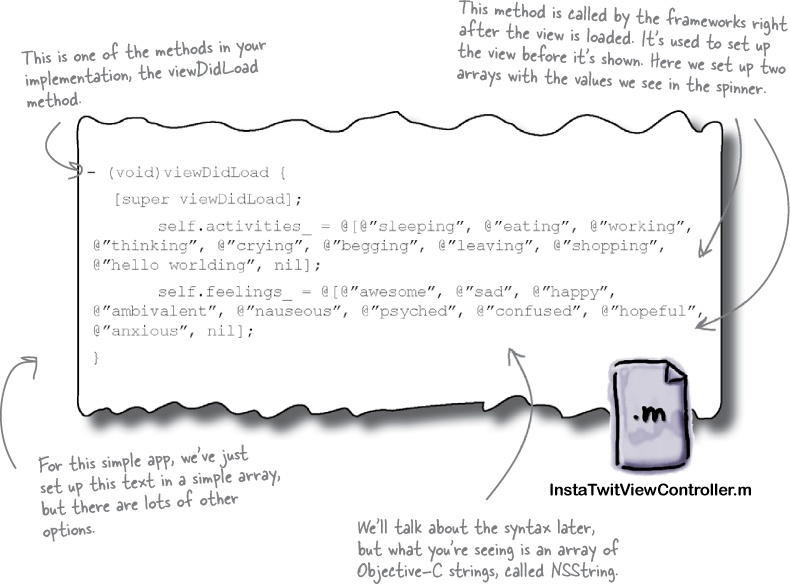
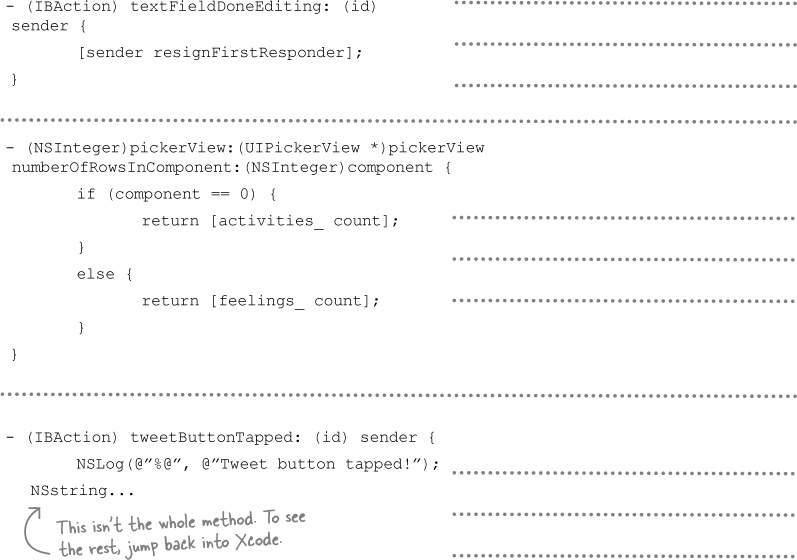
The actual code for the application is broken up into classes and each class is made up of two files, a header (.h) file and an implementation (.m) file. The header file (.h) is the public API to the class, whereas the implementation file (.m) has all the meat. Our problem has to do with the data our app is showing, not some issue with a class’s API.
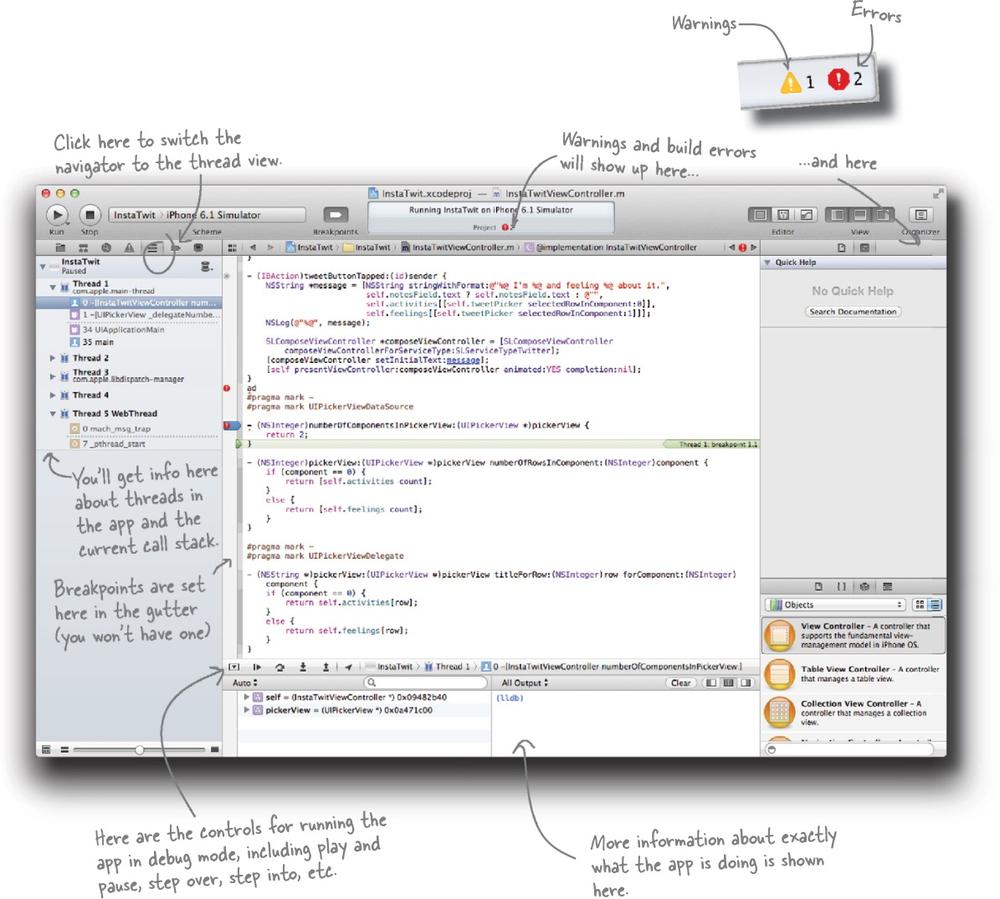
Unless you are the most perfect typist and you’ve not been paying attention when your code is incomplete, you’ve probably noticed the warnings and errors coming in and out of the editor. Xcode tries to keep up while you write code and provides you inline warnings and errors before you build anything.
Once you get your code running, Xcode also has a full debugger to help you figure out what’s going on. You can set breakpoints by clicking in the gutters, set watches on variables, and, once things hit one of your breakpoints, inspect variable values and step through code.
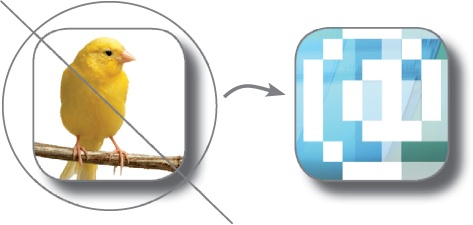
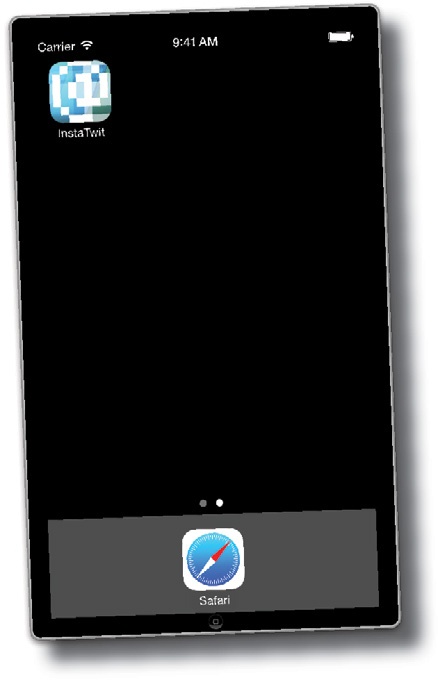
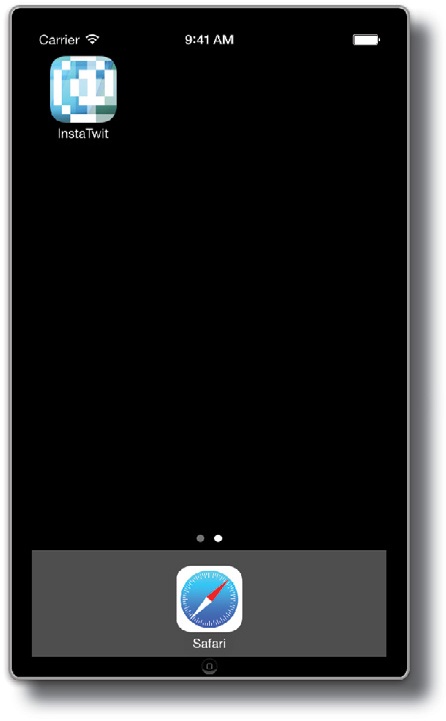
It was kinda lame, really just a boring bird, (since it’s Twitter). To be more startup/tech friendly, marketing has this new retro 8-bit looking @.
Changing the app icon is easy with Xcode
Xcode treats graphics as application resources. Every app has some resources associated with it (even this one), varying from icons all the way up to high-res images and embedded video.
Xcode helps you organize all your images (you can view most image types), and then packages and preprocesses the images for use within the application.
Note
OK, not yet, but we heard from a guy who has a friend who knows this woman who says that Apple is working on glow-in-the-dark ones...
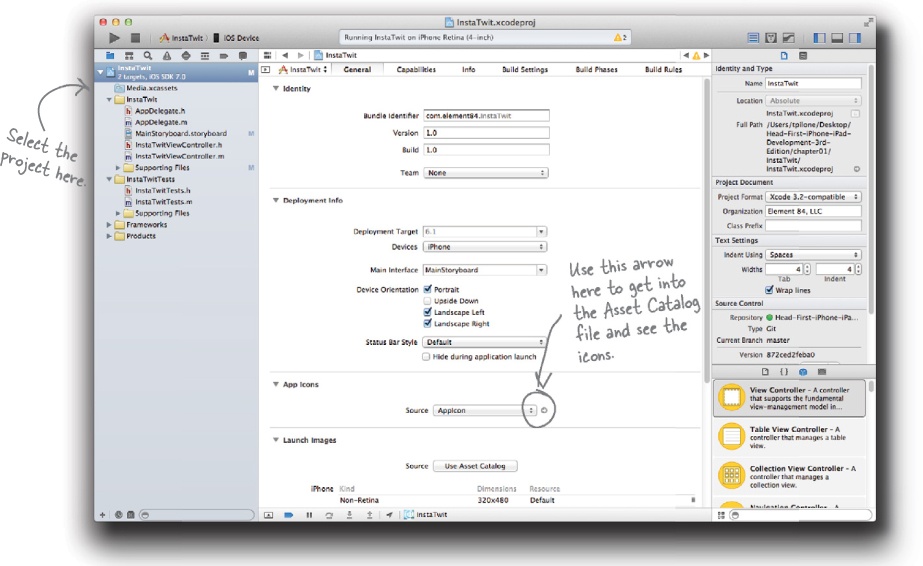
In Xcode, click on the main project name and bring up the summary page. This page is a high-level overview of your app including deployment info, some images, and version numbers. It also allows you access to the Asset Catalog for the app.
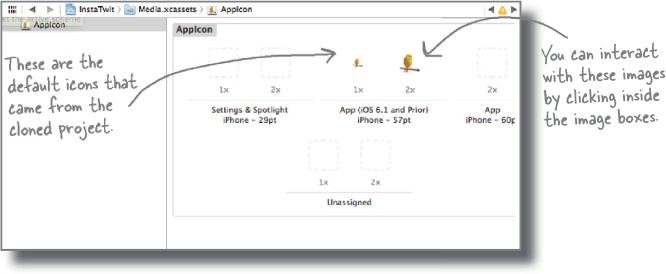
Asset catalogs are specialized files that help you keep all the images straight for your app. This page lets you use a nice graphic interface to organize the icons. You’ll see similar interfaces for the launch images and other graphics.
Absolutely! We’ll be dealing with device capabilities as we go.
Different devices and different generations of the same device have different capabilities. iOS generally does a good job of hiding these things from you. For example, when you lay out your user interface, iOS will automatically draw it at the higher resolution on a Retina display. There are some parts you need to know about, though, such as different icon sizes, whether or not the device has a camera, etc. We’ll point them out as we go.
You can. Just pay $99 to Apple.
Seriously. To get an app on a device, there are some security things that need to be taken care of, certificates and profiles that need to be set up. To get access to those signing mechanisms, you have to be a registered and paid Apple iOS developer. To find out more information about the program, head over to http://www.apple.com/iosdeveloper.
For the purposes of this book, we’re going to stay in the simulator, so you won’t need to buy the program to keep up here.
Want more? Check out the Developer Site!
Great job!
You got your feet wet with Xcode and started navigating around the Apple Developer universe. Using the standard controls and Xcode, you can get some pretty good apps going fairly quickly. There’s nothing like seeing people actually using your app...we’re just getting warmed up.
You’ve got Chapter 1 under your belt and now you’ve added some basics to your toolbox.
Get Head First iPhone and iPad Development, 3rd Edition now with the O’Reilly learning platform.
O’Reilly members experience books, live events, courses curated by job role, and more from O’Reilly and nearly 200 top publishers.

