Seeing the Results of the Join
____ 13. Using the Identify cursor, click a point in the map display. Notice that you get information not only about that point but the associated student information as well.
____ 14. From the T/C, open the attribute table of Coordinates.txt Events. Notice that all the information has been put together. Notice that, for a given record, Comp_ID and St_ID are the same.
If you now removed Coordinates.txt Events from ArcMap, or closed ArcMap (don’t do either!), the joined data would no longer be part of the table, should you ask for it again. There are two ways to make the join permanent. The first is to save it as a layer file. The second is to export it as feature class or shapefile). Do both in the steps that follow.
____ 15. Right-click Coordinates.txt Events and choose Save As Layer File. Navigate to the Student_Data_Collection folder. See Figure 5-17. In the Save Layer window, click Save.
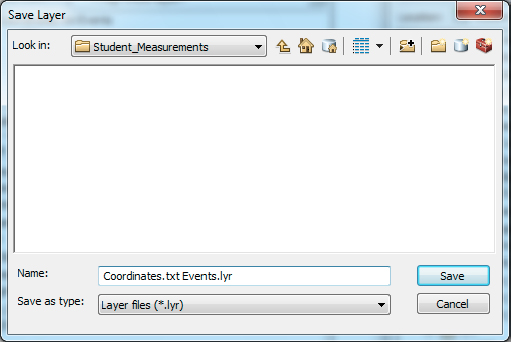
FIGURE 5-17 Save Layer window
____ 16. Right-click Coordinates.txt Events and choose Data > Export Data, which you should put, as a Shapefile, into the Student_Data_Collection folder. See Figure 5-18. Click OK. Do not add the exported data to the map.
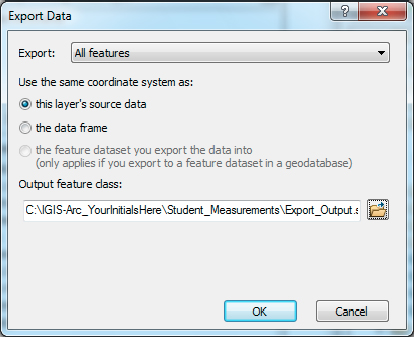
FIGURE 5-18 Export Data window
____ 17. Ask for a new blank map. To see the first method of saving ...
Get Introducing Geographic Information Systems with ArcGIS: A Workbook Approach to Learning GIS, 3rd Edition now with the O’Reilly learning platform.
O’Reilly members experience books, live events, courses curated by job role, and more from O’Reilly and nearly 200 top publishers.

