You want to start designing a user interface for your iOS apps but don’t want to waste time coding.
Interface Builder, or IB, is integrated into Xcode as a tool for creating a user interface for your Mac and iOS apps. IB manipulates .xib files, which are sometimes called nib files to reflect the file extension they had in past Apple products. A nib file is basically the compiled (binary) version of an XIB file which itself is an XML file that is managed by IB. XIB files are in XML format to make them easier to use with version control systems and text-based tools.
Let’s go ahead and start using IB. To do this, first create an iOS App using the Single View Application iOS Project template in Xcode. Follow the instructions in Recipe 1.1, but instead of Page-Based Application template (Figure 1-1), use the Single View Application template and follow it to the last dialog to save your project to disk. I’ve named the project Understanding Interface Builder.
Note
Make sure your app is a Universal app, as shown in Figure 1-2.
After your project is created, the first thing you need to do is make sure it is going to run on iPhone Simulator, as shown in Figure 1-6.
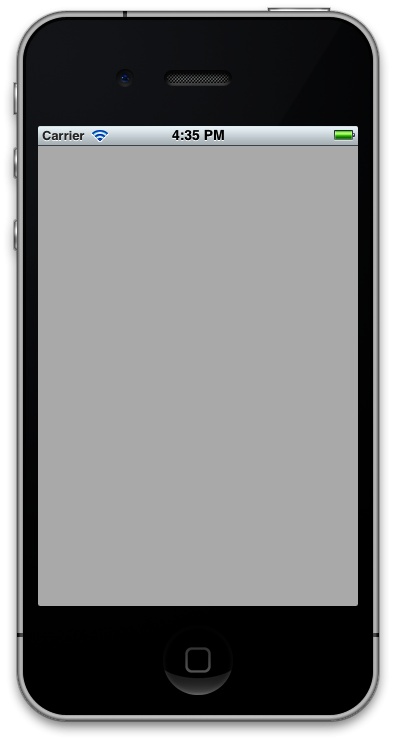
Now press Command+Shift+R to run your application. You will then see the iOS Simulator showing your empty application, as shown in Figure 1-7.
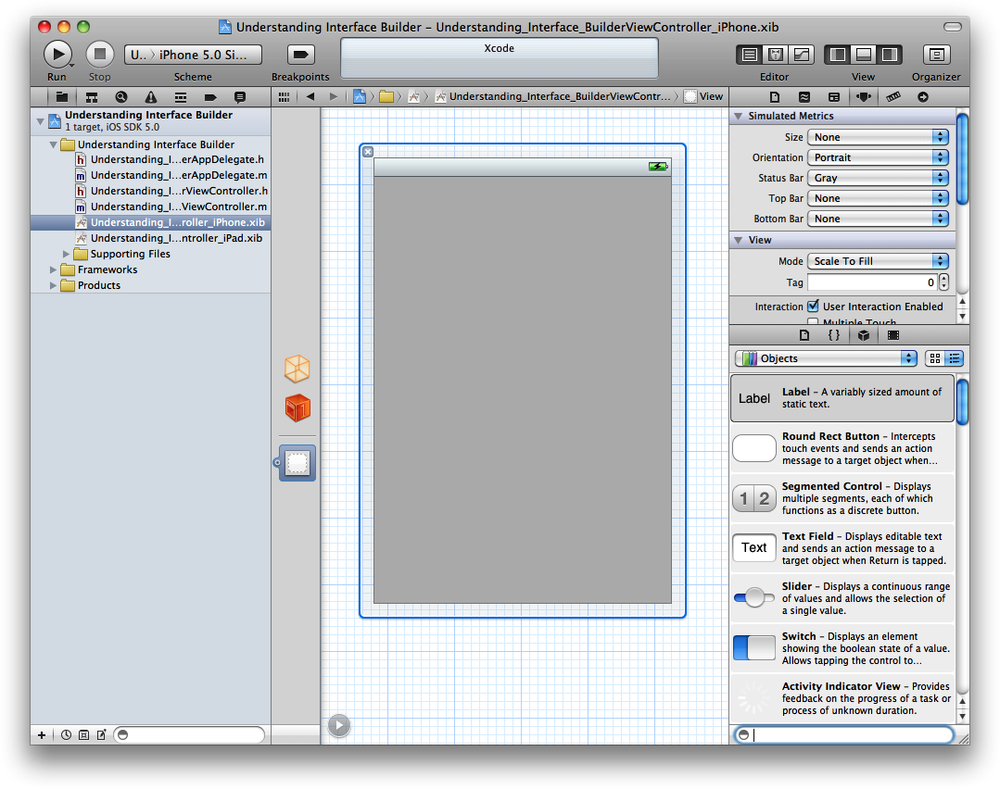
Now find the file Understanding_Interface_BuilderViewController_iPhone.xib in your project and click on it. Interface Builder will open up within Xcode and will display your user interface to you. Now that you have IB open, select from Xcode menus the View option, and then Utilities, and finally select Show Object Library (Figure 1-8).
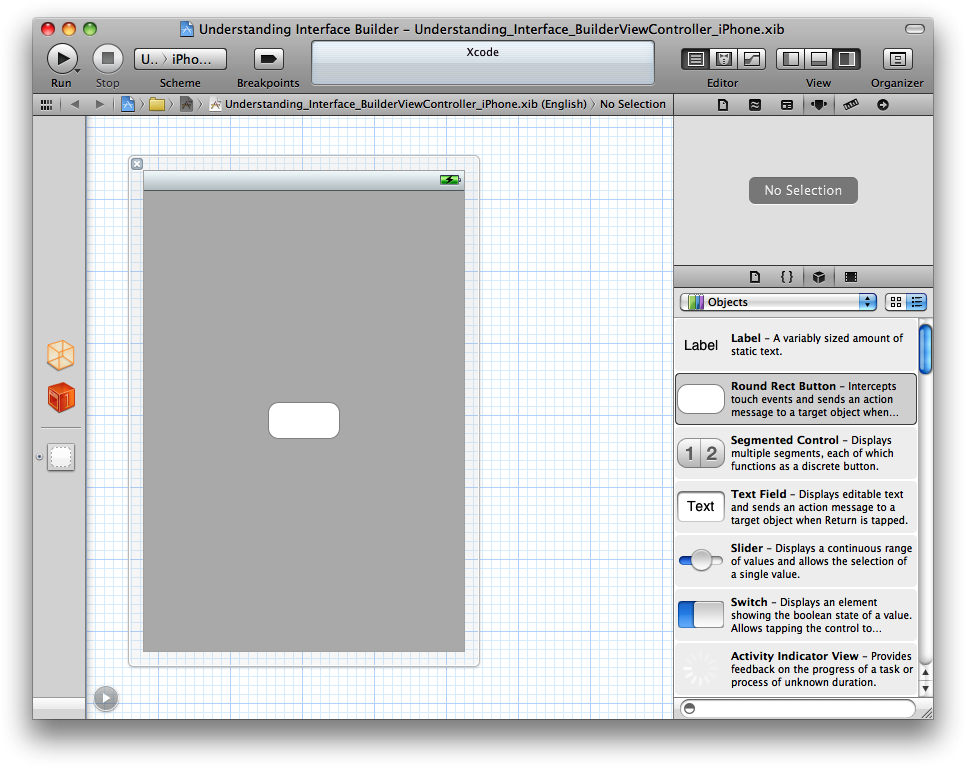
Now if you have a look at the Object Library, you can see that you have plenty of choice as to what you want to put on your interface. This includes buttons, on/off switches, progress bars, table views, etc. For now, drag and drop a button on your user interface. It’s as simple as that (Figure 1-9).
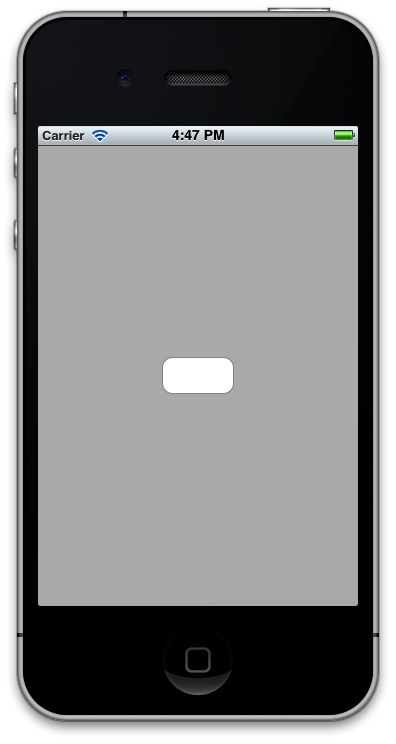
Right after this, from the Xcode menus, select File and then Save to make sure your Understanding_Interface_BuilderViewController_iPhone.xib is saved. Then go ahead and run your app on iOS Simulator (Figure 1-10).
You might be surprised, but for now that is all that we need to know about Interface Builder.
Get iOS 6 Programming Cookbook now with the O’Reilly learning platform.
O’Reilly members experience books, live events, courses curated by job role, and more from O’Reilly and nearly 200 top publishers.


