2.6. Implementing Range Pickers with UISlider
Problem
You would like to allow your users to specify a value within a range, using an easy-to-use and intuitive UI.
Solution
Use the UISlider class.
Discussion
You’ve certainly seen sliders before. Figure 2-20 shows an example.
To create a slider, instantiate an object of type UISlider. Let’s dive right in and create a
slider and place it on our view controller’s view. We’ll start with our
view controller’s header file:
#import <UIKit/UIKit.h>@interfaceImplementing_Range_Pickers_with_UISliderViewController:UIViewController@property(nonatomic,strong)UISlider*mySlider;@end
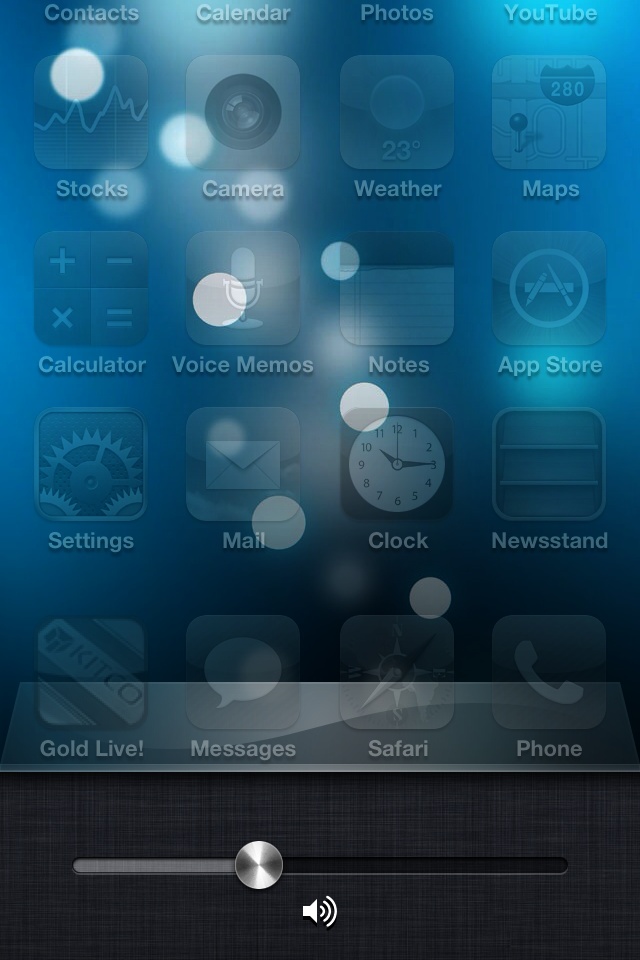
Figure 2-20. The volume slider at the bottom of the screen
And now let’s go to the viewDidLoad method and create our slider
component. In this code, we are going to give our slider a range between
0 to 100 and set its default position to be halfway between start and
end.
Note
The range of a slider has nothing to do with its
appearance. We use the range specifiers of a slider to tell the slider
to calculate its value based on the relative position within the
range. For instance, if the range of a slider is provided as 0 to 100,
when the knob on the slider is on the leftmost part, the value property of the slider is 0, and if
the knob is to the rightmost side of the slider, the value property would be 100.
-(void)viewDidLoad{[superviewDidLoad];self.view.backgroundColor ...
Get iOS 6 Programming Cookbook now with the O’Reilly learning platform.
O’Reilly members experience books, live events, courses curated by job role, and more from O’Reilly and nearly 200 top publishers.

