You want to display text to your users. You would also like to control the text’s font and color.
Note
Static text is text that is not directly changeable by the user at runtime.
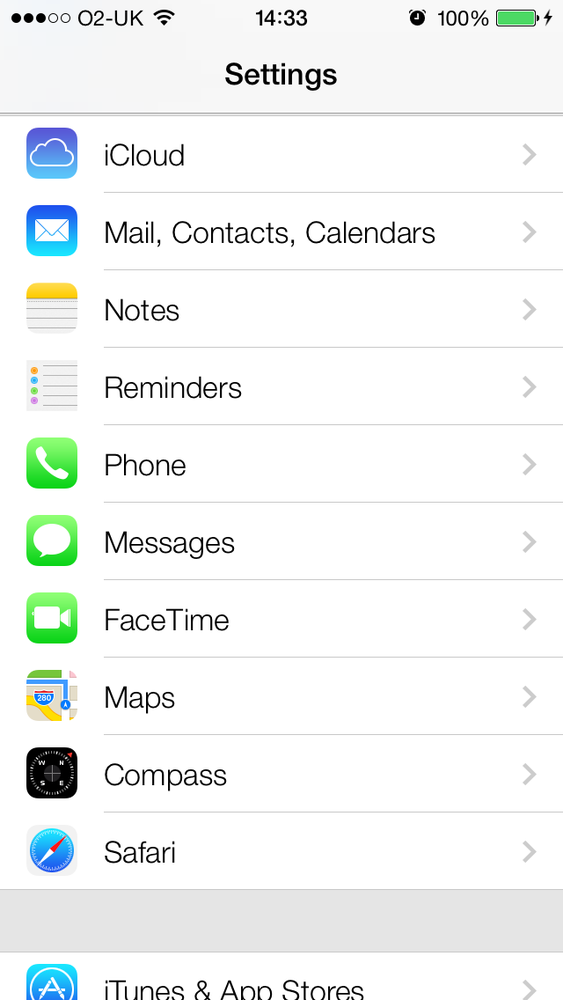
Labels are everywhere in iOS. You can see them in practically every application, except for games, where the content is usually rendered with OpenGL ES instead of the core drawing frameworks in iOS. Figure 1-45 shows several labels in the Settings app on the iPhone.
You can see that the labels are displaying text in the Settings app, such as “iCloud,” “Phone,” “FaceTime,” “Safari,” etc.
To create a label, instantiate an object of type UILabel. Setting or getting the text of a
label can be done through its text
property. So let’s first define a label in our view controller’s
implementation file:
#import "ViewController.h"@interfaceViewController()@property(nonatomic,strong)UILabel*myLabel;@end@implementationViewController...
Now in the viewDidLoad
method, instantiate the label and tell the runtime where the label has
to be positioned (through its frame property) on the view to which it
will be added (in this case, our view controller’s view):
-(void)viewDidLoad{[superviewDidLoad];CGRectlabelFrame=CGRectMake(0.0f,0.0f,100.0f,23.0f);self.myLabel=[[UILabelalloc]initWithFrame:labelFrame];self.myLabel.text=@"iOS 7 Programming Cookbook";self.myLabel.font=[UIFontboldSystemFontOfSize:14.0f];self.myLabel.center=self.view.center;[self.viewaddSubview:self.myLabel];}
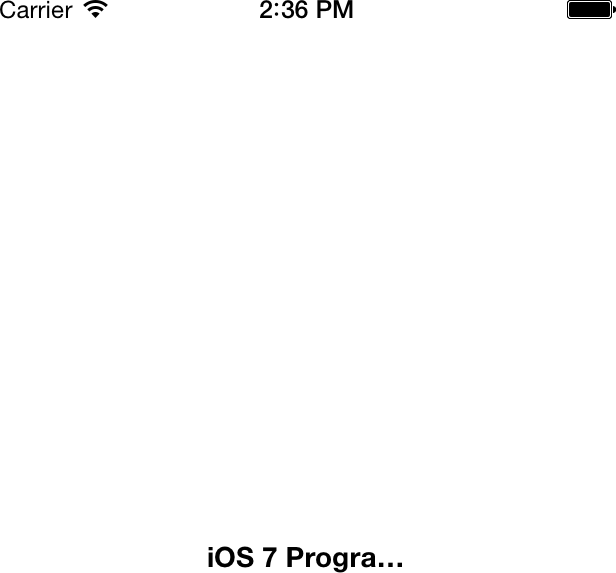
Now let’s run our app and see what happens (see Figure 1-46).
You can see that the contents of the label are truncated, with a
trailing ellipsis, because the width of the label isn’t enough to
contain the whole contents. One solution would be to make the width
longer, but how about the height? What if we wanted the text to wrap to
the next line? OK, go ahead and change the height from 23.0f to 50.0f:
CGRectlabelFrame=CGRectMake(0.0f,0.0f,100.0f,50.0f);
If you run your app now, you will get exactly
the same results that you got in Figure 1-46.
You might ask, “I increased the height, so why didn’t the content wrap
to the next line?” It turns out that the UILabel class has a property called numberOfLines that needs to be adjusted to the
number of lines the label has to wrap the text to, in case it runs out
of horizontal space. If you set this value to 3, it tells the label that
you want the text to wrap to a maximum of three lines if it cannot fit
the text into one line:
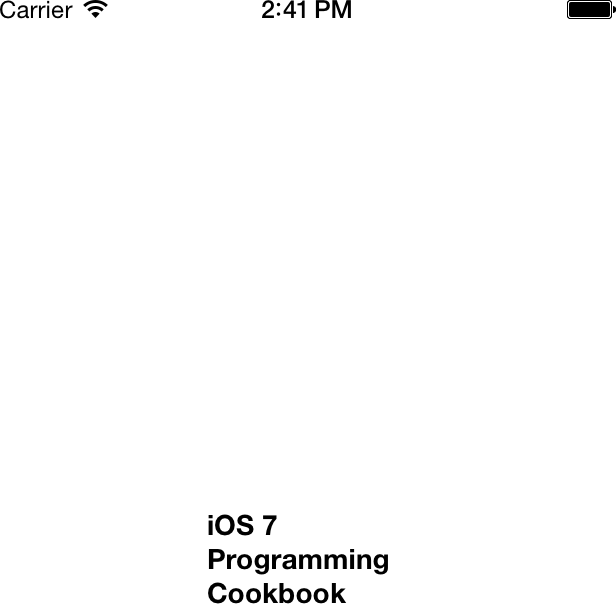
-(void)viewDidLoad{[superviewDidLoad];CGRectlabelFrame=CGRectMake(0.0f,0.0f,100.0f,70.0f);self.myLabel=[[UILabelalloc]initWithFrame:labelFrame];self.myLabel.numberOfLines=3;self.myLabel.lineBreakMode=NSLineBreakByWordWrapping;self.myLabel.text=@"iOS 7 Programming Cookbook";self.myLabel.font=[UIFontboldSystemFontOfSize:14.0f];self.myLabel.center=self.view.center;[self.viewaddSubview:self.myLabel];}
If you run the app now, you will get the desired results (see Figure 1-47).
Note
In some situations, you might not know how many lines are
required to display a certain text in a label. In those instances, you
need to set the numberOfLines
property of your label to 0.
If you want your label’s frame to stay static and you want
the font inside your label to adjust itself to fit into the boundaries
of the label, you need to set the adjustsFontSizeToFitWidth property of your
label to YES. For instance, if the
height of our label was 23.0f, as we
see in Figure 1-46,
we could adjust the font of the label to fit into the boundaries. Here
is how it works:
-(void)viewDidLoad{[superviewDidLoad];CGRectlabelFrame=CGRectMake(0.0f,0.0f,100.0f,23.0f);self.myLabel=[[UILabelalloc]initWithFrame:labelFrame];self.myLabel.adjustsFontSizeToFitWidth=YES;self.myLabel.text=@"iOS 7 Programming Cookbook";self.myLabel.font=[UIFontboldSystemFontOfSize:14.0f];self.myLabel.center=self.view.center;[self.viewaddSubview:self.myLabel];}
Get iOS 7 Programming Cookbook now with the O’Reilly learning platform.
O’Reilly members experience books, live events, courses curated by job role, and more from O’Reilly and nearly 200 top publishers.


