1.28. Enabling Paging with UIPageViewController

Problem

You want to create an app that works similarly to iBooks, where the user can flip through the pages of a book as if it were a real book, to provide an intuitive and real user experience.

Solution

Use UIPageViewController.

Discussion

Xcode has a template for page view controllers. It’s best to first see how they look before reading an explanation of what they actually are. So follow these steps to create your app to use page view controllers:

Note

Page view controllers work on both the iPhone and the iPad.

  1. In Xcode, go to the File menu and then choose New New Project...

  2. On the lefthand side of the New Project window, make sure you’ve selected iOS and then Application. Once that is done, pick the Page-Based Application template from the right side and press Next, as shown in Figure 1-74.

  1. Now select a product name and make sure the device family that you’ve chosen is Universal, as you normally would want your app to run on both the iPhone and the iPad (see Figure 1-75). Once you are done, press Next.

  2. Select where you want to save your project. Once you are done, press the Create button. You have now successfully created your project.

Creating a Page-Based Application in Xcode

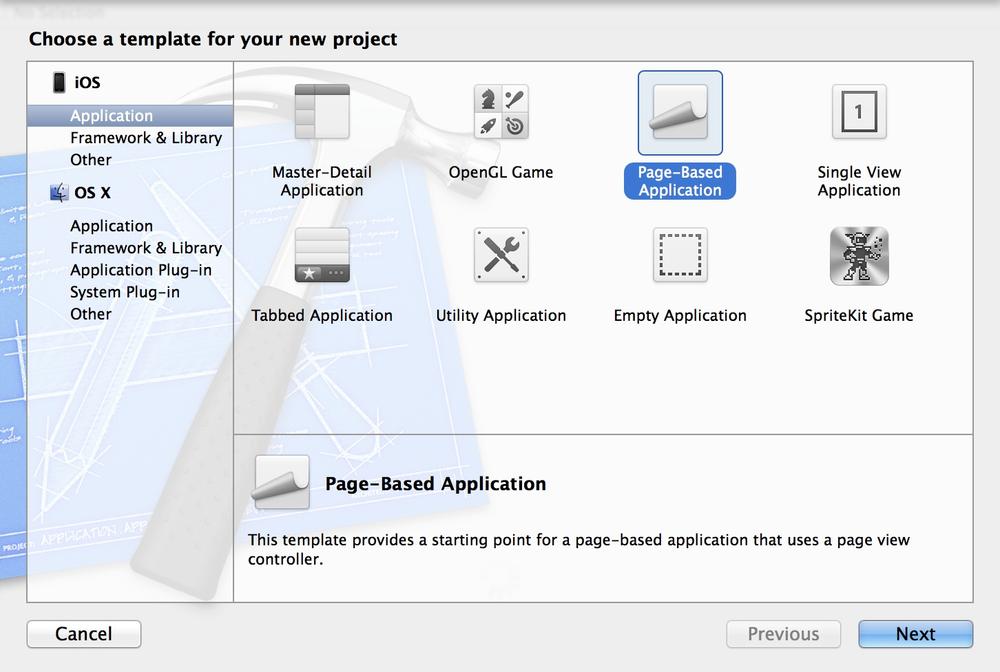
Figure 1-74. Creating a Page-Based Application in Xcode

Setting the project settings of a page-based app

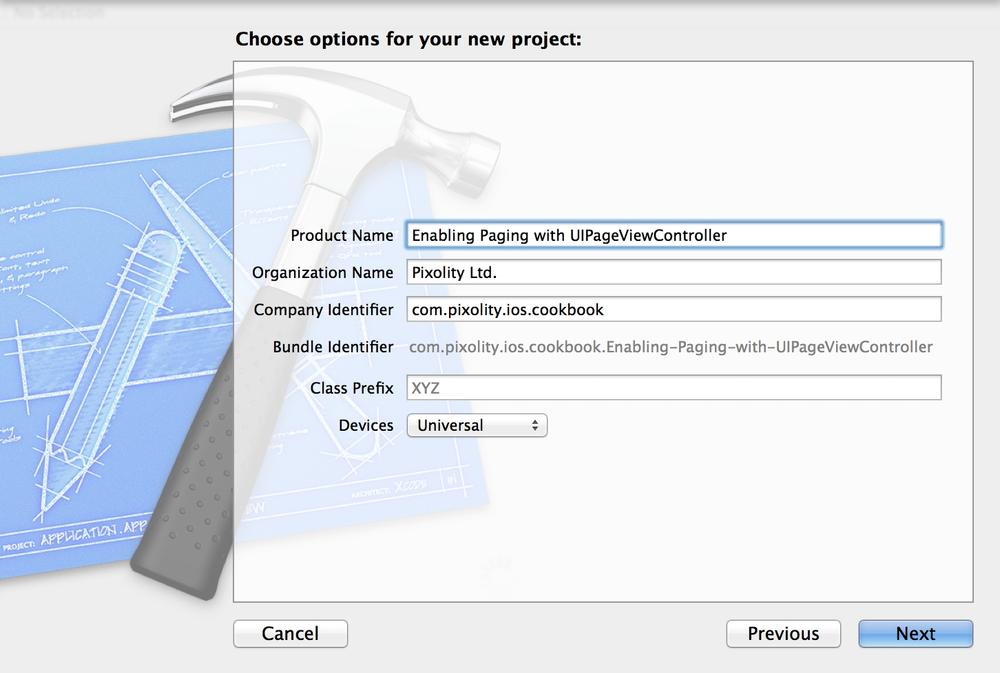
Figure 1-75. Setting the project settings of a page-based app

You can now see that Xcode has created quite a few classes in your project. Let’s have a quick look at what each one of these classes does:

Delegate Class

The app delegate simply creates an instance of the RootViewController class and presents it to the user. There is one .xib for iPad and another one for iPhone, but both are using the aforementioned class.

RootViewController

Creates an instance of UIPageViewController and adds that view controller to itself. So the UI of this view controller is actually a mix of two view controllers: the RootViewController itself and a UIPageViewController.

DataViewController

For every page in the page view controller, an instance of this class gets presented to this user. This class is a subclass of UIViewController.

ModelController

This is simply a subclass of NSObject that conforms to the UIPageViewControllerDataSource protocol. This class is the data source of the page view controller.

So you can see that a page view controller has both a delegate and a data source. With Xcode’s default page-based application template, the root view controller becomes the delegate and the model controller becomes the data source of the page view controller. In order to understand how a page view controller really works, we need to understand its delegation and data source protocols. Let’s start with the delegate, UIPageViewControllerDelegate. This protocol has two important methods:

- (void)pageViewController:(UIPageViewController *)pageViewController
        didFinishAnimating:(BOOL)finished
   previousViewControllers:(NSArray *)previousViewControllers
       transitionCompleted:(BOOL)completed;

- (UIPageViewControllerSpineLocation)pageViewController
:(UIPageViewController *)pageViewController
spineLocationForInterfaceOrientation:(UIInterfaceOrientation)orientation;

The first method gets called when the user turns to the next or the previous page, or if the user initiates the movement from one page to the other but decides against it while the page is moving (in which case, the user gets sent back to the page she was on before). The transitionCompleted will get set to YES if this was a successful page animation, or set to NO if the user decided against the movement and cancelled it in the middle of the animation.

The second method gets called whenever the device orientation changes. You can use this method to specify the location of the spine for the pages by returning a value of type UIPageViewControllerSpineLocation:

typedef NS_ENUM(NSInteger, UIPageViewControllerSpineLocation) {
    UIPageViewControllerSpineLocationNone = 0,
    UIPageViewControllerSpineLocationMin = 1,
    UIPageViewControllerSpineLocationMid = 2,
    UIPageViewControllerSpineLocationMax = 3
};

This might be a bit confusing to you, but let me demonstrate. If we are using a UIPageViewControllerSpineLocationMin spine location, the page view controller will require only one view controller to present to the user, and when the user goes to the next page, a new view controller will be presented to him. However, if we set the spine location to UIPageViewControllerSpineLocationMid, we will be required to display two view controllers at the same time: one on the left and another on the right, with the spine sitting between them. Let me show you what I mean. In Figure 1-76 you can see an example of a page view controller in landscape mode, with the spine location set to UIPageViewControllerSpineLocationMin.

Now if we return the spine location of UIPageViewControllerSpineLocationMid, we will get results similar to Figure 1-77.

One view controller presented in a page view controller in landscape mode

Figure 1-76. One view controller presented in a page view controller in landscape mode

As you can see in that image, the spine is located exactly in the center of the screen between two view controllers. Once the user flips a page from right to the left, the page rests on the left and the page view controller reveals a new view controller on the right side. This whole logic is in this delegate method:

- (UIPageViewControllerSpineLocation)pageViewController
:(UIPageViewController *)pageViewController
spineLocationForInterfaceOrientation:(UIInterfaceOrientation)orientation;

We’ve now covered the delegate of the page view controller, but how about the data source? The data source of a page view controller must conform to the UIPageViewControllerDataSource. This protocol exposes two important methods:

- (UIViewController *)pageViewController
:(UIPageViewController *)pageViewController
viewControllerBeforeViewController:(UIViewController *)viewController;

- (UIViewController *)pageViewController
:(UIPageViewController *)pageViewController
viewControllerAfterViewController:(UIViewController *)viewController;

The first method gets called when the page view controller already has a view controller on the screen and needs to know which previous view controller to render. This happens when the user decides to flip to the next page. The second method is called when the page view controller needs to figure out which view controller to display after the view controller that is being flipped.

Xcode, as you’ve already seen, has greatly simplified setting up a page-based application. All you really need to do now is to provide content to the data model (ModelController) and off you go. If you need to customize the colors and images in your view controllers, do so by either using the Interface Builder to modify the storyboard files directly or write your own code in the implementation of each of the view controllers.

Two view controllers displayed in a page view controller in landscape mode

Figure 1-77. Two view controllers displayed in a page view controller in landscape mode

Get iOS 7 Programming Cookbook now with the O’Reilly learning platform.

O’Reilly members experience books, live events, courses curated by job role, and more from O’Reilly and nearly 200 top publishers.