Chassis
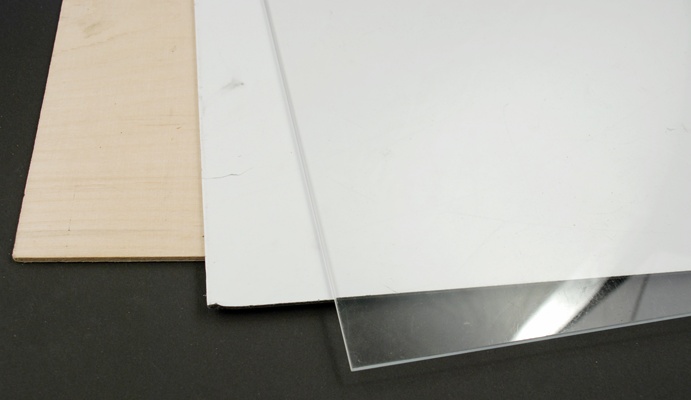
For the chassis you’ll need something that is robust enough to hold the robot together and can be shaped easily. Plywood, acrylic, or metal plate (Figure 1-6) works well.
Our material of choice is Dibond, which is aluminum composite with polyethylene core. It’s light, easy to cut, strong, and good looking. Best of all it happened to be free. Because it’s lightweight and flat, it’s used for printing advertising signs. Lucky for us, printing doesn’t always go like it should, and tons of Dibond ends up in the trash.
Even if you don’t have a sign-making store as your neighbor, you could find other useful material thrown away. For example, you shouldn’t have any trouble finding a metal plate from computer parts or plywood from furniture. Choose a material that is easily available for you and that is comfortable to process with your tools and skills.
You don’t need to limit yourself to traditional methods when making the chassis. If you have the access and necessary skill for 3D printer or laser cutter, go for it. Go to http://www.thingiverse.com for some inspiration on printed 3D objects.

Figure 1-6. Plywood, Dibond, acrylic
Let’s start by drawing the shape of the robot (Figure 1-7). Yours doesn’t have to be exactly like ours. Just make sure that the wide end is at least 16 cm and the narrow end at least 10.5 cm wide. Our bot’s overall length is 19 cm.
Figure 1-7. Outline of the robot ...
Get Make a Mind-Controlled Arduino Robot now with the O’Reilly learning platform.
O’Reilly members experience books, live events, courses curated by job role, and more from O’Reilly and nearly 200 top publishers.

