Installing UCMA 3.0
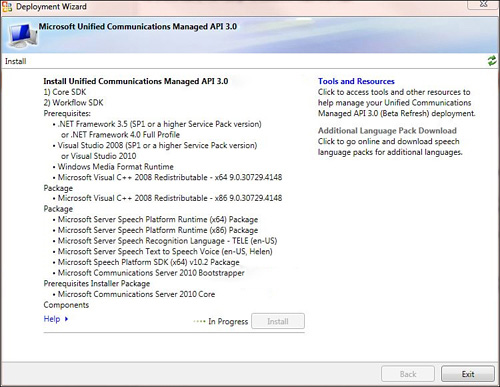
After downloading the UCMA 3.0 SDK from Microsoft, you should end up with a file called UcmaSdkSetup.exe. When you double-click the application, you get a screen similar to Figure 21.3. Simply follow the prompts.
Figure 21.3 Installing UCMA 3.0
The installation creates a UCMA 3.0 directory in your Program Files directory such as what is shown in Figure 21.4. Note the subdirectories for the different APIs along with the runtime and documentation. If you look closely, you can also see a couple of Sample Applications directories.
Figure 21.4 UCMA Installation Location
Get Microsoft® Lync Server 2010 Unleashed now with the O’Reilly learning platform.
O’Reilly members experience books, live events, courses curated by job role, and more from O’Reilly and nearly 200 top publishers.

