The Organizer is where your photos come into Elements and go out again. It stores and catalogs your photos, and you automatically come back to it for any activities that involve sharing your photos, like printing a photo package or making a slideshow. The Organizer has three main sections, as shown in Figure 1-2:
Photo Browser lets you view your photos, sort them into collections, and assign keyword tags to them.
FREQUENTLY ASKED QUESTION: How Do I Get Rid of the Welcome Screen?
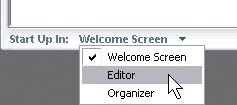
If you get to feeling like you've been welcomed enough, you can turn off the Welcome screen. Then you don't have to click through it every time you start the program.
In the Welcome screen's lower-left corner, you can choose where you want Elements to start when you launch the program: Editor, Organizer, or Welcome screen. Pick the one you want, and from now on, that's what opens first in Elements.
To get the Welcome screen back, from either the Editor or the Organizer, choose Window â Welcome.
Date View is a fun feature that lets you see your photo imports organized by the date you brought them into the Organizer. It's even laid out like a calendar.
Create is where you come after you've finished editing your photos and are ready to use them in slideshows, album pages, greeting cards, and other projects.
The Organizer has lots of really cool features, and in the body of this book you'll meet them when they're relevant to the image-editing task at hand. The next chapter shows you how to use the Organizer to import and organize your photos, and Appendix A covers all the Organizer's different menu options.
Actually, Elements has one other component, which you may have seen already if you've plugged your camera into your computer after you installed Elements: the Photo Downloader (Figure 1-3).
This bumptious little program is meant to help you get your photos into the Organizer, and it's more zealous than a personal-injury lawyer on the scene of an accident. It sniffs out any device you attach to your computer that may possibly contain photos and races to the scene, elbowing the Windows Explorer dialog box out of the way. Depending on the speed of your computer, it may show up before the Explorer dialog box or slightly after it. You have to dismiss the Downloader first if you want to use another program to import your photos.
You can read more about the Downloader in the next chapter (Section 2.1), including how to easily tame it so that you control when it appears. If you plan to use the Organizer to catalog your photos and assign keywords to them, reading the section on the Downloader in Chapter 2 can help you avoid some forehead-smacking moments.
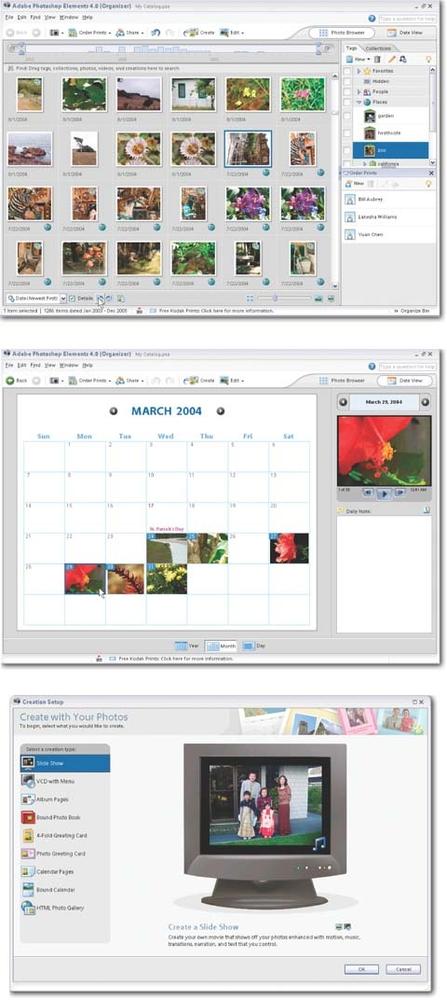
Figure 1-2. The Organizer gives you two main ways to look at your images: Photo Browser (top) and the Date View (middle). You can switch back and forth between them by clicking their buttons in the upper-right corner of the Organizer window. The main Create window (bottom), which you get to by clicking the Create button in the Shortcuts bar, gives you a wide choice of projects that you can use to show off your images. You can click Cancel to get back to the main Organizer if you change your mind about starting a project.
Get Photoshop Elements 4: The Missing Manual now with the O’Reilly learning platform.
O’Reilly members experience books, live events, courses curated by job role, and more from O’Reilly and nearly 200 top publishers.

