Lesson 10
What you'll learn in this lesson:
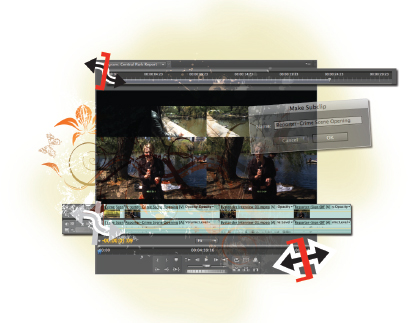
- To create subclips to increase your editing freedom
- To make a three-point edit • To use the Rolling, Slip, and Slide tools
- To use time-remap video to speed up video
Advanced Editing Techniques
You can accomplish many tasks using the Selection and Razor tools, but you will want to understand the more advanced and task-specific tools of Premiere Pro for more complex and detailed editing.
Starting up
In this lesson, you will work with the project files from the pr10lessons folder. Make sure that you have loaded the prlessons folder onto your hard drive from the supplied DVD. The Starting up section at the beginning of this book provides detailed information about loading lesson files, resetting your workspace, locating missing media, and opening the files in CC. If you have not already done so, please review these instructions before starting this lesson.
When opening the Premiere Pro project files used in this lesson you may experience a missing media message. You must locate any missing media before trying to proceed through the lessons. Please refer to “Locating missing media” in the Starting up section of this book.
 See Lesson 10 in action!
Use the accompanying video to gain a better understanding of how to use some of the features ...
Get Premiere Pro CC Digital Classroom now with the O’Reilly learning platform.
O’Reilly members experience books, live events, courses curated by job role, and more from O’Reilly and nearly 200 top publishers.

