Disk Utility
The primary tool for working with disks and filesystems is the Disk Utility (found in /Applications/Utilities), shown in Figure 9-5. The Disk Utility can be used to configure, format, eject, and partition disks of all kinds. On the left side of Disk Utility’s interface is a list of the disks attached to your machine and the volumes that exist on those disks. Additionally, if you have any disk images mounted, a list of the most recently accessed files appears at the bottom of the left column. On the right side of the interface is a set of panels that give you access to the actions that you can accomplish with a drive. At the bottom of the window is a status display that gives you all sorts of information about the disk or volume you have selected.
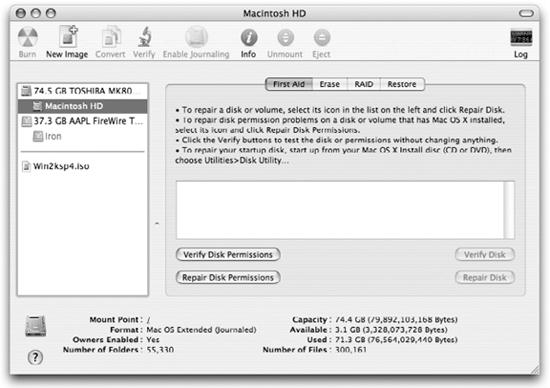
Figure 9-5. Disk Utility
Some of the tasks you can perform with Disk Utility are:
Mount and eject disks, including hard drives, CDs, and disk images.
Get the type, format, capacity, and room available for any disk attached to your computer.
Check and repair disks (other than the boot disk).
Check and repair disk permissions.
Erase a disk, including erasure by writing random data to a disk.
Partition a disk into multiple volumes that subdivide the drive into multiple logical disks.
Create and work with disk images.
Restore the contents of a disk image to a disk.
Set up a Redundant Array of Independent Disks (RAID).
A command-line interface ...
Get Running Mac OS X Tiger now with the O’Reilly learning platform.
O’Reilly members experience books, live events, courses curated by job role, and more from O’Reilly and nearly 200 top publishers.

