Imaging with Disk Utility
Before we cover imaging using the tools available in Lion Server, first it is most appropriate to look at imaging using tools available in all Mac OS X computers. In this case, we will look at imaging using Appleâs Disk Utility, available in the /Applications directory. In this example, we will take one drive (called source for ease of use), create an image of that drive, and then deploy the image to a second drive (called target, to keep things simple).
We can use Disk Utility to image one drive to another, as Disk Utility is capable of resetting the system to be somewhat unique but would still require a manual change to the computer name. To get started, first mount both the drive you will be imaging from (the source) and the drive you will be imaging to (the target) on the computer you will use (you should not use the source or the target as the computer to perform this task).
In order to help keep straight which system is which, rename either the source or the target to something easily memorable. Open Disk Utility and as you can see in Figure 10-1, we are using computer hard drives called source and target, as well as the boot volume of the system we are imaging with.
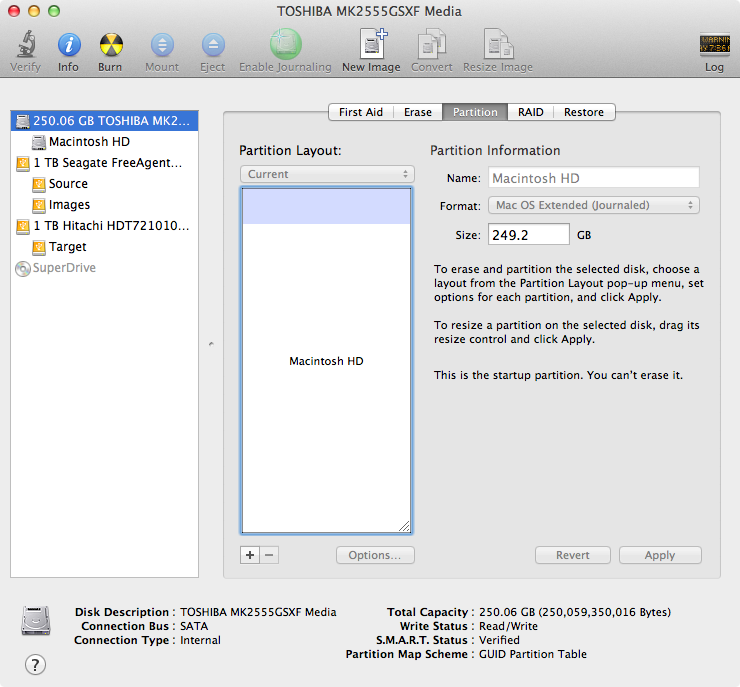
Figure 10-1. Imaging with Disk Utility
Before you do any restores of anything, make sure that youâve backed up your systems and that there is no data on the targets, or destinations, ...
Get Using Mac OS X Lion Server now with the O’Reilly learning platform.
O’Reilly members experience books, live events, courses curated by job role, and more from O’Reilly and nearly 200 top publishers.

