July 2005
Intermediate to advanced
240 pages
5h 27m
English
Once you’ve created your glossary, it’s time to start adding words and definitions. Even if you want to have a student-built glossary, it’s a good idea to seed it with a couple of definitions so students have a model to work from.
The main view of the glossary can be a bit confusing at first, as you can see from Figure 9-2. Under the main Moodle navigation bar, you’ll find the glossary name. Directly below the name, you’ll see the glossary description. Almost lost beneath the description, you’ll see the search bar. If you select the full-text option, you and your students can use this to search for glossary terms or definitions.
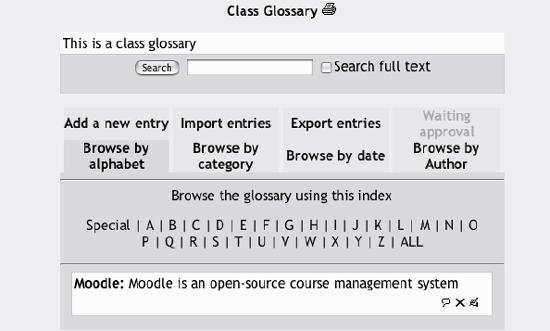
Figure 9-2. Main glossary page
Below the search bar are eight tabs detailing the glossary functions:
Clicking this gives you access to the definition entry page.
You can import glossaries from within this course or from other courses.
You can use this to export your course glossary to an export file stored in the course files area. You can then download it to your computer and upload it to another class.
If your default approval is set to No, all entries awaiting your approval will be listed under this tab.
Students can look for glossary entries by the first letter of a word when they select this tab.
You can create word categories and make ...
Read now
Unlock full access


