Customizing the Header Image
Another great feature in Twenty Ten is the header uploader, which allows you to upload new and unique custom header graphics for your WordPress site. Twenty Ten comes preloaded with eight default header images. To install one, follow these steps:
- On the WordPress Dashboard, choose Appearance
 Header.
On the Custom Header page, the settings for the header image feature appear.
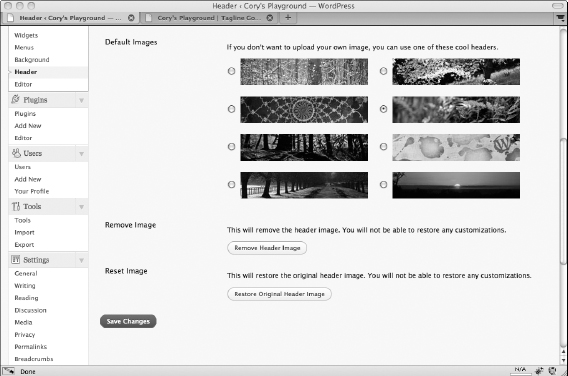
- Scroll to the Default Images section, which shows the available header images.
- Select the radio button next to the header image you like.
- Click the Save Changes button.
Figure 1-5 shows the default header images.
Figure 1-5: The Twenty Ten theme's default header images.
Although the default header images are acceptable, you most likely will want something unique for your blog. The uploader allows you to choose a custom header image easily. Just follow these steps:
- On the WordPress Dashboard, choose AppearanceHeader.
The Custom Header page loads in your browser window.
- Scroll to the Upload Image section shown in Figure 1-6.
Figure 1-6: Twenty Ten's header uploader.
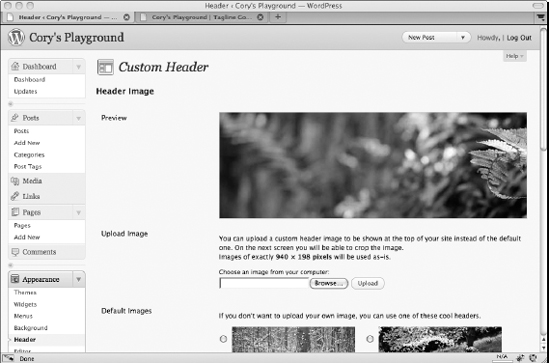
- Click the Choose File ...
Get WordPress® All-in-One For Dummies® now with the O’Reilly learning platform.
O’Reilly members experience books, live events, courses curated by job role, and more from O’Reilly and nearly 200 top publishers.

