July 2011
Beginner to intermediate
108 pages
2h 29m
English
Let’s go ahead and implement a simple view-based application to
illustrate how to use the gyroscope on its own before looking again at
Core Motion and CMDeviceMotion. Open
Xcode and start a new View-based Application iPhone project and name it
“Gyroscope” when prompted for a filename.
Since we’ll be making use of the Core Motion framework, the first thing we need to do is add it to our new project. Click on the project file at the top of the Project navigator window on the right in Xcode, select the Target and click on the Build Phases tab, click on the Link with Libraries drop down and click on the + button to open the file pop-up window. Select CoreMotion.framework from the list of available frameworks and click the Add button.
Now go ahead and click on the GyroscopeViewController.xib file to open it in
Interface Builder. As you did for the accelerometer back in Chapter 4, you’re going to build a simple
interface to report the raw gyroscope readings. Go ahead and drag and drop
three UIProgressView from the Object
Library into the View window, then add two UILabel elements for each progress bar: one to
hold the X, Y, or Z label and the other to hold the rotation measurements.
After you do that, the view should look something a lot like Figure 6-1.
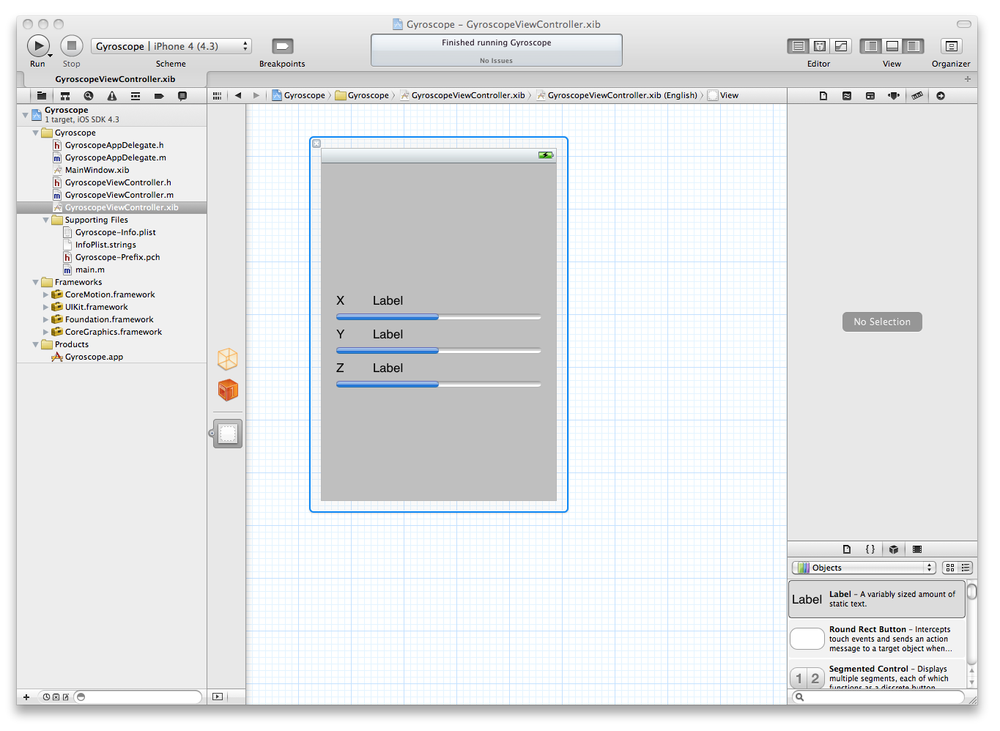
Figure 6-1. The Gyroscope UI
Go ahead and close the Utilities panel and click to open the Assistant Editor. Then Control-Click ...
Read now
Unlock full access


