Image Maps
As Chapter 4 makes clear, it’s easy to turn a graphic into a clickable link. It’s also possible to add multiple links to a single image.
Suppose your company has offices all over the country, for instance, and you want to provide an easy way for your visitors to locate the nearest state office. One approach would be simply to list all of the state names and link them to separate pages for each state. But that’s boring! Instead, you could use a map of the United States—one image—and turn each state’s outline into a hotspot that’s linked to an appropriate page, listing all of the offices in that state.
The array of invisible link buttons (called hotspots) responsible for this magic is called an image map. An image map contains one or more hotspots, each leading somewhere else.
Here’s how to go about creating an image map:
Select the graphic you wish to make into an image map.
The Property inspector displays that image’s properties and, in the lower left corner, the image map tools, shown at bottom in Figure 5-11. (These appear in the lower half of the Property inspector, which appears only if the Property inspector is fully expanded [page 22]).
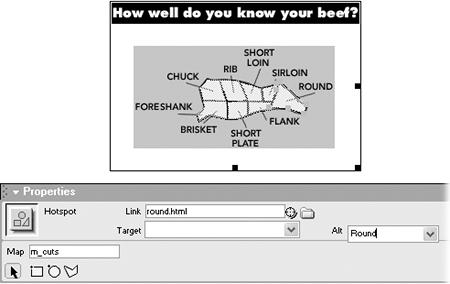
Figure 5-11. Individual links on an image map—called hotspots—show up in transparent blue in Dreamweaver. When you select a hotspot, the Property inspector displays its Link, Target, and Alt properties. The lower half of the inspector ...
Get Dreamweaver MX: The Missing Manual now with the O’Reilly learning platform.
O’Reilly members experience books, live events, courses curated by job role, and more from O’Reilly and nearly 200 top publishers.

