Background music is all well and good, but what about full-fledged video menus? The background is active, the buttons are active, there's good audio, and you still can create fancy, custom buttons to jump to some other part of the disc. It all can be yours; you just have to do a bit more work when creating the menu.
It's definitely easier in DVDSP 2 and higher than in earlier versions. (Previously you had to do all the motion work in some other application, such as Final Cut Pro or After Effects.)
For motion menus with basic buttons (rectangular highlights) you can do your work in just about any application. The end result essentially will be the same as in the previous example. For this next example, though, let's move that skiff we worked on earlier.
With Final Cut Pro, you can use some of your Photoshop skills to create motion menus that will be easy to deal with once you're back inside DVDSP. First off, you need some footage of one of the skiffs. You'll work with a rotating 3D clip of a skiff. On its own, this really isn't enough, so you'll call on Photoshop for some help.
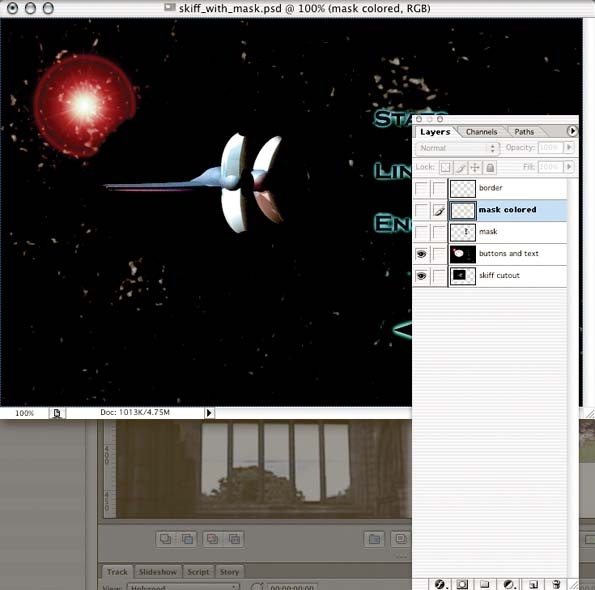
Recall the still menu from the audio example. We used a flattened image. Let's go back to the original Photoshop document with all the layers available. Cut out the area where the skiff was and you've got a nice image for compositing with video. Figure 4-29 shows the candidate menu. Notice the separate layers.
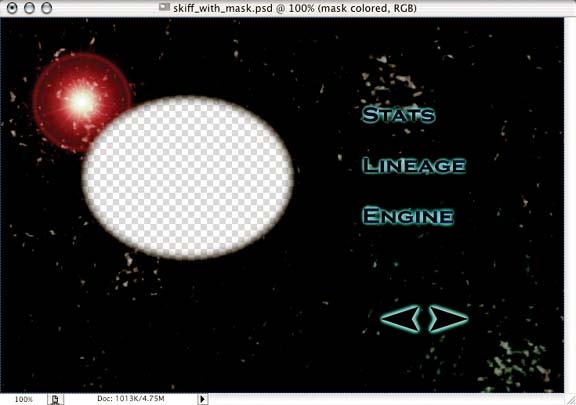
To use this image in Final Cut Pro, you simply need to delete the still-frame layer. The hole left behind will be transparent, not just white or some other background color. You should be left with a single layer that looks like the one in Figure 4-30.
In Final Cut Pro, load the skiff.mov file and put in enough copies to make the loop last about 30 seconds (or as long as you want the loop to last). You should have something similar to the timeline at the bottom of Figure 4-31.

Now get that menu document into Final Cut Pro. You'll need to create a second video track and place the still image in that track. Extend the still to last as long as your video clip. Note that you also might need to manipulate the size of the video to get it just right. The transparent part of your menu should enable the real video clip to show through, as you can see in the upper-right corner of Figure 4-31.
That's it for Final Cut Pro. After exporting the menu as an MPEG-2 movie, we'll jump back into DVDSP.
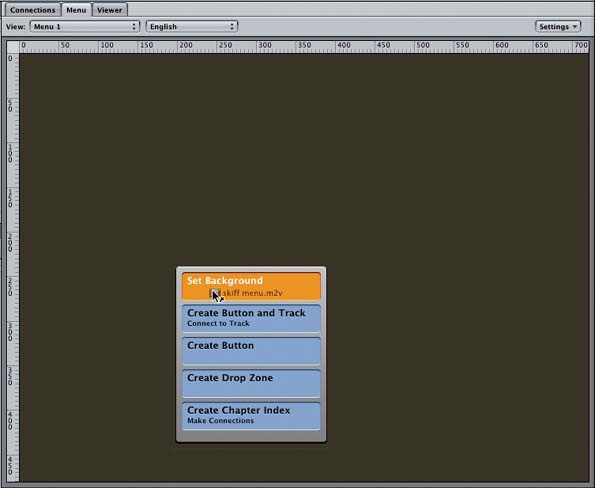
As with the audio-enhanced menu from the previous project, you need to click the Add Menu button in DVDSP to get going. Now you can drag the skiff_menu.m2v file onto the untitled menu, as shown in Figure 4-32.
You also can set the audio at this point, just as you did for the still menu. You'll want to pay more attention to the loop points, though. Figure 4-33 shows the properties that make our video coincide with the duration of the audio. Notice that we're off by a few seconds.
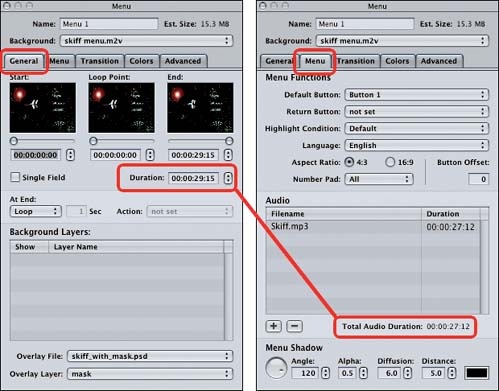
That's OK. As long as you aren't wildly off, DVDSP will fill in the gaps. It's easiest to have too much videoâyou just get a few seconds of silence in the audio track. If the video doesn't have an obvious loop point as ours does, you simply can line up the durations to match exactly.
We planned ahead in our Photoshop document, so we have some easy targets for creating buttons. Just drag the usual rectangle to the left of the text parts and choose a nice shape and a complementary color for the highlights. We picked the Simple Button shape and an off-white color at a transparency level of 5. Figure 4-34 shows the menu in Preview mode.
Woo-hoo! You've just created your first full-video menu. Well, OK, so it wasn't that different from the menu to which you added the audio, but to paraphrase the inimitable Homer Simpson, we stand by our enthusiasm. Woo. Hoo.
Get DVD Studio Pro 3: In the Studio now with the O’Reilly learning platform.
O’Reilly members experience books, live events, courses curated by job role, and more from O’Reilly and nearly 200 top publishers.

