You want to display a message to your users in the form of an alert. This could be used to ask them to confirm an action, to ask for their username and password, or simply to let them enter some simple text that you can use in your app.
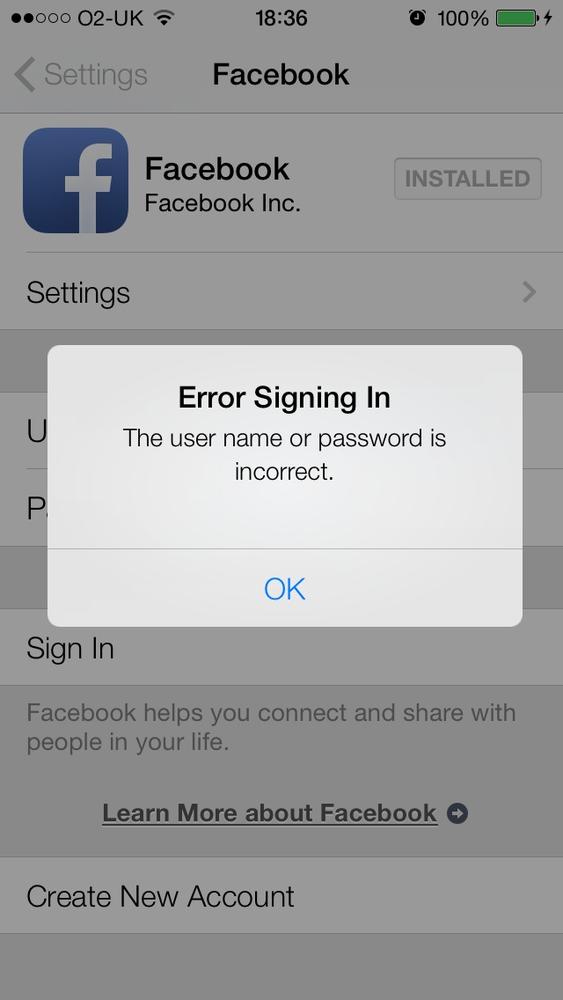
If you are an iOS user, you have most certainly already seen an alert view. Figure 1-1 depicts an example.
The best way to initialize an alert view is to use its designated initializer:
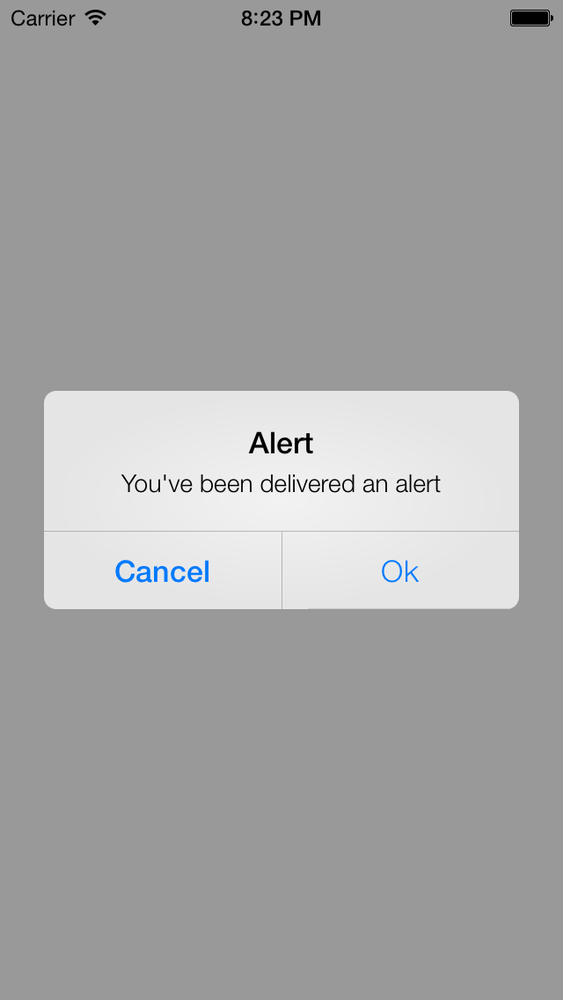
-(void)viewDidAppear:(BOOL)paramAnimated{[superviewDidAppear:paramAnimated];UIAlertView*alertView=[[UIAlertViewalloc]initWithTitle:@"Alert"message:@"You've been delivered an alert"delegate:nilcancelButtonTitle:@"Cancel"otherButtonTitles:@"Ok",nil];[alertViewshow];}
When this alert view is displayed to the user, she will see something similar to that shown in Figure 1-2.
In order to display an alert view to the user, we use the
alert view’s show method. Let’s have
a look at the description for each of the parameters that we passed to
the initializer of the alert view:
titleThe string that the alert view will display on the top when it is shown to the user. This string is
Titlein Figure 1-2.messageThe actual message that gets displayed to the user. In Figure 1-2, this message is set to
Message.delegateThe optional delegate object that we pass to the alert view. This object will get notified whenever the alert’s state changes; for instance, when the user taps on a button on the alert view. The object passed to this parameter must conform to the
UIAlertViewDelegateprotocol.cancelButtonTitleA string that will get assigned to the cancel button on an alert view. An alert view that has a cancel button usually asks the user for an action. If the user isn’t comfortable with performing that action, he will press the cancel button. This button’s title does not necessarily have to say
Cancel. It is up to you to specify a title for this button. This parameter is optional; you could put up a dialog box with no cancel button.otherButtonTitlesTitles of any other buttons that you want to have appear on the alert view. Separate the titles with commas and make sure you terminate the list of titles with a
nil, which is called a sentinel. This parameter is optional.
Warning
It is possible to create an alert view without any buttons. But the view cannot be dismissed by the user. If you create such a view, you, as the programmer, need to make sure this alert view will get dismissed automatically; for instance, three seconds after it is displayed. An alert view without any buttons that does not dismiss itself automatically gives a really poor user experience. Not only will your app get low ratings on the App Store for blocking the UI from user access, but chances are that your app will get rejected by Apple.
Alert views can take various styles. The UIAlertView class has a property called
alertViewStyle of type UIAlertViewStyle:
typedefNS_ENUM(NSInteger,UIAlertViewStyle){UIAlertViewStyleDefault=0,UIAlertViewStyleSecureTextInput,UIAlertViewStylePlainTextInput,UIAlertViewStyleLoginAndPasswordInput};
Here is what each of these styles will do:
UIAlertViewStyleDefaultThis is the default style of an alert view, as we saw in Figure 1-2.
UIAlertViewStyleSecureTextInputWith this style, the alert view will contain a secure text field, which hides the actual characters typed by the user. For instance, if you are asking the user for her online banking credentials, you might choose this style of alert view.
UIAlertViewStylePlainTextInputUnder this style, the alert view will display a nonsecure text field to the user. This style is great if you simply want to ask the user for a plain-text entry, such as her phone number.
UIAlertViewStyleLoginAndPasswordInputWith this style, the alert view will display two text fields: a nonsecure one for a username and a secure one for a password.
If you need to get notified when the user interacts with the
alert view, specify a delegate object to your alert view. This
delegate must conform to the UIAlertViewDelegate protocol. The most important method defined in this protocol is the
alertView:clickedButtonAtIndex:
method, which is called as soon as the user taps on one of the buttons
in the alert view. The button index is passed to you through the
clickedButtonAtIndex
parameter.
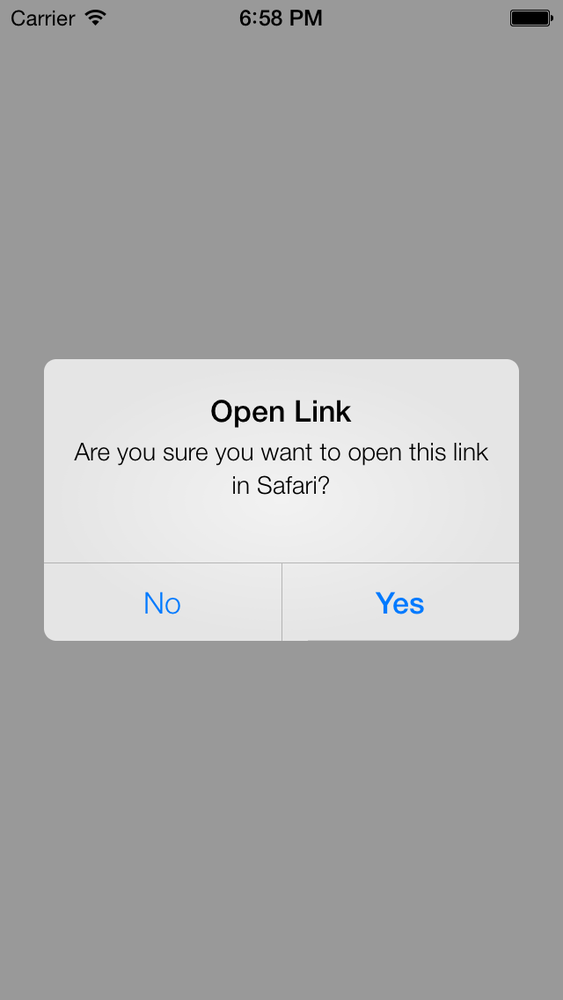
As an example, let’s display an alert view to the user and ask whether she would like to visit a website in Safari after having pressed a link to that website available in our UI. We will display two buttons on our alert view: Yes and No. In our alert view delegate, we will detect which button she tapped on and will take action accordingly.
Let’s first implement two very simple methods that return the title of our two buttons:
-(NSString*)yesButtonTitle{return@"Yes";}-(NSString*)noButtonTitle{return@"No";}
Now we need to make sure that we are conforming to the UIAlertViewDelegate protocol in our view
controller:
#import "ViewController.h"@interfaceViewController()<UIAlertViewDelegate>@end@implementationViewController...
The next step is to create and display our alert view to the user:
-(void)viewDidAppear:(BOOL)animated{[superviewDidAppear:animated];self.view.backgroundColor=[UIColorwhiteColor];NSString*message=@"Are you sure you want to open this link in Safari?";UIAlertView*alertView=[[UIAlertViewalloc]initWithTitle:@"Open Link"message:messagedelegate:selfcancelButtonTitle:[selfnoButtonTitle]otherButtonTitles:[selfyesButtonTitle],nil];[alertViewshow];}
So now, our alert view will look similar to that shown in Figure 1-3.
Now we need a way to know whether the user selected the Yes or the
No option in our alert view. For this, we will need to implement the alertView:clickedButtonAtIndex: method of our
alert view delegate:
-(void)alertView:(UIAlertView*)alertViewclickedButtonAtIndex:(NSInteger)buttonIndex{NSString*buttonTitle=[alertViewbuttonTitleAtIndex:buttonIndex];if([buttonTitleisEqualToString:[selfyesButtonTitle]]){NSLog(@"User pressed the Yes button.");}elseif([buttonTitleisEqualToString:[selfnoButtonTitle]]){NSLog(@"User pressed the No button.");}}
Note
Please bear in mind that in big projects where multiple developers work on the same source code, it is usually easier to compare the titles of buttons of alert views to respective strings, rather than picking which button the user selected on an alert view based on the index of that button. For the index solution to work, the programmer has to find out the code that constructed the alert view and, based on the code, find out which button has what index. In our solution, any developer, even without any knowledge as to how the alert view was constructed, can tell which if statement does what.
As you can see, we are using the buttonTitleAtIndex: method of UIAlertView. We pass the zero-based index of a
button inside that alert view to this method and will get back the
string that represents the title of that button, if any. Using this
method, we can determine which button the user has tapped on. The index
of that button will be passed to us as the buttonIndex parameter of the alertView:clickedButtonAtIndex: method, but if
you need the title of that button, you will then need to use the
buttonTitleAtIndex: method of
UIAlertView. That is it; job
done!
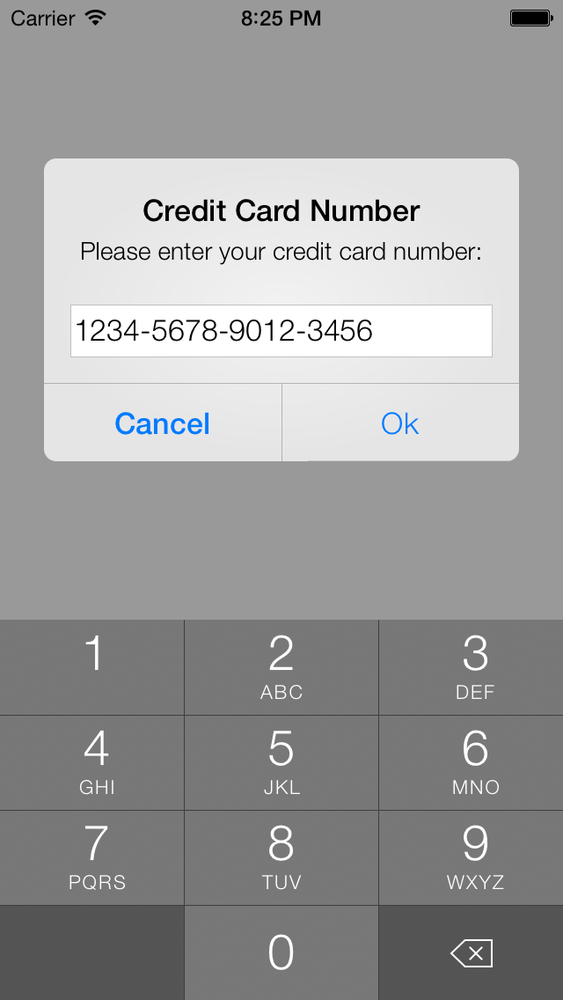
You can also use an alert view for text entry, such as to ask
the user for his credit card number or address. For this, as
mentioned before, we need to use the UIAlertViewStylePlainTextInput alert view style. Here is
an example:
-(void)viewDidAppear:(BOOL)animated{[superviewDidAppear:animated];UIAlertView*alertView=[[UIAlertViewalloc]initWithTitle:@"Credit Card Number"message:@"Please enter your credit card number:"delegate:selfcancelButtonTitle:@"Cancel"otherButtonTitles:@"Ok",nil];[alertViewsetAlertViewStyle:UIAlertViewStylePlainTextInput];/* Display a numerical keypad for this text field */UITextField*textField=[alertViewtextFieldAtIndex:0];textField.keyboardType=UIKeyboardTypeNumberPad;[alertViewshow];}
If you run your app on the simulator now, you will get a result similar to Figure 1-4.
We changed the alert view’s style to UIAlertViewStylePlainTextInput in this code,
but we did something else as well. We retrieved the reference to the
first and the only text field that we knew we would have on the alert
view and used that text field’s reference to change the keyboard type of
the text field. For more information about text fields, please
refer to Recipe 1.19.
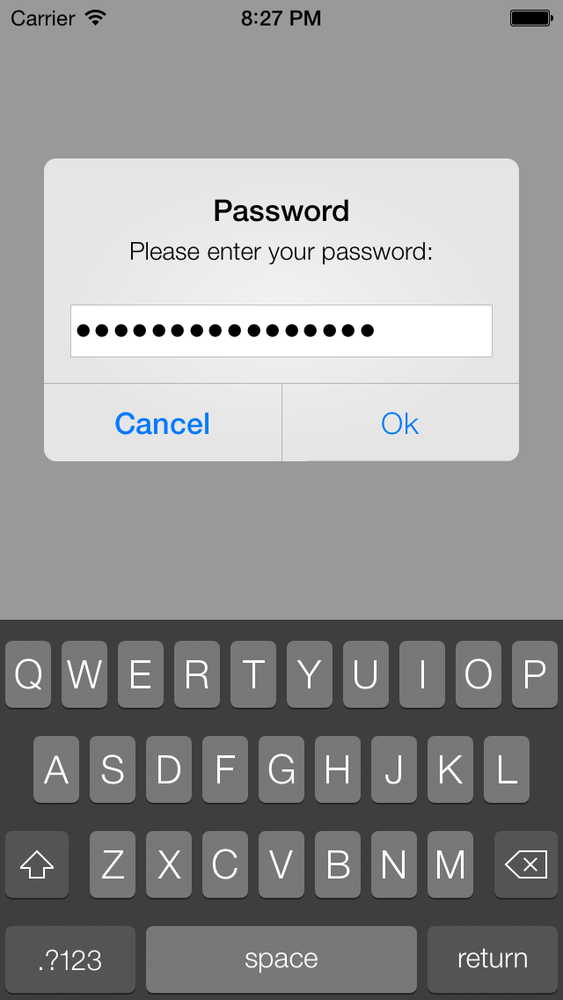
In addition to a plain-text entry, you can ask the user for secure text. You would normally use this if the text that the user is entering is sensitive, such as a password (see Figure 1-5). Here is an example:
-(void)viewDidAppear:(BOOL)animated{[superviewDidAppear:animated];UIAlertView*alertView=[[UIAlertViewalloc]initWithTitle:@"Password"message:@"Please enter your password:"delegate:selfcancelButtonTitle:@"Cancel"otherButtonTitles:@"Ok",nil];[alertViewsetAlertViewStyle:UIAlertViewStyleSecureTextInput];[alertViewshow];}
The UIAlertViewStyleSecureTextInput style is very
similar to UIAlertViewStylePlainTextInput, except that
the text field is set to substitute some neutral character for each
character of the entered text.
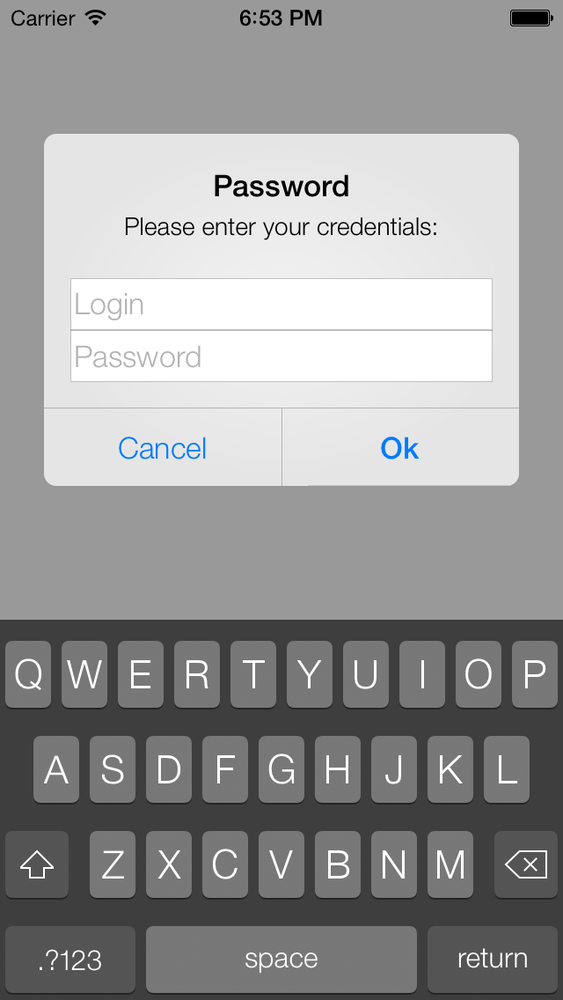
The next style, which is quite useful, displays two text fields, one for a username and the other for a password. The first is a plain-text entry field and the other one is secure:
-(void)viewDidAppear:(BOOL)animated{[superviewDidAppear:animated];UIAlertView*alertView=[[UIAlertViewalloc]initWithTitle:@"Password"message:@"Please enter your credentials:"delegate:selfcancelButtonTitle:@"Cancel"otherButtonTitles:@"Ok",nil];[alertViewsetAlertViewStyle:UIAlertViewStyleLoginAndPasswordInput];[alertViewshow];}
The result will look similar to that shown in Figure 1-6.
Get iOS 7 Programming Cookbook now with the O’Reilly learning platform.
O’Reilly members experience books, live events, courses curated by job role, and more from O’Reilly and nearly 200 top publishers.
