You want to be able to customize the appearance of your labels, from shadow settings to alignment settings.
Use the following properties of the UILabel class, depending on your
requirements:
shadowColorThis property is of type
UIColorand, as its name shows, it specifies the color of the drop shadow to render for your label. If you are setting this property, you should also set theshadowOffsetproperty.shadowOffsetThis property is of type
CGSize, and it specifies the offset of the drop shadow from the text. For instance, if you set this property to (1, 0), the drop shadow will appear 1 point to the right of the text. If you set this property to (1, 2), the drop shadow will appear 1 point to the right and 2 points down from the text. If you set this property to (–2, –10), the drop shadow will render 2 points to the left and 10 points above the text.numberOfLinesThis property is an integer that specifies how many lines of text the label is able to render. By default, this property’s value is set to 1, meaning any label that you create by default can handle 1 line of text. If you want 2 lines of text, for instance, set this property to 2. If you want unlimited lines of text to be rendered in your text field or you simply don’t know how many lines of text you will end up displaying, set this property to 0. (I know, it’s really strange. Instead of
NSIntegerMaxor something similar, Apple has decided that 0 means unlimited!)lineBreakModeThis property is of type
NSLineBreakModeand specifies how you want to line-wrap the text inside your text field. For instance, if you set this property toNSLineBreakByWordWrapping, words will be kept together, but the string will be wrapped to the next line if there is not enough space to display it. Alternatively, if you set this property toNSLineBreakByCharWrapping, words may be broken across lines when text is wrapped. You would probably useNSLineBreakByCharWrappingonly if the space is very tight and you need to fit as much information as possible on the screen. I personally do not recommend using this option if you want to keep a consistent and clear user interface.textAlignmentThis property is of type
NSTextAlignmentand sets the horizontal alignment of the text in your label. For instance, you can set the value of this property toNSTextAlignmentCenterto horizontally center-align your text.textColorThis property is of type
UIColorand defines the color of the text inside the label.fontThis property of type
UIFontspecifies the font with which the text inside your label will get rendered.adjustsFontSizeToFitWidthThis property is of type
BOOL. When set toYES, it will change the size of the font to fit your label. For instance, if you have a small label and the text you are trying to set in it is too big to fit, if this property is set toYES, the runtime will automatically reduce the font size of your label to make sure the text will fit into the label. In contrast, if this property is set toNO, the current line/word/character wrapping option is taken into account and your text will be rendered in an incomplete manner with just a few words being displayed.
Labels are one of the easiest UI components we can utilize in our
applications. Although labels are simple, they are really powerful.
Customization of labels is therefore very important in order to deliver
the best user experience. For this reason, Apple has given us plenty of
ways to customize the instances of UILabel. Let us have a look at an example.
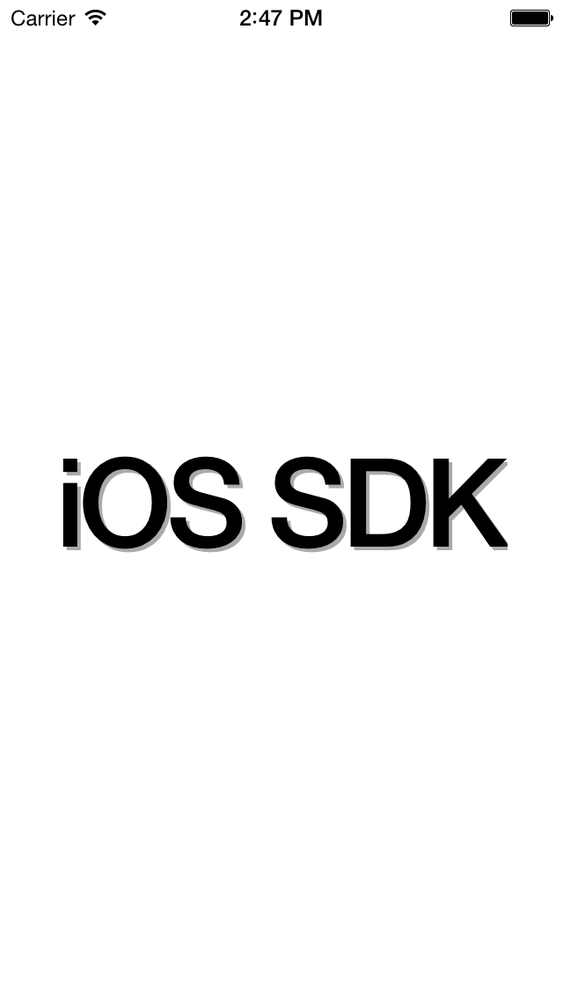
We’ll create a simple single-view application with one view controller,
place a simple label at the center of the screen with a huge font, and
write “iOS SDK” in it. We will set the background color of our view to
white, the text color of our label to black, and the shadow color of our
label to light gray. We will make sure a drop shadow appears at the
bottom-right side of our label. Figure 1-48
shows the effect our app should produce.
And here is our code to achieve this:
#import "ViewController.h"@interfaceViewController()@property(nonatomic,strong)UILabel*label;@end@implementationViewController-(void)viewDidLoad{[superviewDidLoad];self.label=[[UILabelalloc]init];self.label.backgroundColor=[UIColorclearColor];self.label.text=@"iOS SDK";self.label.font=[UIFontboldSystemFontOfSize:70.0f];self.label.textColor=[UIColorblackColor];self.label.shadowColor=[UIColorlightGrayColor];self.label.shadowOffset=CGSizeMake(2.0f,2.0f);[self.labelsizeToFit];self.label.center=self.view.center;[self.viewaddSubview:self.label];}@end
Get iOS 7 Programming Cookbook now with the O’Reilly learning platform.
O’Reilly members experience books, live events, courses curated by job role, and more from O’Reilly and nearly 200 top publishers.


