Chapter 4. Documents and Spreadsheets
EVEN BACK IN ITS early, steam-powered days, the Kindle filled students and businesspeople with hope: It could store and display a personal document collection. Fantasies of paper-free days took hold. Amazon helped things along with a clever file shuttling system (via email or USB cable) that assisted transfer chores. Problem was (and remains, for owners of the old school, black-and-white models) those pokey eInk screens. They couldn’t handle much more than basic text. And you certainly couldn’t edit documents on the Kindle—much less create them from scratch. But the Fire’s gorgeous screen and its document-slinging apps have restored hope. Now it’s not only possible to turn your Kindle into a virtual briefcase, it may become part of your everyday routine.
You have three different ways to get the job done. Each has its own set of pros and cons:
The Fire’s built-in Docs Library. Amazon chose to give this tool home-screen billing—and with good reason. It’s free, easy to use, and, if all you need to do is tote around and scroll through a PDF or Word file every so often, just right. Load your documents either by email or USB file transfer. Reading works just as it does with Kindle ebooks. If all this sounds good, see the next section for full details.
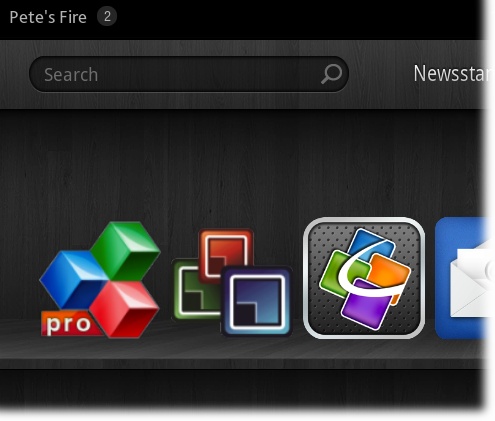
Third-party apps. Need your mobile reading machine to do more? Perhaps you want to view and edit a Word file, tweak that Excel spreadsheet or PowerPoint presentation as you’re heading to the big meeting, or add a new chapter to your Lady Gaga vampire novel. Time to enlist the services of a specialized app. Even in the Fire’s first week, three of the biggest names in this realm—Documents to Go, Quick Office, and OfficeSuite—had versions up and running. You get all the Docs Library’s uploading options, plus the ability to pull from and save to online storage services like Dropbox and Google Docs. You can even install a computer-based utility to keep the Fire’s files in sync with, say, your laptop. More info on how to make all this happen on Third-Party Apps.
Web-based tools. There are a number of competitors in this world (Google Docs, Microsoft’s Office 365, Zoho). Each lets you store, compose, and edit Office-like files from just about any web browser…emphasis on “just about.” You can get these guys working on the Fire, but the results ain’t always pretty. Among the problems you’ll encounter are missing menu choices and toolbar buttons (Google Docs) and a crashing web browser (Zoho). Best to wait till these or other developers release apps that show up in Amazon’s Android Appstore.
The Built-in Docs Library
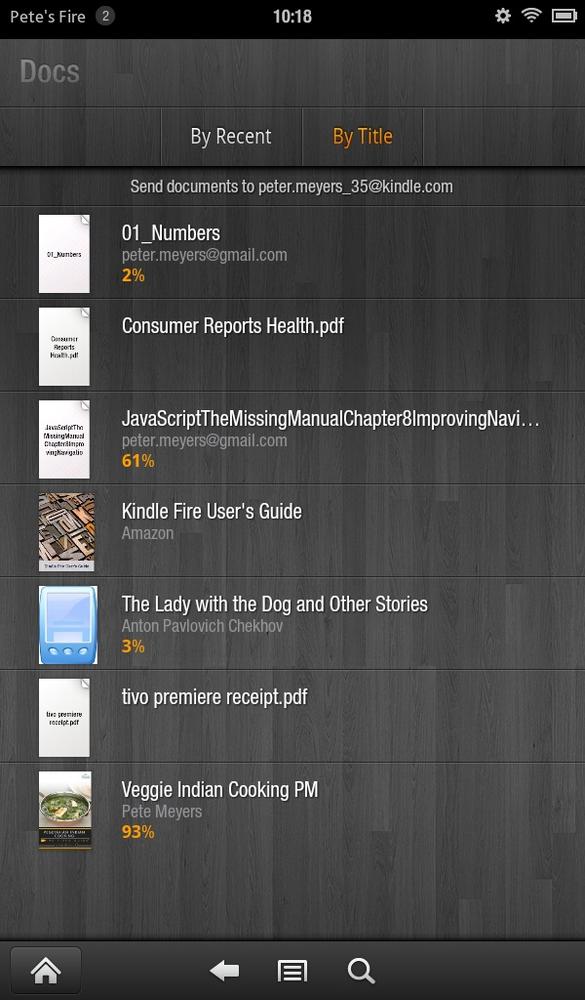
Before getting into details of how to use Fire’s own little library, consider what you might want to store here. A typical collection could include recipes, directions, user manuals, long web articles, free ebooks (downloaded from a site like Project Gutenberg; www.gutenberg.org). Notice a theme here? Everything’s read-only. That is, these are documents you want to peruse but won’t need to edit. The Docs viewer is about just that—looking. No copying text, no emailing files. Except for basic note-making and highlighting, the Docs viewer is an eyes-only, hands-off affair.
Note
If you spot any similarity between how your files look here and the way Kindle ebooks appear on the Fire, it’s because both use much the same internal viewing software.
Adding and Reading Documents
A host of file formats are welcome to this party. From the word processing world, you can open the door for Microsoft Word (.doc and .docx), plain text (.txt), and Rich Text Format (.rtf). Image formats that are okay include the three biggies (JPEG, GIF, and PNG), plus BMP (an old and not very popular option). Ebooks can come dressed in either main Kindle format: MOBI or AZW. Bummer for ebook mavens: EPUB—the most widely used format—is a no-go. You can also send finished web pages (.html or .htm) or, as mentioned earlier, everyone’s favorite universal format: the PDF.
Note
RTF documents, which you can create in Word or any number of other text programs, let you use slightly more complex formatting than plain ol’ text files.
Now that you know who’s allowed in, here’s how to get what you want onto the Fire:
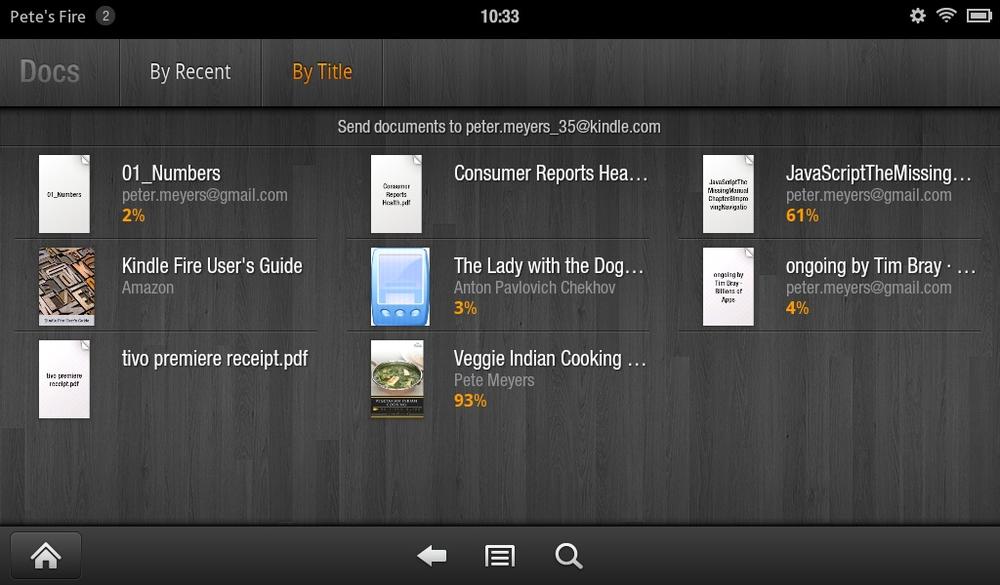
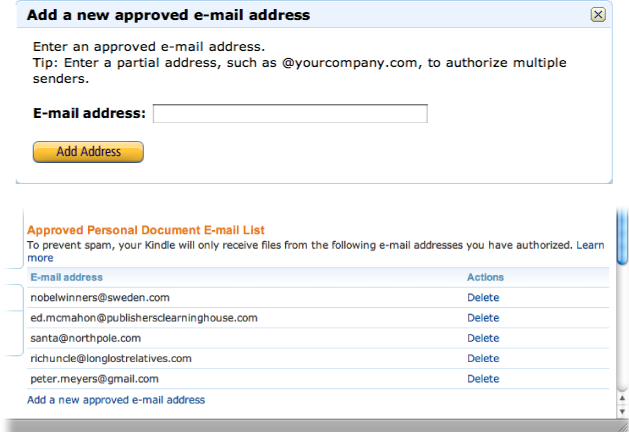
By email. Every Fire gets its own email address. Lonely gadget lovers can use it to send their Fire love notes, but most people will want to send actual files. To see your Fire’s unique email address, tap the Docs Library; the address is at the top of the screen. However, no one can send anything to that address without your authorization—not even you. That’s how Amazon protects your Fire from spam, should this dedicated email address get into the wrong hands. To register approved senders, go to Personal Document Settings on Amazon.com’s Manage Your Kindle page (http://amzn.to/kfmm115). Below the Approved Personal Document E-mail List, click “Add a new approved e-mail address.” (You can give the ok-go pass to as many senders as you like.)
The Personal Docs Settings page is also where you can change the Fire’s email address. While you’re here, also think about turning on Personal Document Archiving. If you’ve got other Kindle gadgets or apps, doing so enables you to download your emailed documents to those, too.
Once all that’s in place, attach and email your Fire one or more files (up to a max of 25 per email). Then, to receive what you’ve sent on the Fire, tap the Quick Settings icon (The Home Screen) and hit its Sync button. Give the Fire a minute or three to suck down what you sent it. No individual file can be larger than 50 MB, and you can’t email a file to more than 15 Kindles at a time.
From computer to Fire. The next section has the details on using a USB cable to pipe files from one device to the other.

Looking at what’s in your Docs Library is a snap, especially if you’ve ever read a Kindle ebook. All the same gestures (tap the right margin to turn the page; tap and hold text to add a note or highlight; and so on) all work here. If you need an introduction—or a refresher—pop back to Grab a Book.
Transferring Files from Your Computer
Sideloading is what the geeks call the process of plugging a Fire into a Mac or PC and then siphoning off ebooks, Word files, or PDFs. (The same procedure works for moving photos and home videos, so consider bookmarking this section, even if you don’t think you’ll use it to move documents.)
Clearly, Amazon doesn’t think most folks will ever need to sideload—they don’t even include the USB cable you need to make the connection. They will, though, sell you one (here’s one well-reviewed model: http://amzn.to/kfmm135), so maybe this omission is a way to keep the Fire’s price below $200. Whatever your reason, the steps for sending your files sideways go like this:
Connect the Fire to a computer. The cable you want is a special flavor of USB: namely, one with a micro B plug. That’s the same one that comes with recent model Kindles and with other gadgets like BlackBerry phones. Don’t mistake this cord with its cousin, the mini B USB, which is almost, but not quite, as tiny. Once you’ve got cable in hand, plug one end into the Fire and the other into a free USB port on your computer. On the Fire, swipe the lock screen’s yellow arrow from right to left; a message says you’re now free to go ahead and transfer. At the same time, the Fire appears on your desktop (name: KINDLE) or wherever your system puts flash or external drives that you plug in.
Move files from computer to the Fire. On the Fire, the folder you’re heading for is called Documents. (Following these steps to sideload tunes or visual material? Pick the folder that matches your content: Music, Pictures, and Video.) Drag your files from computer to whichever Fire folder you’ve just opened.
Disconnect the Fire. On the bottom of its screen is a Disconnect button; when you’re done with the final transfer, tap it. Now it’s safe to unplug the cable from both machines. Power up or wake your Fire as you normally would (Turning the Fire On, Making It Yours) and head to whichever library holds your newly added items; they’ll be waiting for you in the Device portion of Docs, Music, and so on.
Note
POWER USERS’ NOTE Plugging in your Fire every time you want to transfer a file can be a pain. Anyone willing to wade through a little app-assisted geekery has two ways around a physical cable link: 1) Make the connection between computer and Fire using WiFi rather than USB, or 2) download a file from a web page (like a Dropbox link or a downloadable ebook file) and then use an app to transfer the file to the Fire’s Documents folder. Both procedures are covered in Chapter 6, starting on USB Cable and WiFi Transfers.
Third-Party Apps
One of the main raps against the Fire is that it’s really only good for consuming content. Tasks like reading an ebook, watching a TV show, or browsing email make sense on its paperback-sized screen. But are you really going to use its smallish keyboard and display to create anything? If you’re like most Fire fans, the answer is probably not. But if you’re one of those mobile-loving road warriors, the desire may be there.
To be sure, it’s not easy to compose long documents using the three tools—Documents to Go, Quickoffice, and OfficeSuite—profiled in this section. The biggest hindrance is hardware related: The onscreen keyboard doesn’t lend itself to tapping out a novel (and you can’t attach an external one). But if you’ve ever wished to leave your five-pound laptop behind for that day trip or overnight, the Fire’s first generation of file-editing apps is encouraging news. These three apps can be surprisingly powerful for viewing, editing, sharing, and even creating documents from scratch. Each app may be missing a feature or two, but keep reading, and you’re likely to find one that matches your needs.
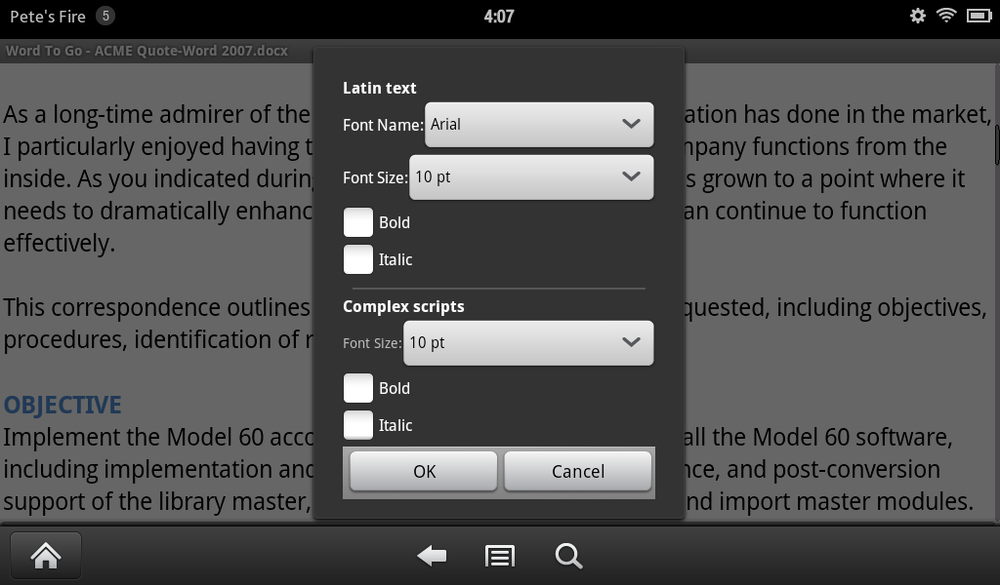
All three apps handle most Office 101 skills. In the word processing utilities, you get undo/redo; zoomable views (good for increasing onscreen legibility without changing the text’s actual font size); bullet and numbered lists; a handful of font choices; and basic styling (italics, bold, paragraph alignment). With spreadsheets, you can create and navigate between multiple worksheets; format cell number style (currency, date, time); pick from a large catalog of ready-to-use functions (AVERAGE, COUNTIF, LOOKUP); and add rows and columns. The PowerPoint stand-ins are the most limited, at least in terms of features shared by all three apps. Every one in the trio lets you view presentations made on a computer, but don’t count on extremely sophisticated formatting, and builds and transitions don’t show up on the small screen.
Opening and emailing files work much the same way in all three apps, too. You can email files to yourself and then, in whichever app you use for that task, tap the message’s Open button and pick the Office-viewing app you want to use to open the attachment. If you transfer a file from your computer to your Fire (as described on USB Cable and WiFi Transfers), you need only to navigate in the Office-viewing app to whichever folder you stashed your file in. To move files in the other direction—that is, email them off your Fire—simply add an attachment in your email app of choice; a pop-up menu lets you pick the file.
On the other hand, the apps vary greatly in their willingness to interact with online storage services like Google Docs and Dropbox. So-called Cloud-based offerings like these can be supremely useful for big travelers and those who move between multiple computers, smartphones, and tablets. You never have to worry about where the latest version is—it’s always stored online.
One final similarity worth mentioning: All three apps come in cheap (sometimes free) and expensive versions. The cheap kind gets you the ability to view, but not create or edit, a file. For that, you need to pony up for the more expensive edition.
Documents to Go
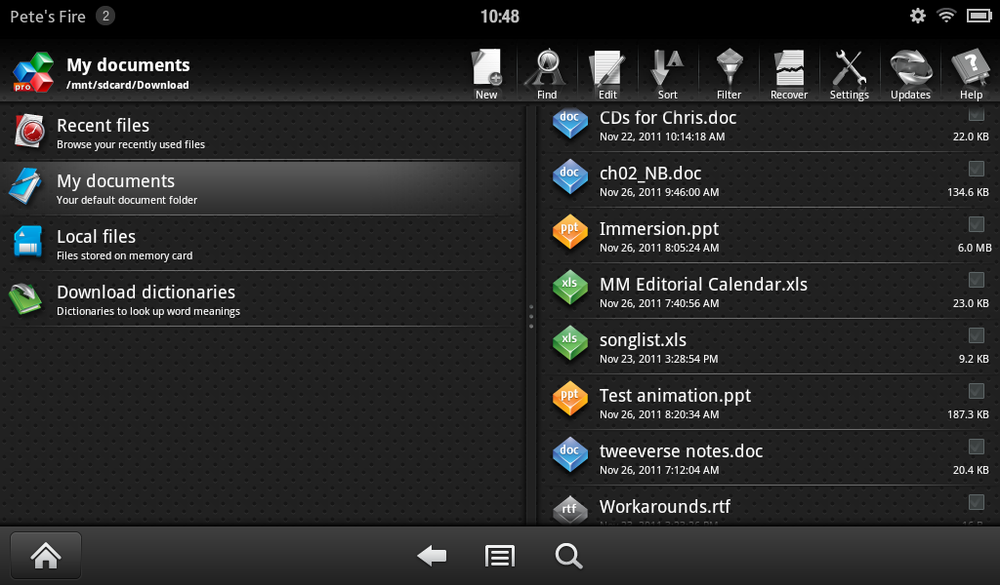
Documents to Go’s big advantage is its unique desktop companion software. Install the free utility on a regular computer—Windows-only, alas—and you’re a sync-button push away from mirror-image files on both your Fire and any of your regular computers. But an even bigger draw is how simple and intuitive this app is. Pretty much every icon and menu choice is dead simple to discern and operate. For an app that you may dip into every couple of weeks, not having to pause and figure things out is probably worth the price of admission.
That’s not to say Documents to Go is underpowered. It meets most needs, starting with the ability to create, edit, and view Word, Excel, and PowerPoint files (both the previous generation file types—.doc, .xls, .ppt—and the newer editions with an “x” at the end of their file extensions). A PDF reader is also part of the lineup. Other special talents worth noting: In Word you can create and view others’ comments, modify line spacing, create tables, and view word count. You can also tap into any files you’ve stored up in Google Docs—and create new ones on the Fire.
Quickoffice
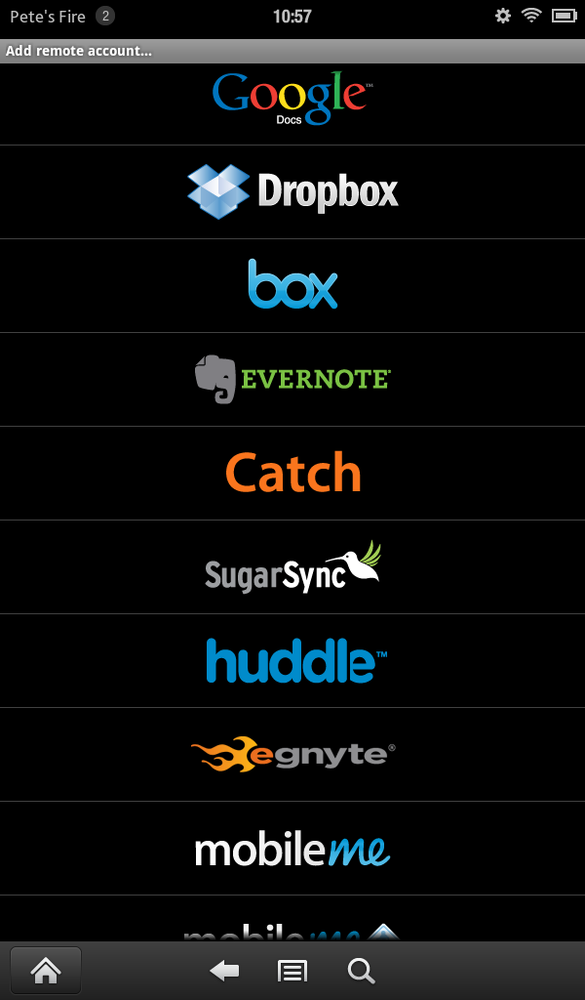
Quickoffice Pro earns an “A” for “works and plays well with others.” It’s a snap to tap into online file storage services like Google Docs, Dropbox, Box.net, SugarSync—the list goes on. So if you’re into this increasingly popular method of file storage and sharing, you may have found your match. Another, slightly more quirky perk: text recital, which does just what it suggests, using a slightly grating computer voice to read a document aloud.
A powerful find-and-replace tool (in Word and Excel) is a nice helper. Quickoffice’s PowerPoint design skills are also top-notch. (Though, again, reality check time: No transitions or builds will show up on the small screen.) You get more slide design tools than the other two apps, including ready-to-use templates for page layouts like “Picture with Caption” and Title Only, and you can also include circles, arrows, and lines. One downside: Many of the toolbar icons don’t look much like their underlying tool—and they have no identifying text labels. If you don’t use the app frequently, you may get frustrated relearning the toolbar each time.
OfficeSuite
This app is the best option for Excel jockeys. You get a full complement of chart-creating tools (column, bar, pie, and area) and smoothest-in-class speed for switching between worksheets. PowerPoint’s not too shabby either. Notes are visible if you want ’em, and a play button lets you put the slides on auto-advance (Quickoffice has that feature, too). If you need to create a slideshow on your Fire, you can pick from 10 templates, as well as background art. Nothing fancy, but these visuals may make you appear more prepared. What OfficeSuite lacks, though, may be a dealbreaker: It has no integration at all with any of the online storage services.
Get Kindle Fire: The Missing Manual now with the O’Reilly learning platform.
O’Reilly members experience books, live events, courses curated by job role, and more from O’Reilly and nearly 200 top publishers.

