Chapter 2. Your First FPGA Project
Now that everything is set up, we are going to create a basic design that will turn on an LED when you press a button. Although this is a fairly trivial example, it presents a lot of new things that will take some time to understand.
Creating a New Project
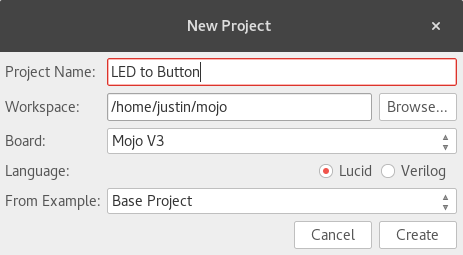
In the Mojo IDE, choose File → New Project to open the New Project dialog box, shown in Figure 2-1.

Figure 2-1. Creating a new project
You can make the project name whatever you want, but “LED to Button” fits well. The Workspace is the directory where all your projects will be created. In this example, the new project will be in /home/justin/mojo/LED to Button. Note that if you are using Windows, your path will look different. Make sure Lucid is selected for the language. The From Example option sets what your new project will be based on. There is no fully blank project because there are a lot of connections to the FPGA internal to the Mojo that you always want to have defined. The Base Project is the most basic template and does nothing except provide a boilerplate design.
Click the Create button to create a new project.
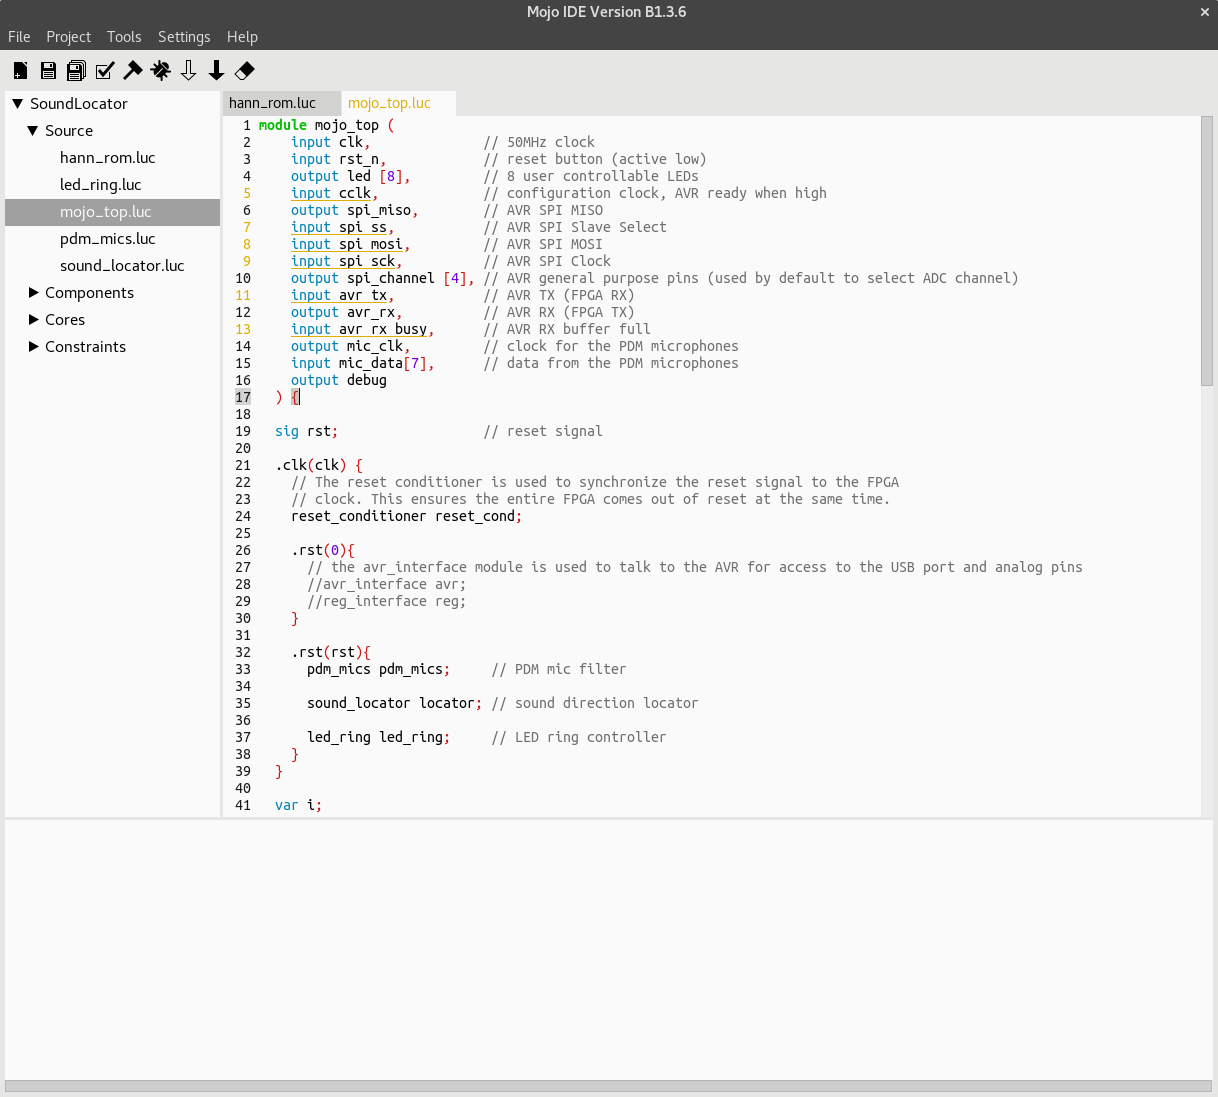
Your project should be created and opened. In the left project tree, expand the project, and then expand Source and double-click mojo_top.luc, as shown in Figure 2-2.

Figure ...
Get Learning FPGAs now with the O’Reilly learning platform.
O’Reilly members experience books, live events, courses curated by job role, and more from O’Reilly and nearly 200 top publishers.

