So, you’re interested in using Adobe’s Encore DVD to design your own DVDs? Well, you’ve come to the right place—this book is all about Version 1.5 of Adobe Encore DVD.
Before we go any further, let’s answer the first question you may have: what exactly is Adobe Encore DVD? Well, Adobe Encore DVD—or just Encore for short—is Adobe’s new tool for creating and burning professional-looking DVDs. Encore contains some impressive capabilities, including a streamlined workflow for quickly creating great-looking DVDs. Plus, it features tight integration with other Adobe products, especially Photoshop CS for advanced menu design, as well as Premiere Pro, Audition, and After Effects. However, there is one thing that you really must have before you can use the product: a DVD-recordable drive for your PC so you can burn your own DVD discs.
If you’re reading this book, I’m going to assume you have some experience with DVDs, including playing with menus and other interactive features. However, I’m also going to assume you haven’t done much DVD authoring. After all, that’s why you’re here! So, let’s get started by meeting Adobe Encore DVD and taking a quick look at how it works. Then, in the next chapter, we’ll step back and explore some commercial DVDs that provide examples of different approaches to DVD design, before exploring DVD authoring with Encore in more detail. So, if you haven’t succumbed to the temptation yet, install Encore from the product installation disc according to Adobe’s instructions, and launch the application.
Compared to other Adobe applications, Encore starts up with a very sparse layout: after seeing the splash screen, you’ll be presented with the main window and three supporting tool and palette windows for working on projects:
The tools window (or toolbox) is, by default, positioned at the top left of the main Encore window.
A palette window, containing a Properties tab, is positioned in the top right of the window. Each tab is known as a palette, so this window contains the Properties palette.
A second palette window is placed below (if there is room) or next to the window with the Properties palette. It contains nested tabs for the Library, Layers, Character, and Styles palettes. The Styles palette is selected by default.
These windows are shown in Figure 1-1.
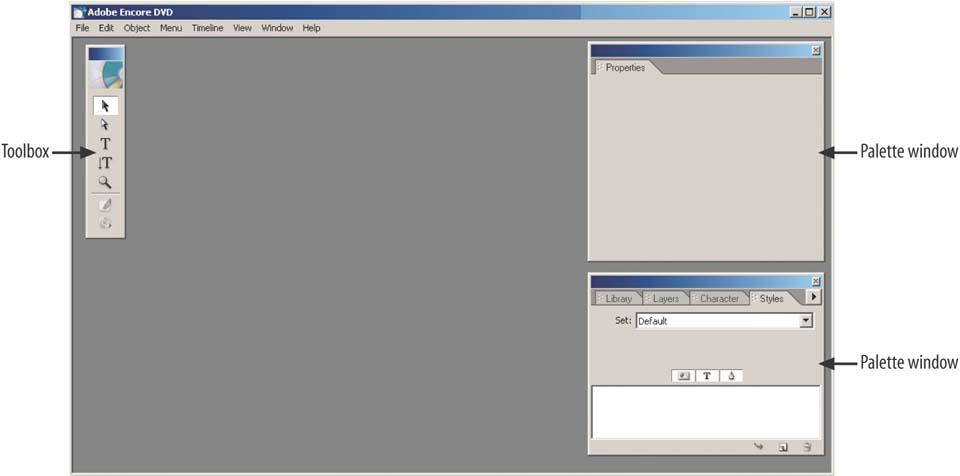
Figure 1-1. The rather empty Encore DVD window with no project open. This is what you will see when you first start Adobe Encore DVD.
Before starting a project, try tinkering with these windows to see how they work. Don’t worry if you don’t understand everything you see yet. Note that the tools window and the palette windows all float above the main Encore window and are not constrained by its borders—as shown in Figure 1-2.
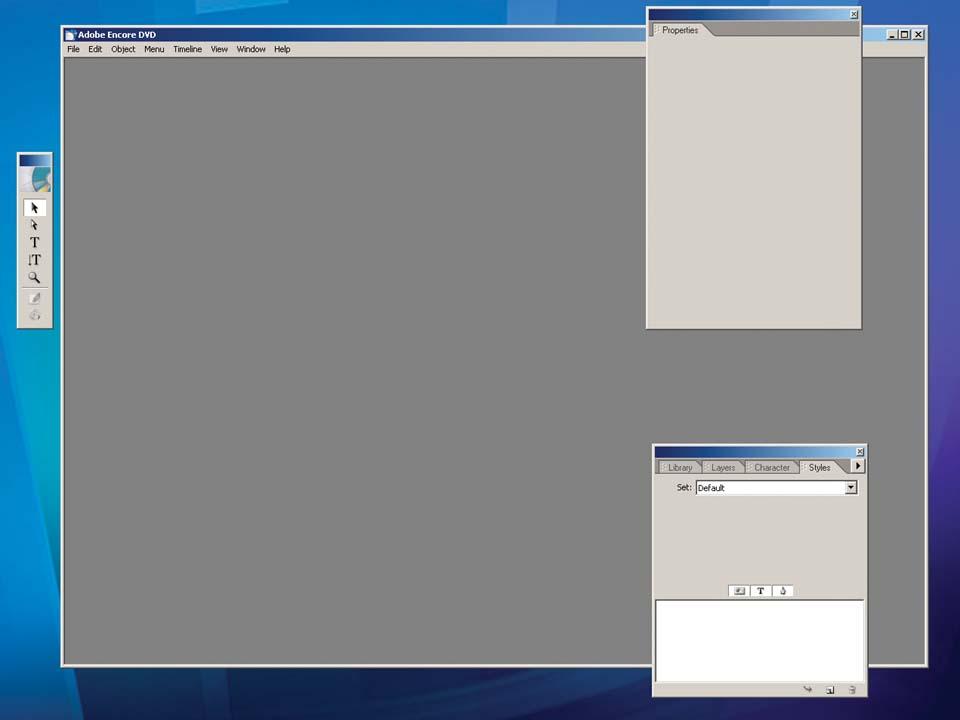
This feature is both good and bad: it’s helpful to move windows out of the way when working on a project, but it also can be disconcerting when you adjust the main window position and size while the palette windows stay floating in the same location.
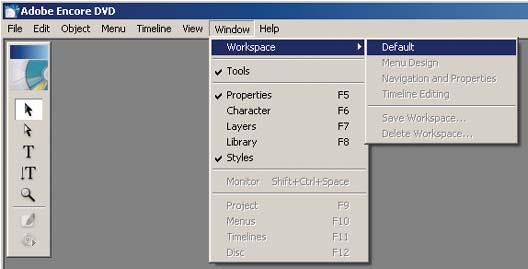
You’ll also notice that the palette windows are relatively fixed in size: you can change the height of the Library, Layers, and Styles palettes, but you cannot arbitrarily resize them. You can free up more space on your display by closing these windows. To do this, click the close box (the one with the “x”) at the top right of the palette windows, or use the Window menu (see Figure 1-3) to show and hide the various windows. Window names in the menu with a check mark next to them are open and are listed above the main project window.
If your windows get too disorganized, select Window → Workspace → Default to move the palettes back to their original positions along the sides of the main Encore window, as shown in Figure 1-3. You also can choose other preset layouts, and even save your own workspaces using the options in the Window → Workspace menu.
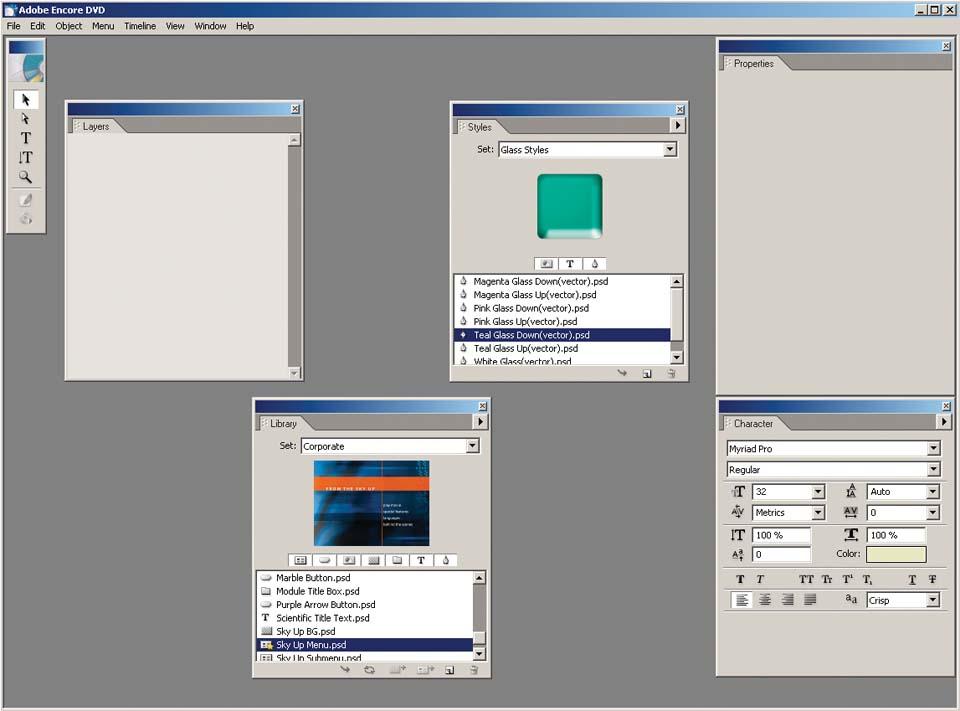
As you may expect from using other Adobe applications, the palettes in Encore can be nested together as tabbed panes in the same window, or dragged apart into separate windows. To move a palette, click the tab to select it, and then drag it to a new position—either out into a separate window, or nested back as a tab in another window. In this way, you can break all palettes into independent windows, as shown in Figure 1-4, or combine them all into a single window.
Get Adobe Encore DVD: In the Studio now with the O’Reilly learning platform.
O’Reilly members experience books, live events, courses curated by job role, and more from O’Reilly and nearly 200 top publishers.

