PROJECT 11
Overlaying and Underlaying in Editing
Now it’s time to bring together the footage you have shot for your documentary (see Project 10) into your editing tool to see how it all works together.
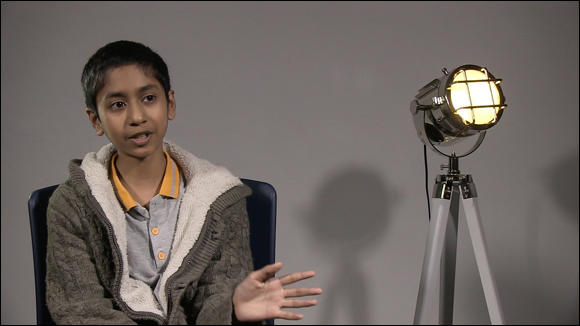
Our crew filmed some behind-the-scenes footage from their short film project. They captured some interviews on the day of filming and also set up interviews with the cast and crew on another day after filming. They’re going to use this footage and these interviews (along with a voiceover in the introduction) to create their documentary.
Interviews are a great opportunity to overlay shots related to the topic and to support what the characters are talking about. Overlaying shots with interviews helps to keep the audience interested and focused on the information being presented. Hopefully you’ll have filmed enough extra footage or supporting footage to use as cutaways with the interviews within your documentary. You can never shoot too much supporting footage as it’s best to have more to choose from than to have to go out and film more if you don’t have enough footage.
In this project, I show you how to overlay footage and underlay a voiceover when editing to make your documentary look even more professional.

Preparing Your Documentary in the Timeline
Before we move on to the first section, follow these steps to make sure your documentary is ready in the timeline to underlay ...
Get Digital Filmmaking For Kids For Dummies now with the O’Reilly learning platform.
O’Reilly members experience books, live events, courses curated by job role, and more from O’Reilly and nearly 200 top publishers.

