Installing Windows Server 2003
It’s a fairly effortless procedure to install Windows Server 2003 onto new systems. Here are the steps:
Turn the system power on and insert the Windows Server 2003 CD into the drive. If you receive a prompt to select from what location to boot, choose the option to boot off the CD. The system will boot a minimal, text-only version of Windows Server 2003 into main memory and begin the initial installation procedure. Figure 2-1 shows the beginning of this phase.
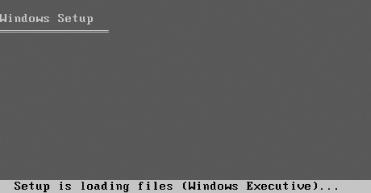
Figure 2-1. The character-based Setup process
The Welcome to Windows Setup screen will appear. Press Enter to continue.
Read the terms of the license agreement. If you accept (which, of course, you have to do to continue installation), press F8 to continue.
A screen listing your current disk partitions will appear. You can simply move around the menu and select an existing partition on which to install by pressing the arrow keys and then Enter to confirm your selection. You also can delete partitions (be sure you have backed up first!) by selecting the partition and pressing the D key. Lastly, you can create a new partition by selecting the Unpartitioned space selection in the menu and then pressing the C key. Figure 2-2 shows the disk partitioning screen.
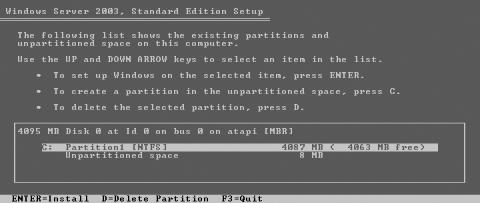
Figure 2-2. The disk partitioning screen
Choose ...
Get Learning Windows Server 2003 now with the O’Reilly learning platform.
O’Reilly members experience books, live events, courses curated by job role, and more from O’Reilly and nearly 200 top publishers.

