Templates and Styles
153
Creating Templates
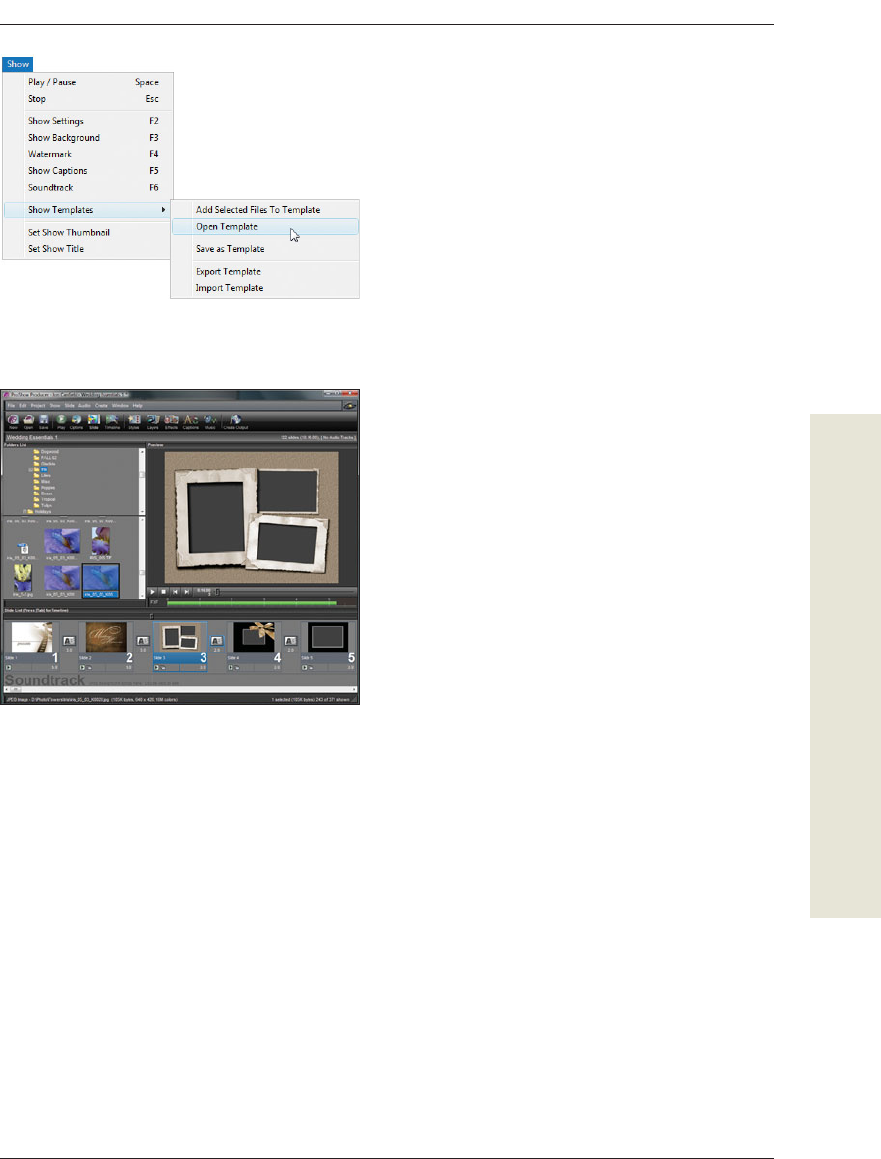
Figure 7.17 Templates are simply shows with the
content removed. Placeholders are used to add
content to the show.
Figure 7.16 Selecting Show > Show Templates > Open
Template is the only way to open a template fi le.
Creating Templates
A ProShow template is, at its most basic,
your show with all the slide content removed.
ink of a template as an outline. When you
create a template, ProShow saves all the show
settings to be reused again in a new show.
When you use the template, all the formatting
is automatically applied to your show.
But a template is not the same as a show le.
A template le has a ...


