312 IBM WebSphere Portal for Multiplatforms V5 Handbook
9. Stop server1:
./stopServer.sh server1 -user wpsbind -password <wpsbind_pwd>
10.Start server1:
./startServer.sh server1
11.Start WebSphere_Portal:
./startServer.sh WebSphere_Portal
6.7 Validate the overall configuration
This section will guide you through the validation of the database and LDAP
configuration on WebSphere Portal.
As mentioned before in this chapter, by default, the WebSphere Portal uses
Cloudscape as a database and also as a Custom User Registry for
authentication.
We assume that you already have installed and configured the following:
Remote IBM HTTP Server
Remote DB2 UDB Server
Remote IDS - IBM Directory Server (LDAP)
Configured Portal to use a remote Web server
WebSphere Portal using a remote DB2 as a database and remote IBM
Directory Server as a LDAP
6.7.1 Validate database configuration
You might want to check if WebSphere Portal data is being written into DB2
database. Follow the steps below:
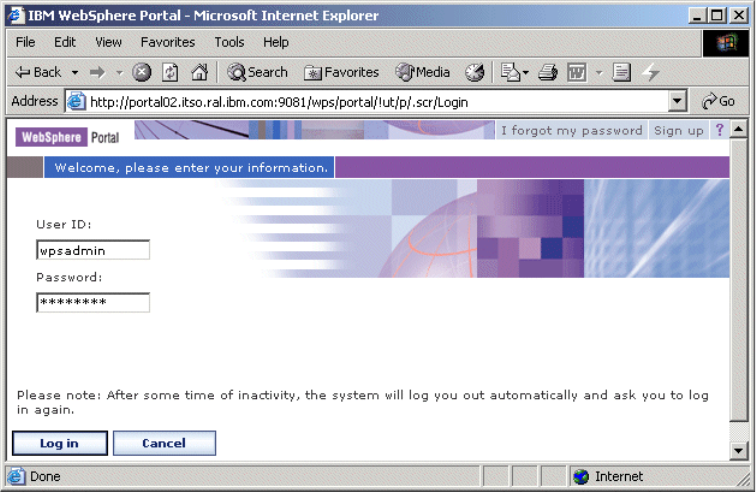
1. Open the WebSphere Portal page by typing the following URL:
http://<http_server_hostname>/wps/myportal
Where http_server_hostname is your Web server fully qualified host name.
For example: portal02.itso.ral.ibm.com.
2. Login as the Portal Administrator user, in this example we use wpsadmin
(Figure 6-37 on page 313). Click Login.
314 IBM WebSphere Portal for Multiplatforms V5 Handbook
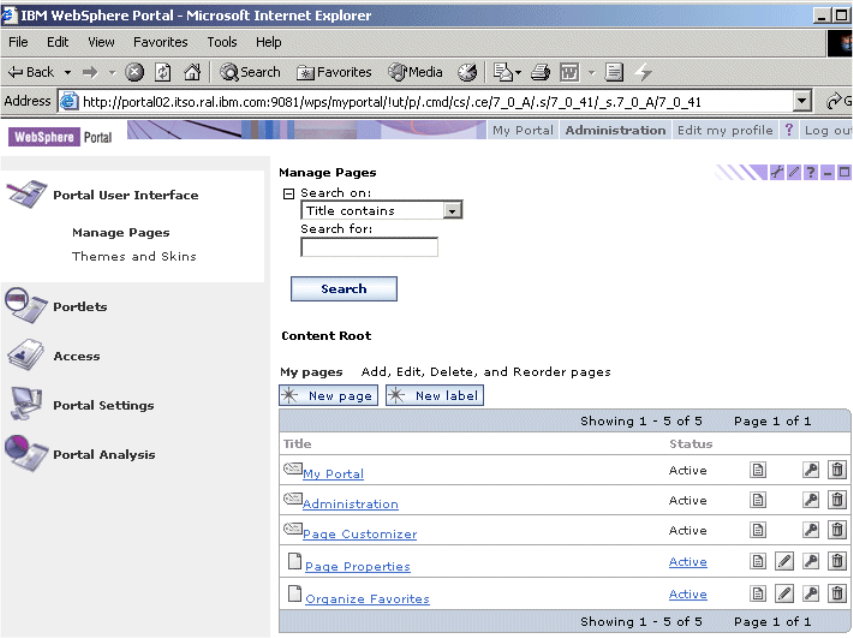
Figure 6-38 Manage Pages window
6. Click New Page button.
7. Enter the Title of the page.
8. Select the desired theme.
9. Expand the Advanced link.
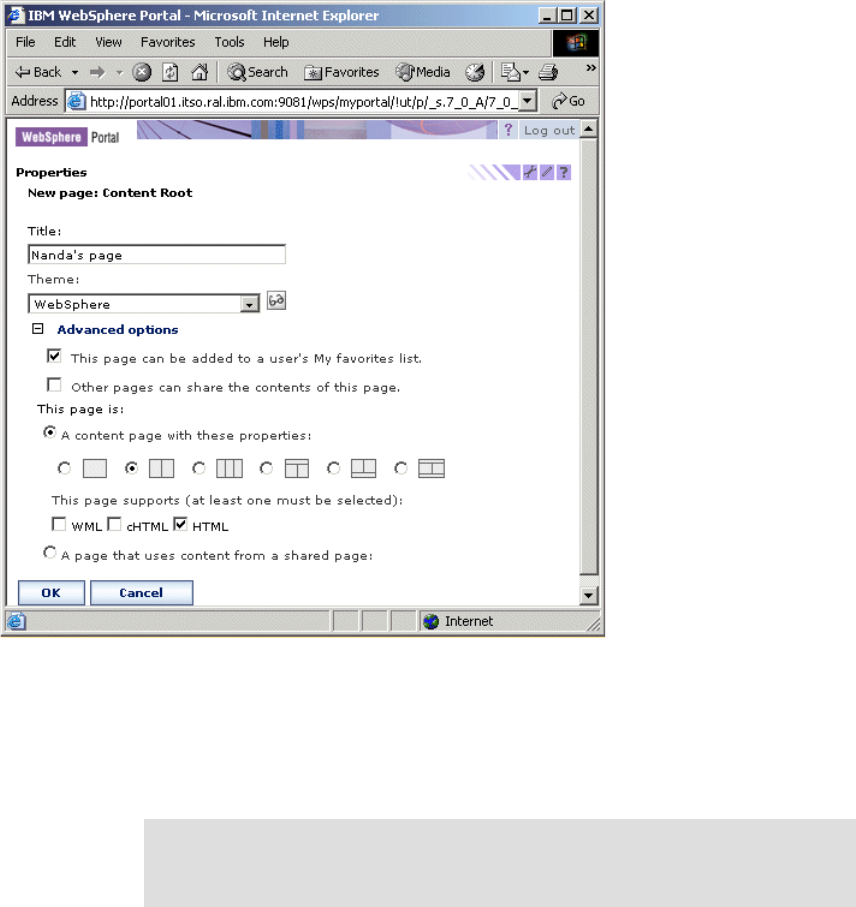
10.Choose the layout you want in this page by selecting one of the frames in the
A content page with these properties section (Figure 6-39 on page 315).
Click OK.
Chapter 6. WebSphere Portal: IBM AIX V5.2 installation 315
Figure 6-39 Page properties window
11.Click OK when you see the message APPR0010I: <page_title> page has
been created successfully.
The Manage Page window is displayed. The page you just created appears
in the list.
Now, you need to check if the page you have created was stored into WPS
database. Follow the instructions below:
1. In the WebSphere Portal machine, open a terminal window.
2. Login as the database owner user and start the DB2 command line:
Note: You have created a blank page. You can continue and add portlets to
this page, but for the purpose of this chapter, this is enough to validate the
database configuration.
Get IBM WebSphere Portal for Multiplatforms V5 Handbook now with the O’Reilly learning platform.
O’Reilly members experience books, live events, courses curated by job role, and more from O’Reilly and nearly 200 top publishers.

