October 2007
Beginner
592 pages
18h 58m
English
Elements also lets you print from the Organizer, which gives you many more output options than the Editor, including the ability to print several photos on one page. You can create contact sheets of thumbnails, picture packages (like you'd order from a professional photographer), and labels. You can also easily add all kinds of fancy borders to your photos in the Organizer.
You probably want to select your photo(s) before you start, but you don't have to—you can do that in a moment, if you'd prefer. The Print Photos dialog box is the Organizer's print control center. Press Ctrl+P or go to File → Print Multiple Photos to bring it up (see Figure 16-8).
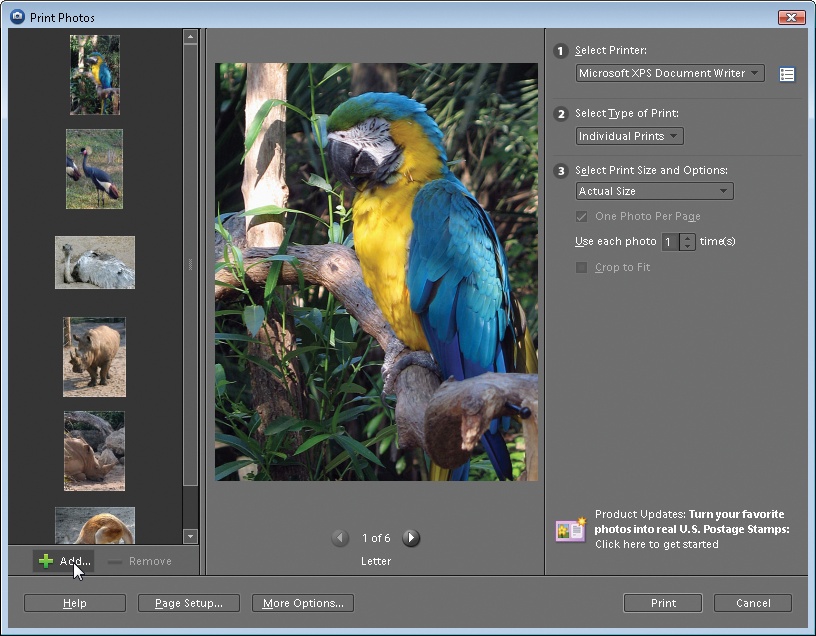
Figure 16-8. Your control center for printing from the Organizer. The strip on the left side of the window holds thumbnails of all the photos you plan to print. When you're creating a picture package or a contact sheet, you can add or remove images by clicking the + or − buttons at the bottom of the thumbnail strip.
Print Photos has a strip down the left side of the window that displays the thumb-nails of the photos you've selected for printing. You can add or remove photos here by using the buttons in the lower-left corner of the window. Click Add to bring up a window where you can search for additional photos, or highlight a photo's thumbnail and click Remove to remove it.
There's a preview window in the ...