Displaying the Gadget Using Shindig
Our gadget XML file is now ready to be displayed within an OpenSocial container. Our next task is to place it in a location where Shindig can access it. You can upload the XML file to a personal web server, use a social coding site like github (linking to the raw code URL, such as http://github.com/jcleblanc/programming-social-applications/raw/master/opensocial-gadgets/ch3_tabbed_preferences.xml), or put the XML file within your localhost web server to be served from there (e.g., http://localhost/ch3_tabbed_preferences.xml). In this example, we’ll place the XML file within our localhost directory and serve it from there.
Open a web browser. The URL syntax for our local Shindig container is http://shindig/gadgets/ifr?url=XML_URL. We can run that URL with our localhost file location to load the gadget, which gives us a URL like http://shindig/gadgets/ifr?url=http://localhost/ch3_tabbed_preferences.xml (assuming we named the file ch3_tabbed_preferences.xml). Navigate to that URL.
You should be presented with a gadget with two tabs, as displayed in Figure 4-1, with the “Setting Configuration” tab opening by default. Once that initial tab loads, the timed yellow message will be displayed. The second tab should display a series of links to more information.
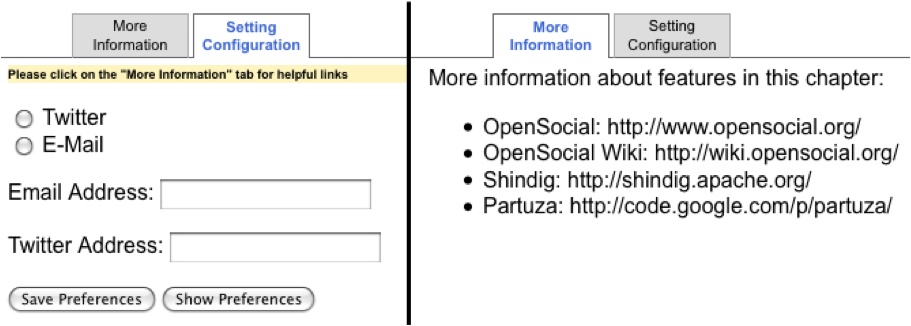
Figure 4-1. Chapter 4 gadget rendered
This example sums up many of the core lessons we’ve learned in ...
Get Programming Social Applications now with the O’Reilly learning platform.
O’Reilly members experience books, live events, courses curated by job role, and more from O’Reilly and nearly 200 top publishers.

