Branding with SharePoint Designer 2010
❘
85
3. Ensure that either the Split view or Code view is showing. Near line 624, after
<SharePoint:DeveloperDashboard runat=“server”/>, add the following code snippet
(refer to Figure 4-8):
<div class=”s4-notdlg” style=”clear: both; background-color:
#FEAD30; padding: 10px;”>
© Copyright 2010 Contoso Manufacturing
</div>
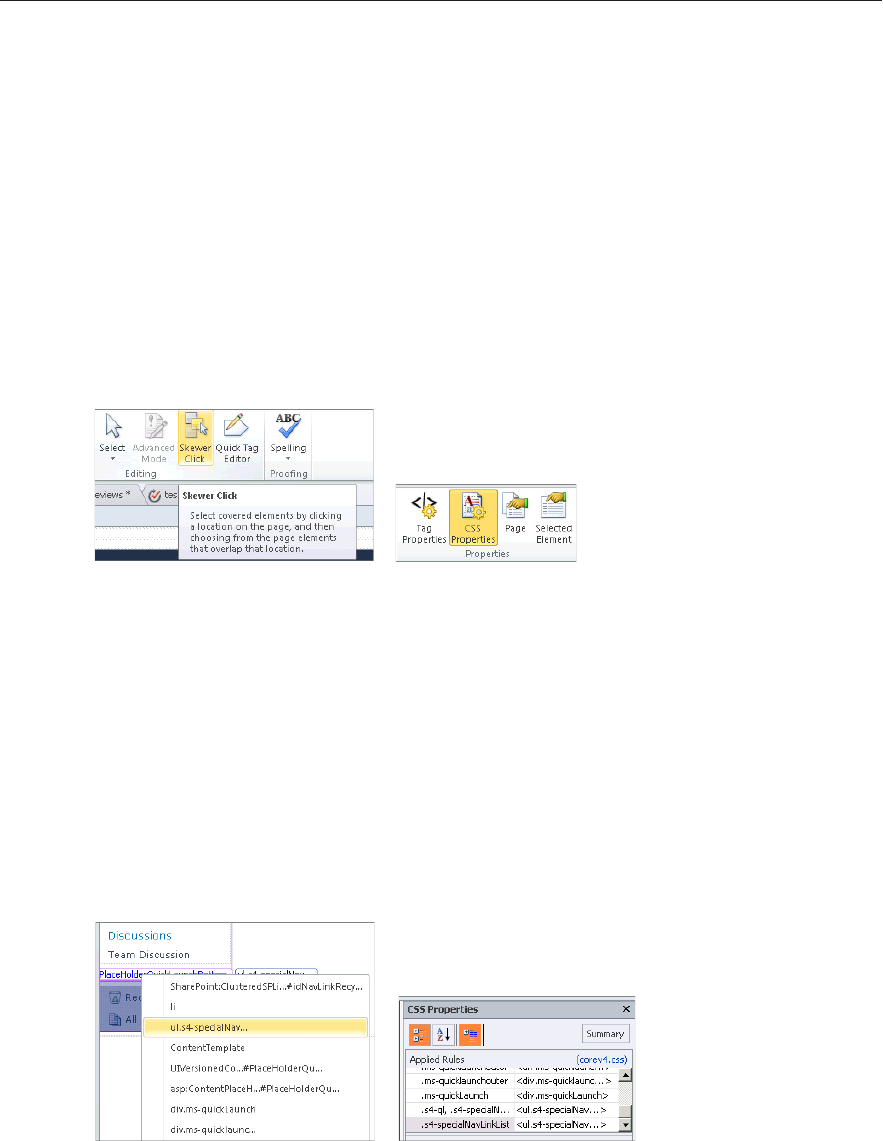
4. From the ribbon, click the Skewer Click button, as shown in Figure 4-10. This enables you to
see the CSS that is currently applied to a specifi c object. Note that Skewer Click can be used
only when you are in design or split view for a page.
5. Before you can edit the CSS, you must fi rst add a new panel to SPD. From the ribbon, click
the Style tab and select the CSS Properties button, as shown in Figure 4-11.
6. Hover your mouse near the locations for the Recycle Bin and All Site Content links. You
should see the name
PlaceHolderQuickLaunchBottom appear faintly. Select it and another
window will open and display a list of styles. Click the style called
ul.s4-specialNav…, as
shown in Figure 4-12.
7. When the new panel opens, you’ll see that the top section is called Applied Rules, as shown
in Figure 4-13. The style you want to modify (
.s4-specialNavLinkList) should already be
selected. It may be diffi cult to read the entire name of the style, but you can make the right
panel a little wider. Right-click the ...


