18.2. Generating Class Files for Core Data Entities
Problem
You followed the instructions in Recipe 18.1 and you want to know how to create code based on your object model.
Solution
Follow these steps:
In Xcode, find the file with the xcdatamodel extension that was created for your application when you created the application itself in Xcode. Click the file, and you should see the editor on the righthand side of the Xcode window.
Select the
Personentity that we created earlier (see Recipe 18.1).Select File → New File in Xcode.
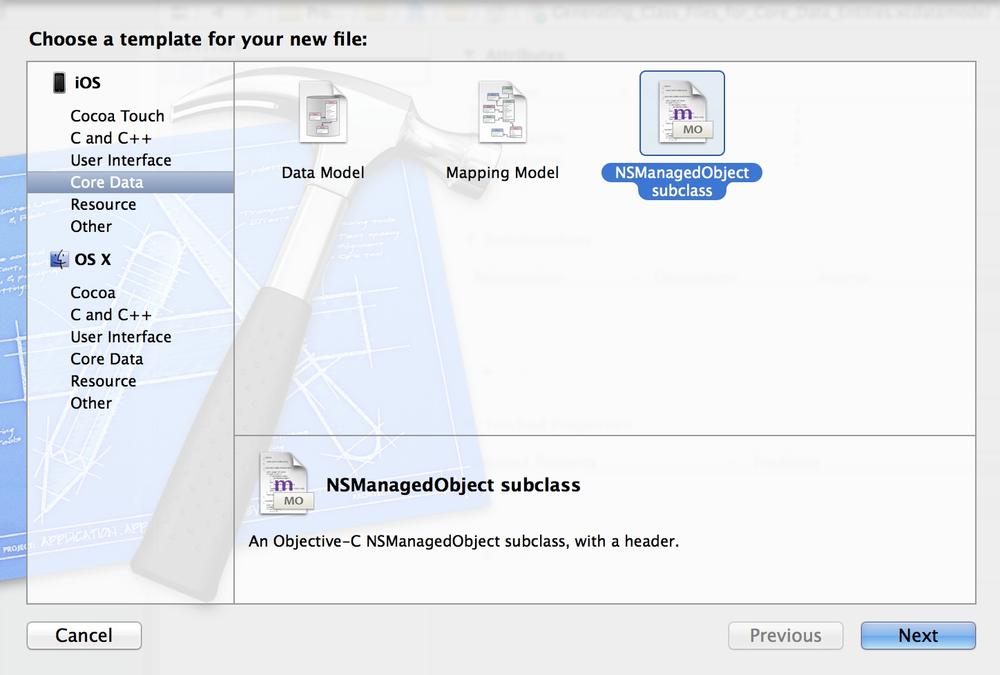
In the New File dialog, make sure you have selected iOS as the main category and Core Data as the subcategory. Then choose the
NSManagedObject subclassitem from the righthand side of the dialog and press Next, as shown in Figure 18-7.

Figure 18-7. Creating a managed object subclass in Xcode
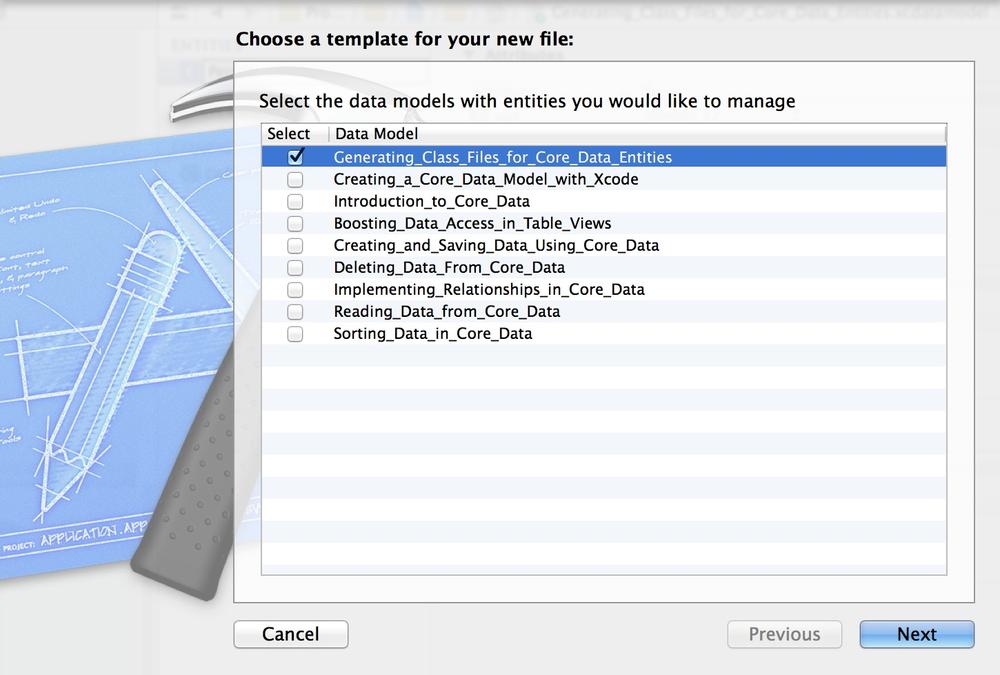
On the next screen, choose the managed object model that you want to save to disk and ensure it is ticked. Once you are done, press the Next button (see Figure 18-8).

Figure 18-8. Selecting which managed object model to save on disk
Note
You will see only one managed object model in the list if you have only one model in your project. The reason we are seeing more than one model in Figure 18-8 is that my workspace in Xcode contains various projects, each with its own model.
Now you will ...
Get iOS 7 Programming Cookbook now with the O’Reilly learning platform.
O’Reilly members experience books, live events, courses curated by job role, and more from O’Reilly and nearly 200 top publishers.

