October 2012
Intermediate to advanced
1176 pages
27h 33m
English
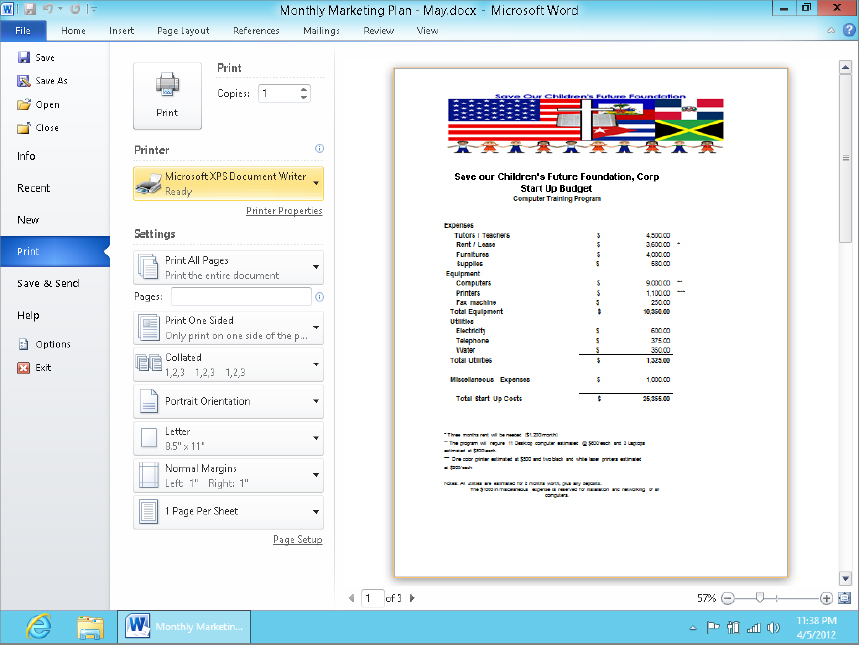
As an alternative to printing on paper, you can print to an XPS document. The XPS document looks exactly like the printed document will look, but it is a file rather than a sheet of paper. You can then e-mail that XPS document to other people. Or, if you have a website, let people download it from your site.
To print to an XPS document, start printing as you normally would. For example, choose File ![]() Print from the program’s menu bar. Or if you’re in Internet Explorer, click the Print toolbar button. When the Print dialog box opens, choose Microsoft XPS Document Writer instead of your usual printer, as in Figure 34.8. Then click OK or Print.
Print from the program’s menu bar. Or if you’re in Internet Explorer, click the Print toolbar button. When the Print dialog box opens, choose Microsoft XPS Document Writer instead of your usual printer, as in Figure 34.8. Then click OK or Print.
FIGURE 34.8 Print to an XPS document
Because you’re printing to a file, a Save As dialog box will open. There you can choose the folder in which you want to place the file and give the file a name. Figure 34.9 shows a file named Budget 2012.xps located in the Documents folder about to be printed. Click Save.
FIGURE 34.9 Printing Budget 2012.xps in the Documents folder
The Save As dialog box closes. To verify that the document was printed to a file, ...
Read now
Unlock full access


