Here’s what I want you to do:
• At the bottom of the inset effects list is an item that reads
Opacity: 43%. Click the word Opacity to bring up a pop-
up version of the Transparency panel, change the Opacity
value to 100 percent, and press Enter or Return.
• Click on the Fill item to select it. The attribute should ap-
pear highlighted.
• Click the
icon at the bottom of the Appearance panel to
duplicate the fi ll. Because Roughen and Tweak introduce
random variations, the ragged outline of the new fi ll is
slightly different from that of the original one.
• Shift-click the yellow swatch next to the top Fill attribute,
and change the C and M values to 0 and 40 percent, re-
spectively, to color the new fi ll orange.
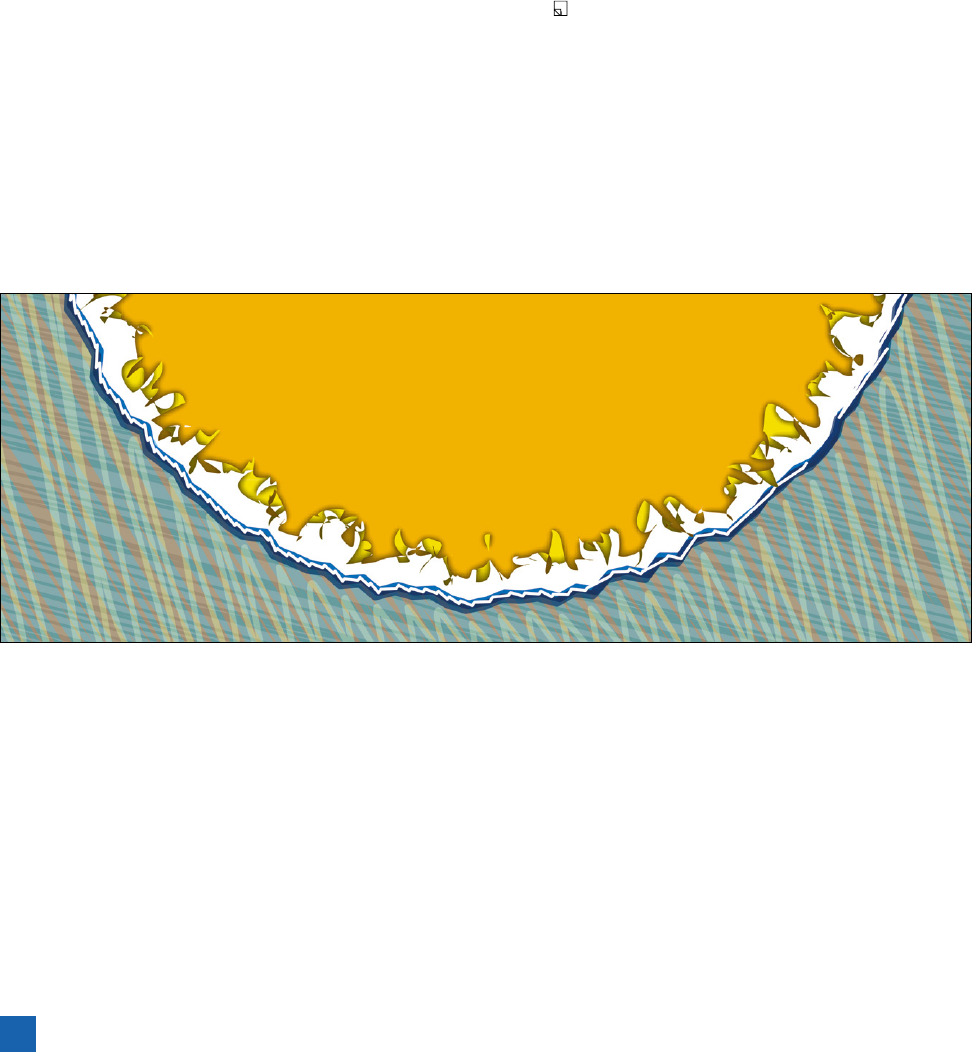
Figure 10-13 shows a detail from the bottom of the circle, which
illustrates the customized collection of two-fi ll effects.
8. Apply a few styles to the text. The type (hidden in the fi gure)
looks terrible in its new environment. The solution is to apply
a graphic style. Select the point type with the black arrow
tool. Then try your hand at applying a few styles. Assuming a
Graphic Styles panel that’s six thumbnails wide, the fourth row
and most of the fi fth—starting with Ice Type and ending with
Metal Silver—comprise styles that Adobe specifi cally designed
to accommodate text; although you can apply any styles you
like. Figure 10-14 shows a sample style applied to each ...


