•
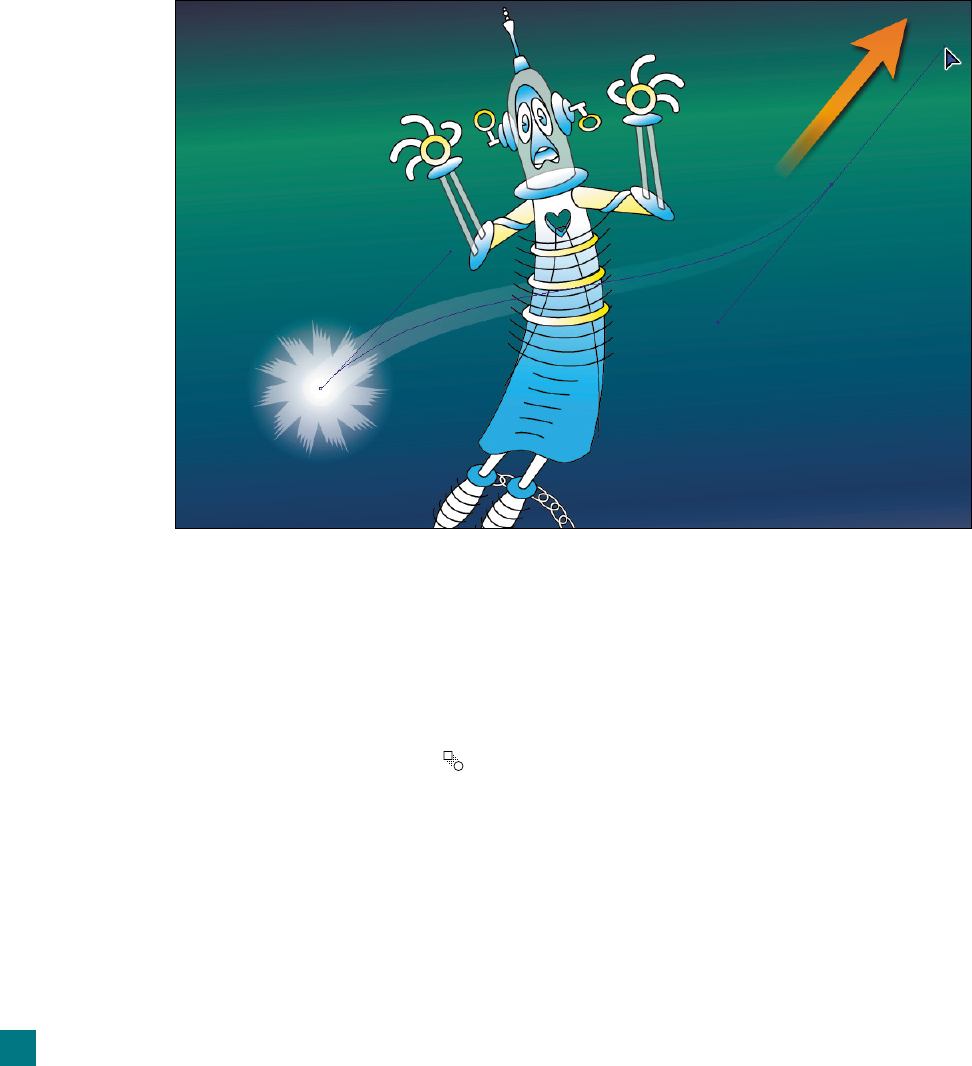
Still armed with the convert point tool, drag up and to
the right from the right-hand endpoint. (As when draw-
ing with the pen tool, the convert point tool requires you
to continue the curvature of segments in the direction of
your fi rst drag.) Again, a control handle emerges, but this
time in the opposite direction of your drag, as illustrated
in Figure 7-23.
15. Further increase the number of steps. If you zoom in on the
blend—try 400 percent or higher—you may notice that it’s
beginning to break up into a series of lumps. In the process of
extracting control handles from the path-of-the-blend, we’ve
stretched the path so that it has to cover a longer distance.
Hence, we need more steps. Double-click the blend tool icon
(
) in the toolbox to display the Blend Options dialog box.
With the Spacing value highlighted, press Shift+
to raise the
number of steps in increments of 10. When you get to 180—
which, to my eye, results in a smooth blend—click OK. The
fi nal comet trail appears independently of the rest of the illus-
tration in Figure 7-24 on the facing page.
16.
Save your changes. Press Ctrl+Shift+S (or -Shift-S), name
your fi le “The blended comet.ai,” and click the Save button.
Then set the fi le aside for the next exercise.
Figure 7-23 .
218
Lesson 7: Blends, Masks, and Gradient Mesh


