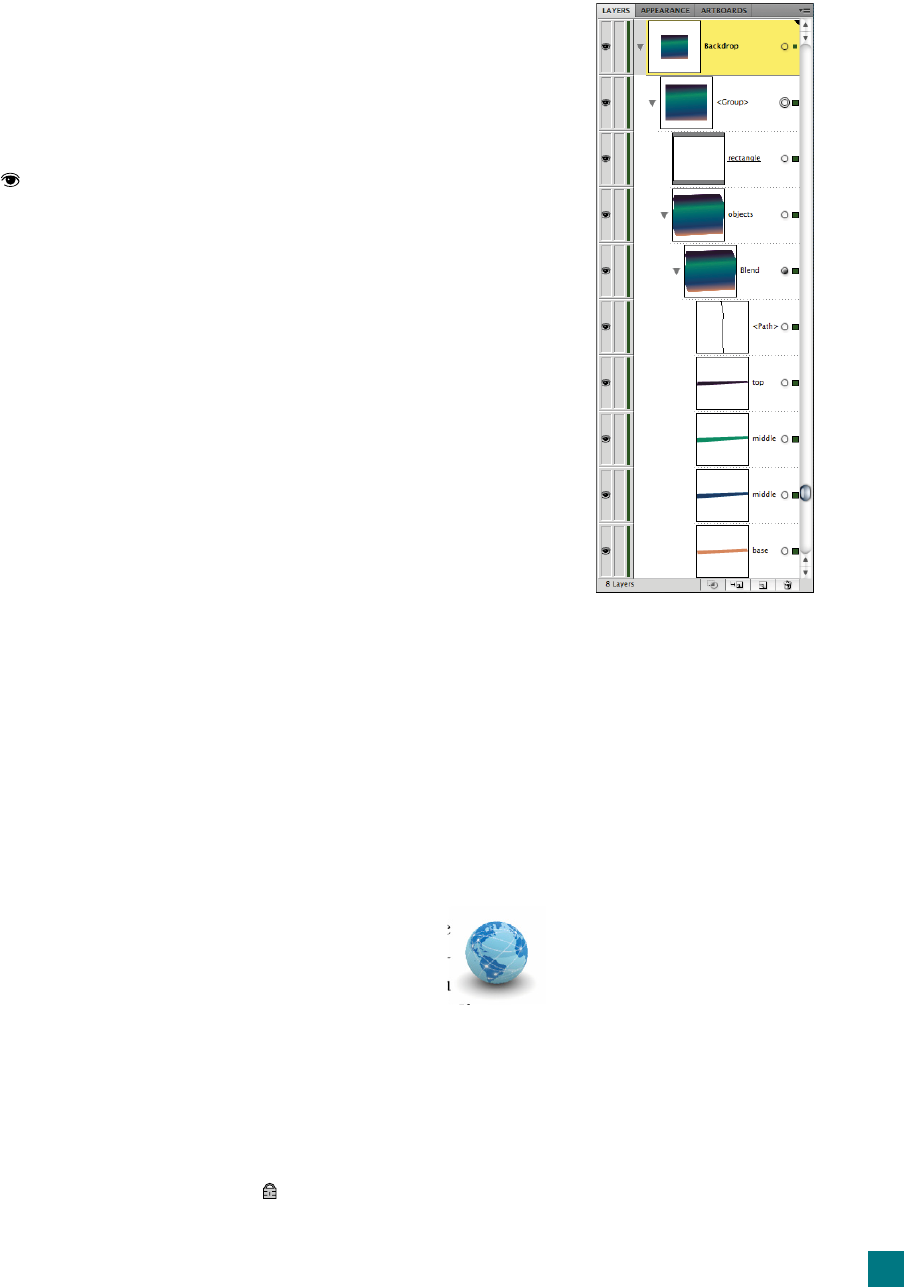
Rectangle, Objects, Blend, and the others. Note that the thumb-
nail for Rectangle has changed, with a white rectangle against a
gray background, as in Figure 7-16. This is Illustrator’s code for a
clipping mask. White represents the interior of the mask, the por-
tions of the clipped objects you can see. Gray represents the area
outside the mask, the portions that are hidden (or clipped). Click
the
icon for Rectangle to turn off the mask and you’ll see that
the blend remains entirely intact and editable. Turn the Rectangle
back on, and the blend appears cropped. Now that Rectangle is
identifi ed as the mask, you can even change its stacking order. Just
so long as it remains inside the item called <Group>, all is well.
11. Rename the group. One last bit of housekeeping: Double-click
the <Group> item in the Layers panel. Then change the Name
option to “Mask,” and click OK.
12. Save your changes. Choose File→Save As or press Ctrl+Shift+S
(-Shift-S on the Mac). Name your revised fi le “Blend inside clip-
ping mask.ai,” and click the Save button. You’ll use this fi le as the
starting point for the next exercise.
The primary advantage of blends and masks are the same: They af-
ford a high degree of fl exibility, editability, and automation in return
for a modest amount of work. And once you come to terms with their
underlying mechanics and admittedly odd (at times) behavior, they ...


