18.
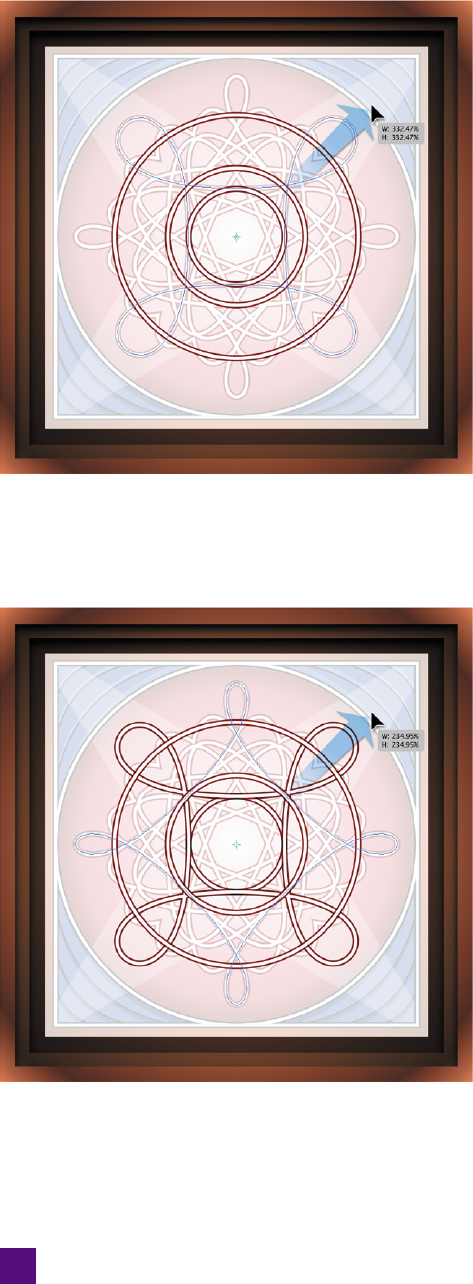
Scale the segments to create a cloverleaf. Now for
the excitement. Switch to the scale tool, and start
dragging from the upper-right corner outward, as
in Figure 5-86. Hold the Shift key while you drag to
constrain the scale. Notice that the anchor points
themselves aren’t moving, but the curved segments
are actually curving in on themselves. Once your
shape resembles that in Figure 5-86 (and frankly,
the Apple key), release the mouse button.
19.
Paste the original circle in front. Press Ctrl+F (-F)
to paste the original circle in front.
20.
Select and copy the middle circle. Ctrl-click (-
click) the middle circle to select it, and press Ctrl+C
(-C) to copy it to the clipboard.
21.
Rotate the middle circle. The next shape to draw is
the curlicue diamond—the shape with loops point-
ing directly up, down, left, and right. And while
rotating a circle has no immediate effect, it’s a nec-
essary fi rst step to achieving that diamond shape.
Double-click the rotate tool, enter an Angle value
of 45, and click OK.
22.
Select and scale the segments. Switch back to
the scale tool by pressing the S key. Again, choose
Select➝Object➝Direction Handles, and start drag-
ging as shown in Figure 5-87. Again, press the Shift
key to constrain the scale. Release the mouse but-
ton when your shape matches the tracing template
underneath. Because you rotated the circle 45 de-
grees, the anchor points ...


