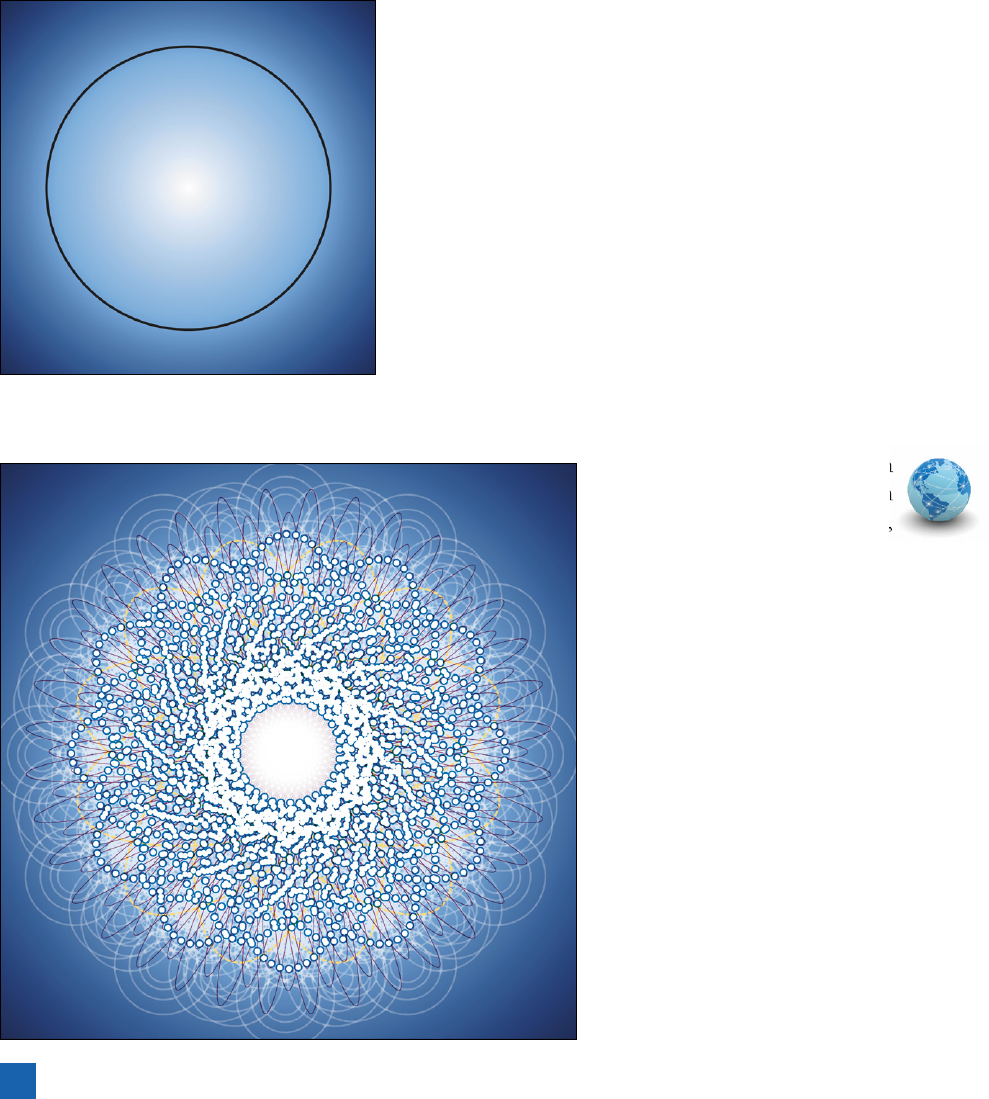
1.
Open a simple path outline. In
the Lesson 10 subfolder, open
the document called Circle.ai
which appears in all its glory Figure 10-42.
2. Stroke the circle with a dashed outline.
Select the circle with the black arrow
tool. Then click the second swatch on
the left side of the control panel, select
the swatch just to the left of bright yellow
(called Custard), and press Enter or Re-
turn. Next, click the Stroke link to bring
up a pop-up panel and do the following:
•
Reduce the Weight value to 2 points.
•
Turn on the Dashed Line check box.
• Enter a Dash value of 6 points and a
Gap of 2 points.
Figure 10-44 (facing page) shows the set-
tings. Press Enter or Return to hide the
panel and accept your changes.
Figure 10-42 .
Figure 10-43 .
Building Up a Complex
Transformation Series
By now, you have a sense for how transformative the Transform ef-
fect can be. But you’ve seen the merest glimmer of its full potential.
You can use Transform not only to change a piece of artwork, but
also to create one. I fi rst got an inkling of the full power of this com-
mand when playing around with one of Adobe’s ancient predefi ned
graphic styles. (Other people’s styles can be highly illuminating!)
Which naturally inspired me to take the Transform effect out for a
test drive and see how far I could push it.
The result is this exercise. In the following steps, we’ll take a single
geometric shape—specifi


