Placing and Editing Lights
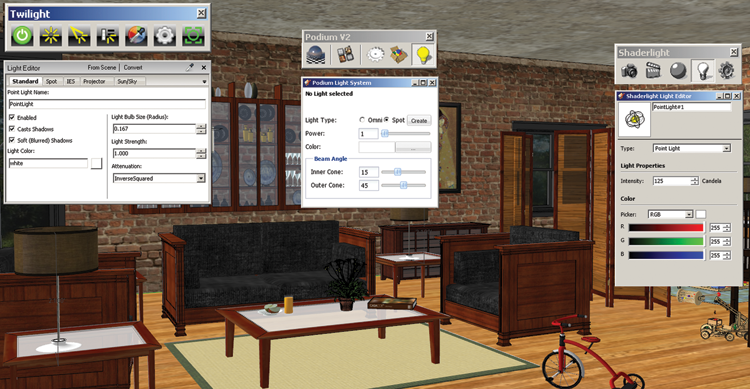
With some variation, the approach to inserting and placing each simulated light type is similar in the different IRPs. Inserted lights appear as small balls or object groups that can be moved around the model (Fig. 24.20).
Fig. 24.20: Simulated lighting menus for Twilight Render v1, SU Podium v2, and Shaderlight

Placing Lights on Layers
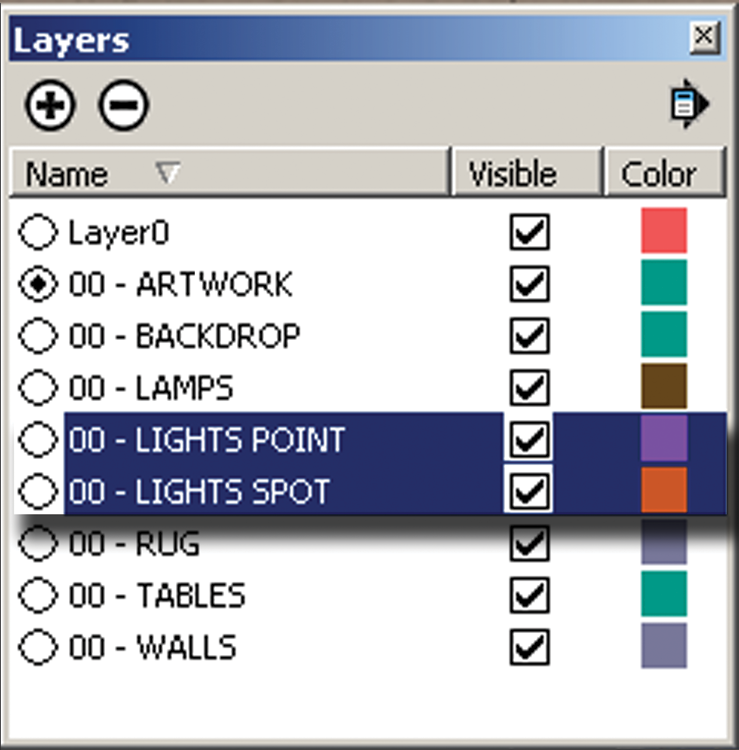
Before you add any lights to the model, create a new layer called “Lights” and make it the active layer (see Chapter 14). Make sure that lights are inserted onto that layer (Twilight does this automatically). Using layers will make it easier for you to locate lighting in the model and make adjustments (Fig. 24.21).
Fig. 24.21: Create layers for the lights before you insert them into the model. Insert the lights onto those layers.

Editing Simulated Lights
Each IRP comes with a menu that allows you to edit the simulated light settings (Fig. 24.20). Simply select the placed light, and adjust the light strength and color from the IRP Properties menu. Adjusting a light inserted into a component will adjust all versions of that light in similar components.
Referencing Geometry
Due to SketchUp’s inference system, placing lights into a scene can be tricky: the lights will try to snap to wherever your mouse is pointing. This ...
Get Rendering in SketchUp: From Modeling to Presentation for Architecture, Landscape Architecture and Interior Design now with the O’Reilly learning platform.
O’Reilly members experience books, live events, courses curated by job role, and more from O’Reilly and nearly 200 top publishers.

