Legends
____ 27. Zoom in on the Legend and notice that it applies only to the POINTS Data Frame. Zoom to the whole page and slide the Legend into POINTS Data Frame’s lower-right corner.
____ 28. Make the LINES data frame active. Select Insert > Legend. A Legend Wizard window appears. Arc will let you pretty much click through (Next > Next > Next) and come up with a legend that is right for the data frame. But, as you can see as you do this, the user has lots of control over the appearance of the legend. Slide the legend into the LINES data frame.
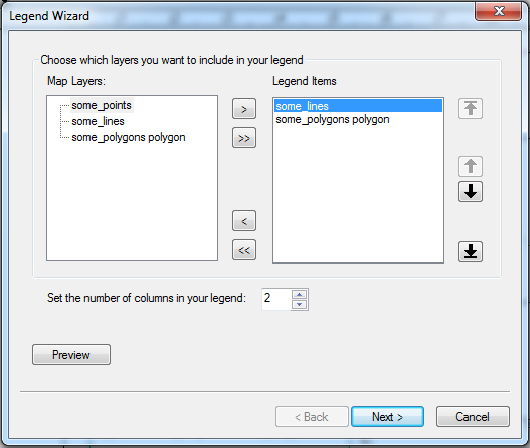
____ 29. Make the ALL data frame active. Insert > Legend. Because ALL contains three different layers, you have some options about what the legend will contain. The arrow keys let you move layer names from one pane to another. Arrange it so that the Legend Items pane has only some_lines and some_polygons in it, as in Figure 3-7. Set the number of columns to 2. Finish the wizard. Drag the new legend to the ALL data frame.
____ 30. In the Layout View, zoom so you can see the legend of the ALL data frame. In the Data View, change some symbology (color, width) of polygon and line features in the ALL data frame. Check the Layout View. Notice that the legend has automatically changed. If you want a more drastic demonstration of the automatic change, change symbology within the T/C and watch the Layout View update. Zoom Whole ...
Get Introducing Geographic Information Systems with ArcGIS: A Workbook Approach to Learning GIS, 3rd Edition now with the O’Reilly learning platform.
O’Reilly members experience books, live events, courses curated by job role, and more from O’Reilly and nearly 200 top publishers.

