Setting Some Options6
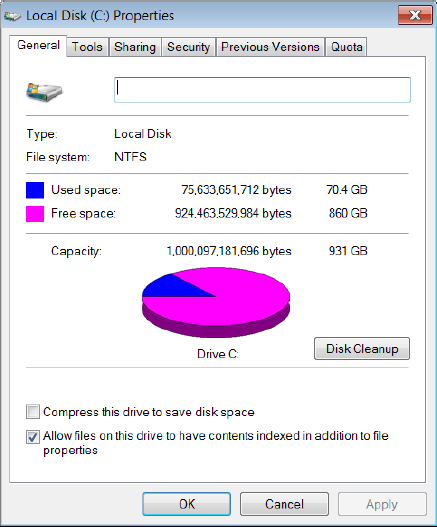
____ 4. Be sure that the “C” drive icon is selected in the Catalog Tree. Under File, click Properties, then click the General tab. (From now on I may abbreviate an operation like this by saying File > Properties > General.) Since C:\ is selected, you will see some of the properties of the C drive, including the amount of disk space—both used and free. See Figure 1-17. Dismiss the Properties window by clicking the “X” in its upper-right corner or the Cancel button.
____ 5. On the Main menu click Customize > ArcCatalog Options > General tab. Several check boxes will show up in the ArcCatalog Options window. These relate to the types of top-level entries that the catalog will display. Since you are at an early-learning stage, you want to have ArcCatalog display everything possible. By clicking the boxes next to the options in the pane, you can toggle a check mark on or off. Make sure each option has a check mark in the box to its left. At the bottom of the window, make sure both of the options (especially Hide file extensions) are unchecked. Click Apply. (If you made no changes in the pane, Apply will be “grayed out”—a standard feature of ArcGIS software if an action is not possible, not needed, or not appropriate.) The resultant window should look approximately like Figure 1-18.
____ 6. Click the Contents tab in the Options ...

Get Introducing Geographic Information Systems with ArcGIS: A Workbook Approach to Learning GIS, 3rd Edition now with the O’Reilly learning platform.

O’Reilly members experience books, live events, courses curated by job role, and more from O’Reilly and nearly 200 top publishers.